Estimated reading time: 18 minutes
It Boggles the Mind to Think that Allowing Food to Rot Would Make it Taste Better, Last Longer, and Actually Be Good for You… But it Does.
We eat this stuff all the time and don’t even know it. Everything from bread and cheese to beer, wine, and simple things like sauerkraut, Kimchi, and yogurt are the result of a little-understood process known as fermentation.
Fermentation 101
Fermentation has been around for thousands of years. It was probably the result of a happy accident and a very hungry person. Even a caveman would have second thoughts about eating rotten food, but someone did and decided they liked it.
Want to save this post for later? Click Here to Pin It On Pinterest!
Good Rotten Science
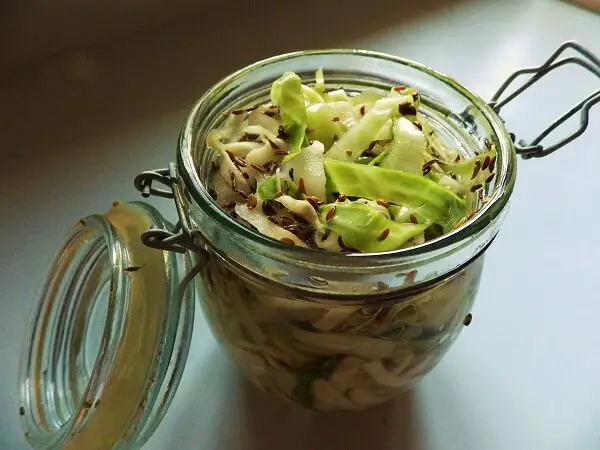
Fermentation results from the release of natural compounds from something that converts sugar, carbohydrates, and starches into alcohol or organic acids like lactose. This eventually causes the nature, flavor, and appearance of the food to change.
That “something” is actually bacterial microbes at work, but they fall in the category of “good” bacteria (Lactobacillus- fermentation bacteria) that are not harmful to us, and actually inhibit the growth and development of harmful bacteria (Clostridium botulinum -spoiling bacteria).
If that explanation causes you any alarm, remember that more than 30% of the foods we eat are fermented and it’s all the result of the good bacteria. But this process comes with a price.
Fermentation Microbes Release a Waste Product
We don’t commonly associate the idea of waste products as an ingredient in our foods, but in this instance, we’re largely talking about carbon dioxide. Carbon dioxide is a waste product of fermentation and we should remember we exhale carbon dioxide as a waste product with every breath we take. In fact, you may have to “burp” any foods you are fermenting in a jar to release the carbon dioxide buildup if you are using a canning jar with a tight-fitting lid.
It’s best to do this outside, once a day. Doing it in the kitchen will leave some aromas and odors in the kitchen that some family members may take exception to. After a couple of weeks, things will calm down and your need to “burp” a jar will slow down and stop.
Temperature and Fermentation
The ideal temperature for fermentation is between 60 degrees and 70 degrees Fahrenheit or 15.5 degrees Centigrade to 21 degrees Centigrade. Any temperature above or below will compromise the ideal fermentation process. It’s because of the effect temperature has on the “good” bacteria that are driving the fermentation.
A basement may be a good place to consider or a pantry protected from direct sunlight. If the temperature rises above the ideal temperature range, there’s no cause for alarm, but extreme temperatures above 100 F. or close to or below freezing will actually kill the good bacteria and the bad bacteria will be in a position to grow unchecked.
Surprise! Fermented Foods are Really Good For You
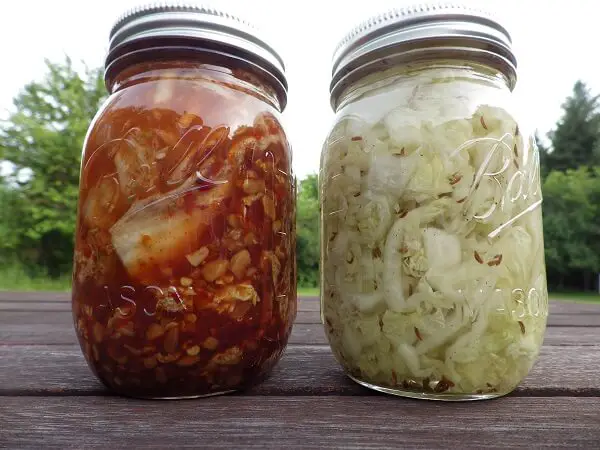
We’ve all heard of the benefits of probiotics, and that’s what fermented foods are all about. Probiotic foods are fermented foods and they aid our digestive tract by providing us with the “good” bacteria that aid digestion.
Yogurts have been promoted for this benefit, but it crosses the line to other fermented foods from apple-cider vinegar to sauerkraut, other fermented vegetables, cheeses, breads, and the list goes on.
The telegram is: eat your bacteria. Our gut is run by certain forms of “good” bacteria and without them as a digestive aid, we simply don’t assimilate the nutrients from foods the way we should. They also contribute to regularity and prevent many other forms of gastrointestinal distress.
But it Gets Better
Some clinical studies indicate that fermented foods high in probiotics help prevent many diseases before they get started. The bottom line is that fermenting food is not only good for your diet, it also makes sense from a preparedness and cost-saving standpoint.
Fermentation as a Preservative
Good news and bad news when it comes to fermentation as a food preservative. The good news is that it works and will extend the shelf-life of any food that is fermented. The question is: how long and under what conditions? The general recommendation is that any fermented food be refrigerated or stored in a cold-storage space like a root-cellar once the fermentation process has stopped or significantly slowed down.
The irony is that processing fermented foods in a hot water bath or subjecting it to freezing temperatures kills the good bacteria and allows the bad bacteria to spread and multiply if the food is not consumed in a short period of time. A cold, refrigerated or cold-storage environment is ideal, especially after you open a jar. But be mindful of what you’ve fermented.
Yogurt can be good for up to 2 weeks under refrigeration while sauerkraut can be good for up to a year or more under the same conditions. The key is a simple series of common-sense tests you should perform with any food kept for any length of time:
- Look at it. Does it look like what you expect? Is there any indication of mold or fungus growing? Is the color “off?”
- Smell it. Does it smell like what you expect? If it has a mildew smell or other off-odor, pitch it. When in doubt, throw it out.
- Taste it. Take a small taste and assess whether it tastes like what you would expect. If you have any doubt, stop after a small taste and see how you feel in a few hours. Common signs of food poisoning include sweating, vomiting, diarrhea, and fever. If any of these symptoms show up, you probably don’t want to take another taste.
- Remember when. Anything you pickle or ferment should be clearly marked with the date that you first put food in the jar, can or crock. It should also clearly identify the contents. Fermentation and other home-processing approaches can alter the appearance of food. Don’t trust your memory. Write it down on the jar.
Key ingredients for Fermentation
On a fundamental level, the fermentation of anything typically begins with a fruit, vegetable, grain or milk. But they all need other ingredients to activate the fermentation process. This could include but is not limited to:
- Salt
- Sea salt, Kosher salt or Pickling salt are preferred. Iodized table salt or any flavored salt is not recommended.
- Sugar
- White sugar is the sugar of choice although honey or maple syrup can be used as a replacement.
- Yeast
- Active dry-yeast for breads and baked goods. Brewer’s yeast for beer, wine and spirits.
- Parts of the same previously fermented foods
- This is the classic Sourdough lesson. Keep a little of the old fermented stuff and add the new ingredients to keep it going. The good bacteria already present will jump-start the new mix. Koreans do this with Kimchi and Germans always did this with a bit of left-over sauerkraut. The point is: don’t throw the old good stuff away if it’s been fermented. Let it start the next cycle of fermentation.
- Vinegar
- This starts to get into pickling and may cause you to wonder how pickling is related to fermentation. It’s fairly straightforward. The primary ingredient in any pickling recipe is vinegar. Where does vinegar come from? Fermentation. We’ll include a traditional apple-cider vinegar recipe and, just so you know, anything you pickle in vinegar is made with a fermented liquid that provides all of the benefits of fermentation.
Fermented Foods Recipes:
We’re going to take a bit of a logical approach here. We’re going to start with apple cider vinegar and slowly move into more complex fermented foods, ending with yogurt which is not really complicated, but a bit different from most of what we’re exploring.
Apple Cider Vinegar
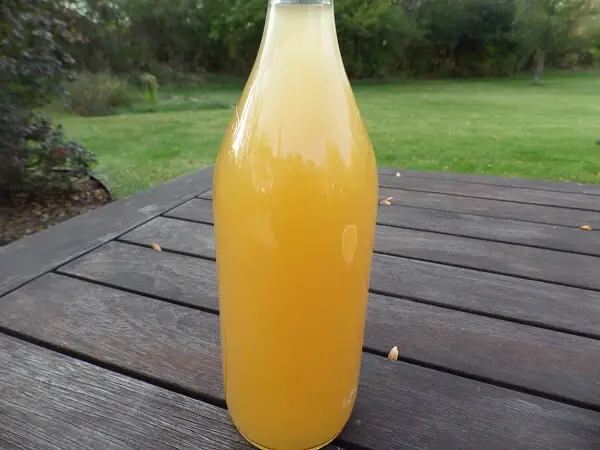
Anyone who takes homesteading or preparedness seriously should know how to make apple cider vinegar. Vinegar has many benefits from food preservation to sanitation and health benefits as well.
Any Apple Works
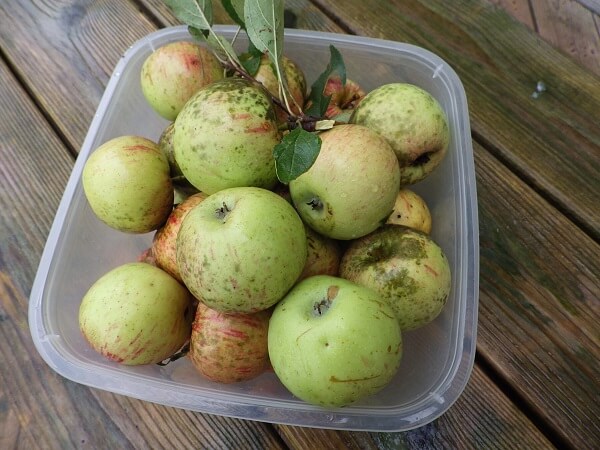
Some recipes get very fussy about apple varieties for apple cider vinegar, but any apple will make a great vinegar including crab apples. Use what you have available to you and you should get a good result.
It’s a Curious Two-Step Process
Making apple cider vinegar essentially starts with making Hard Cider. The alcohol of the hard cider will then convert to a dilution of acetic acid leaving you with apple cider vinegar. You’ll need to taste the solution when you believe you’re reached the hard cider stage. Some of us enjoy this step more than others.
You then allow the hard cider solution to continue to ferment until the alcohol has converted to vinegar. You can scale up this recipe by multiplying the fundamental ingredients and proportions.
Apple Cider Vinegar Recipe
EQUIPMENT:
- A large, 1-gallon glass jar or crock.
- Layers of cheesecloth or a fine-mesh piece of fabric.
- A large rubber band to tightly fit over the top of the jar.
- Filter material like fine-mesh strainers and coffee filters or fine-mesh fabric.
- Enough glass jars with lids or bottles to store your apple cider vinegar.
INGREDIENTS:
- An assortment of apples that are chopped until they fill a 1-gallon glass jar half-way.
- Enough fresh water at room temperature to fill the jar within two inches of the top of the jar.
- 1 cup of honey or sugar.
DIRECTIONS:
- Wash and coarsely chop the apples and place into a clean, 1-gallon glass jar until they fill the jar half-way.
- Add the water until the apples are immersed up to 2-inches from the top of the jar. The apples will float and that’s okay.
- Pour in the honey or sugar and stir until dissolved and distributed in the solution.
- Cover the top of the jar with multiple layers of cheesecloth or a fine-weave piece of cotton fabric and secure tightly like a drum-head with a rubber band around the lid.
- Store in a place where the temperature averages 60 to 70 degrees Fahrenheit or 15.5 to 21 degrees Centigrade and let sit for 1 to 2 weeks. You should see bubbles and some aroma of the increasing alcohol will emerge from the jar.
- Taste the solution after a week and take note of the apple chunks. If they stop rising and falling in the solution or the cider has a definite alcohol taste, you’re ready for the second step.
- Strain the hard cider through a mesh strainer to remove the chunks and pour the solution back into the rinsed 1-gallon jar.
- Cover again with your cheesecloth or fine-fabric cover and seal again with the rubber band. Let it sit for another 3 to 4 weeks. The alcohol will now slowly convert to vinegar. You’ll probably see some sediment on the bottom and some scum on the surface. This is normal, and you’ll clear it out with your final filtering.
- After 3 to 4 weeks taste your cider vinegar. When it suits your taste, you’re done. If it’s too weak, give it another week. If it’s too strong you can always add a little water to calm it down.
- Filter into 1-quart jars through layers of cheese cloth above a coffee filter until the cider vinegar steeps through the filters into the jar. Seal and store in a pantry or root cellar.
Fermented Radishes
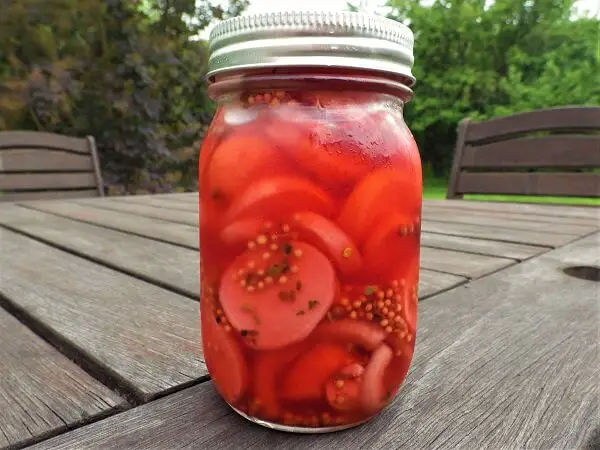
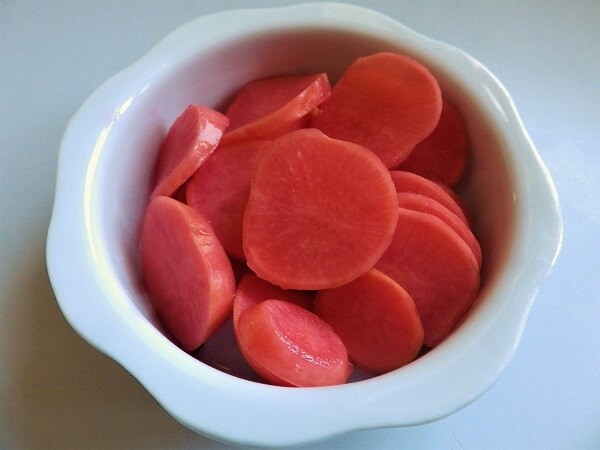
In Japan, fermented radishes are a delicacy and often accompany many meals, especially at lunch as a side-dish in a traditional Bento box. You can use any radishes including white radishes, red radishes, or the traditional Japanese Daikon radish.
You’ll need a canning jar with a tight-fitting lid. This recipe calls for a 1-quart jar, but you can cut the recipe in half for a 1-pint serving or double it if you have a lot of radishes for a 1-gallon jar.
Fermented Radishes Recipe
INGREDIENTS:
- 4 cups of water
- 3 Tablespoons of sea salt or Kosher salt or pickling salt
- Enough sliced radishes to fill the jar
- Optional seasonings seeds such as dill, mustard, caraway, etc.
INSTRUCTIONS:
- Prepare the brine by completely dissolving the salt in 4 cups of water.
- Wash the radishes and cut into slices.
- Place the optional spices or seasonings in the bottom of the jar and pack the radishes into the jar and fill with water until about 1-inch from the top of the lid.
- Cover the jar with the lid and let sit at 60 to 70 degrees F. for 2 weeks. Burp the lid once a day by opening and closing it.
- Taste the radishes and if satisfied, store in the refrigerator or root cellar. If they need more time, give them another week. They should have a mellow but somewhat piquant or tart flavor. In cold storage they should be good for 2 to 3 months.
Sauerkraut
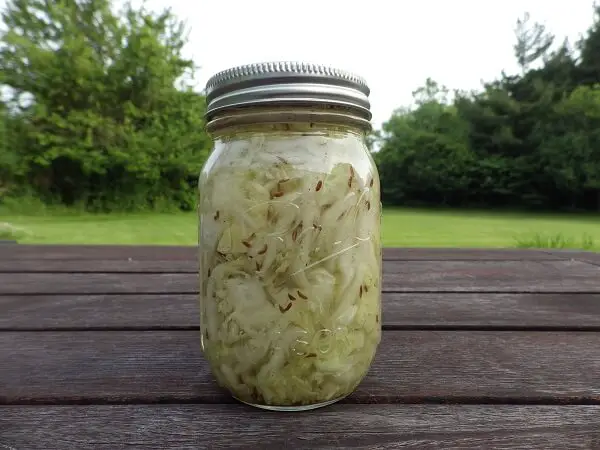
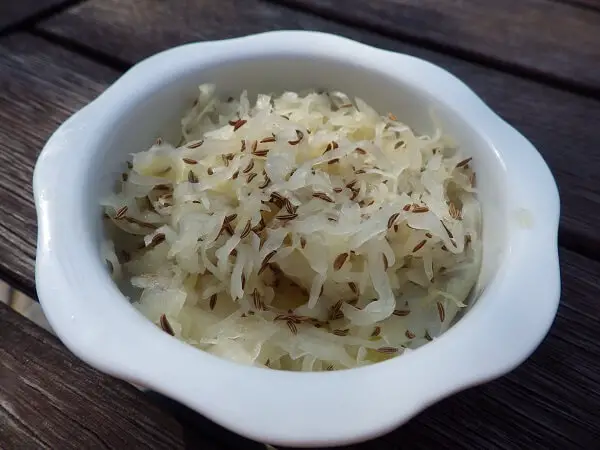
Sauerkraut is a classic Eastern European recipe that’s very popular across Germany, Austria, and Poland. White cabbage is the traditional source but red cabbage and even Napa cabbage or Chinese cabbage can also be used.
Sauerkraut Recipe
INGREDIENTS:
- 1 Medium Head of Cabbage
- 3 tablespoons of seal salt or kosher salt or pickling salt
- Caraway seeds as an optional seasoning
DIRECTIONS:
1. Cut the cabbage into shreds and sprinkle with the salt.
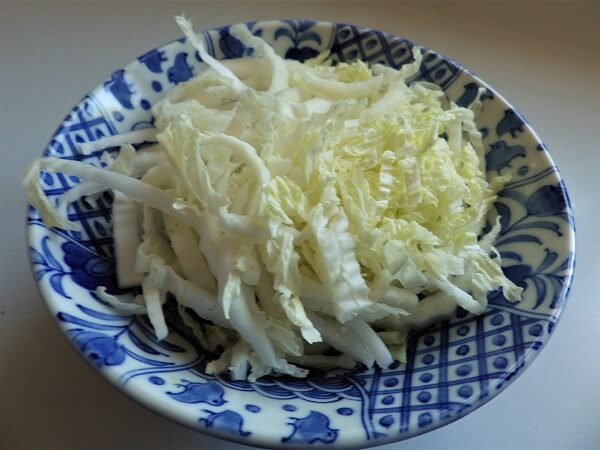
2. Knead the cabbage with clean hands. You might want to wear rubber gloves. Do this for 10 minutes until the cabbage releases its juices.
3. Sprinkle the caraway seeds on the cabbage and blend with your hands and stuff the cabbage into the jar and make sure to press the cabbage underneath the liquid. Add a bit of water if you need to completely cover the cabbage.
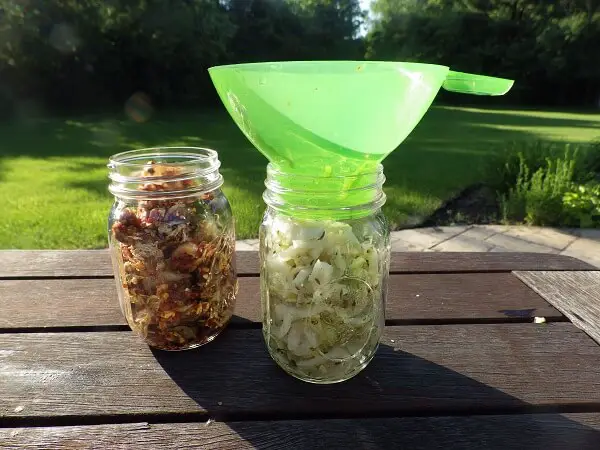
4. Cover the jar and let sit at 60 to 70 degrees F. for 2 weeks. Burp the jar once a day.
5. Taste the sauerkraut and if it’s to your liking, seal the jar and store in the refrigerator or root cellar. It should last for 6 to 12 months but once opened, finish it within a month.
Fermented Sweet Beets
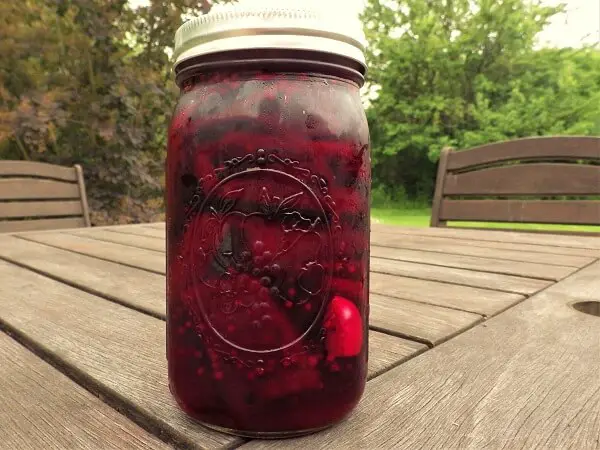
Fermented sweet beets are very popular across Russia and many other parts of Eastern Europe. Any size of beets can be used but they should be peeled and sliced into thick slices. This recipe calls for a 1-gallon glass canning jar, but you can downsize the recipe if you like.
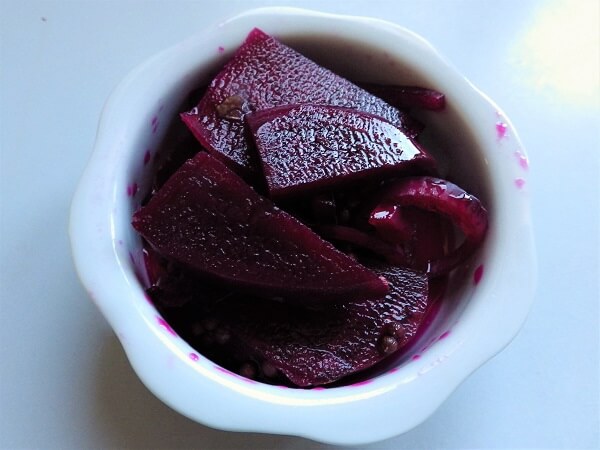
Fermented Sweet Beets Recipe
INGREDIENTS:
- 1 quart of water
- 3 tablespoons of sea salt or kosher salt or pickling salt
- 3 pounds of beets cut into thick slices
DIRECTIONS:
- Dissolve the salt in water.
- Place the beet slices in the jar and pour the liquid over the beets, leaving 1-2 inches of headspace at the top of the jar.
- Cover the jar and let sit at 60-70 degrees F. for 2 to 3 weeks. Burp the jar daily.
- Taste a beet and if you like the flavor and the texture, you’re done. If not, let them ferment for another week.
- Seal the beets in the jar and store in a refrigerator or root cellar. They should be good for 3 to 6 months but once opened, eat them within a month.
Kimchi
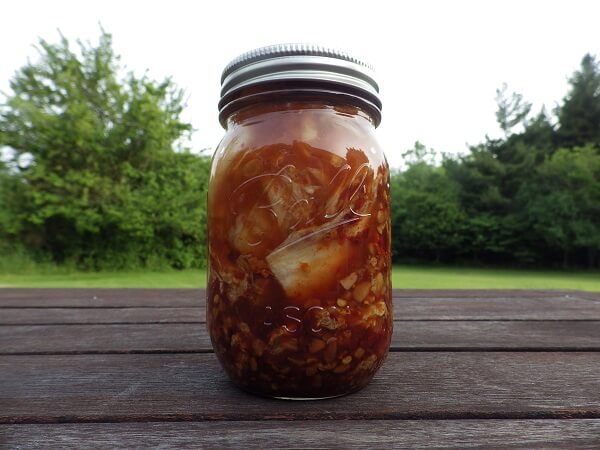
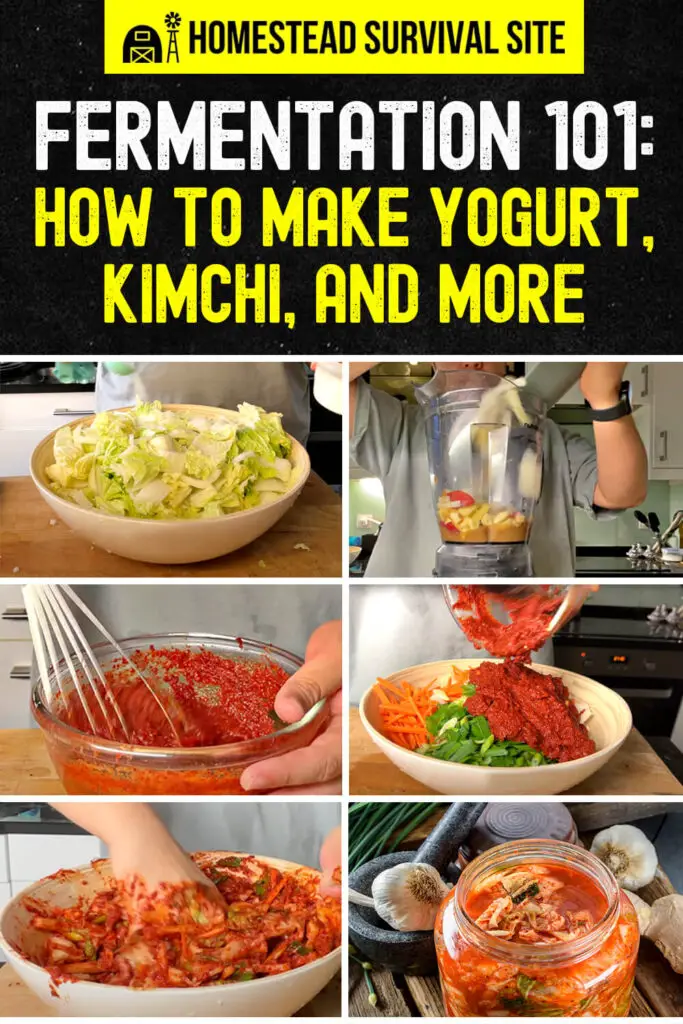
Kimchi is the signature dish of Korea. If you go to a Korean restaurant a bowl of Kimchi is set on the table much like a basket of bread in the U.S. The recipe is a bit complicated and you should wear rubber gloves when handling the cabbage and the spices to make the Kimchi.
Napa cabbage also knows as Chinese cabbage is the cabbage of choice. The result is a spicy and highly flavorful fermented food.

Kimchi Recipe:
INGREDIENTS:
- 2 heads of Napa or Chinese cabbage
- 1 ¼ cups of sea salt or kosher salt or pickling salt
- 1 tablespoon of fish sauce
- ½ small white onion minced
- 2 cloves of garlic chopped
- 2 tablespoons of sugar
- 5 teaspoons of chile powder
- ½ teaspoon of ground ginger
DIRECTIONS:
1. Cut the cabbages into 2- inch square pieces.
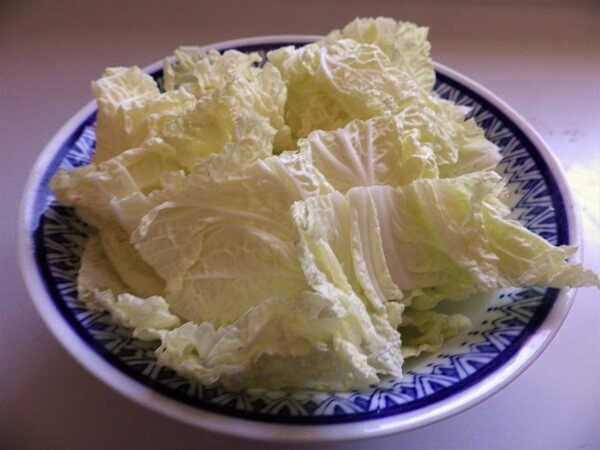
2. Place the cabbage into large resealable bags and sprinkle salt on the leaves so they are evenly coated. Use your hands to rub the salt in to the leaves. Seal the bags and leave at room temperature for 6 hours.
3. Rinse the salt from the cabbage leaves and then drain and squeeze out any excess liquid.
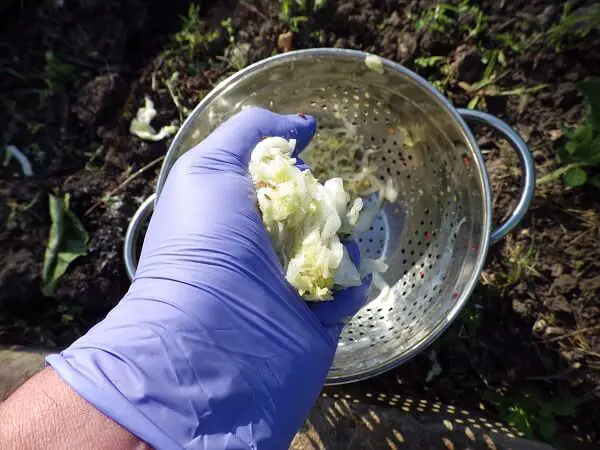
4. Place the cabbage in a bowl.
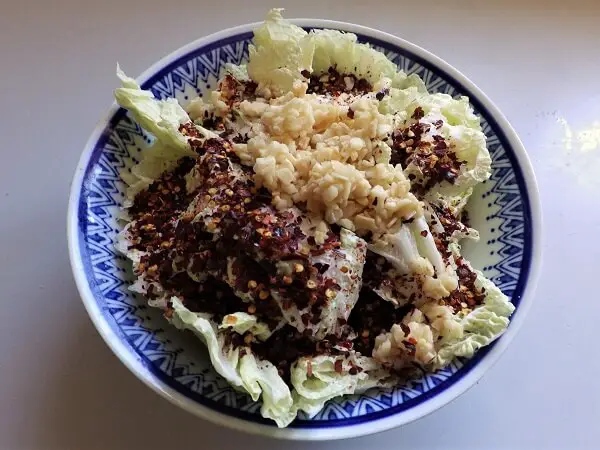
5. Stir in the fish sauce, green onions, white onion, garlic, sugar and ginger. Sprinkle the chile powder over the mixture. Put on some plastic gloves and rub the chile powder into the cabbage leaves until evenly coated.
6. Carefully pack the Kimchi into a jar and seal the jar.
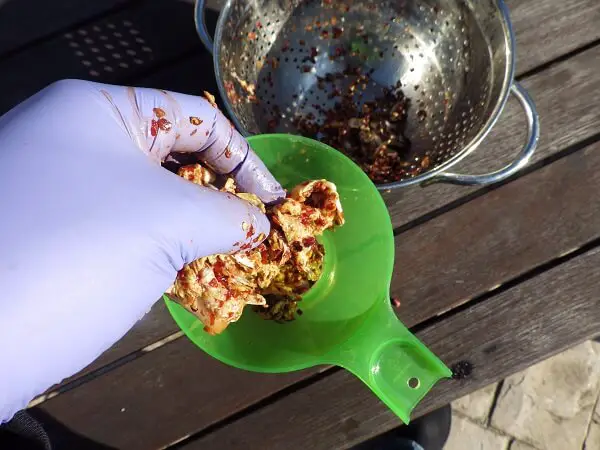
7. Seal the container and let sit at 60 to 70 degrees F. for 4 days. Burp daily. Refrigerate before serving, and store in the refrigerator or root cellar for up to 1 month.
Yogurt
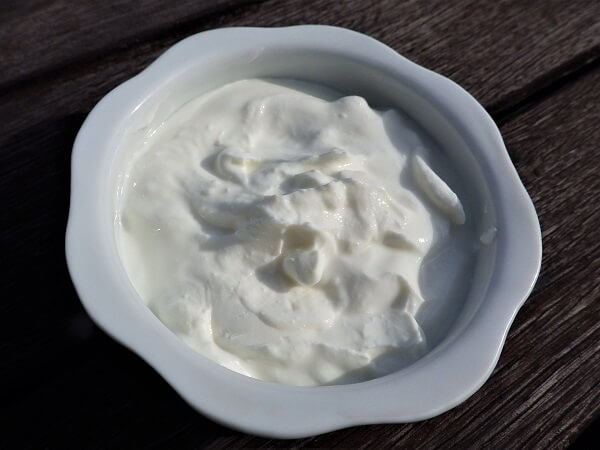
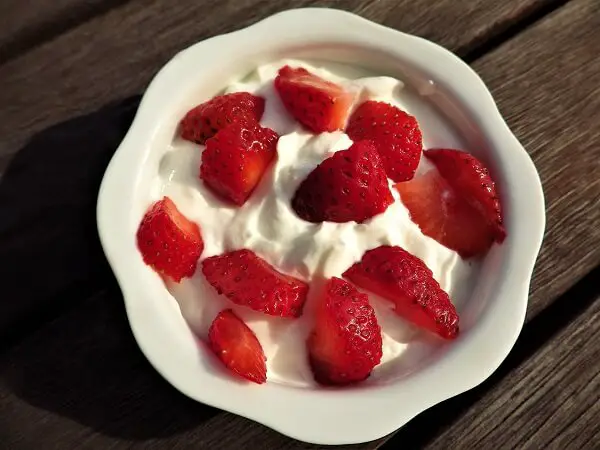
Yogurt is an invention of the Middle-East and Mediterranean. It’s fermented milk and is highly touted these days for its probiotic properties. It’s easy to make and you can flavor it any way you like once it’s done. Some people add fresh fruit, vanilla or shaved coconut and even instant coffee crystals. That’s up to you.
Yogurt Recipe:
INGREDIENTS:
- 1⁄2 gallon of whole milk
- 1⁄2 cup of store-bought, plain Greek yogurt
DIRECTIONS:
- Bring milk to just a boil and set aside to cool until warm to the touch.
- Pour the warm milk into a 1-gallon glass canning jar and add the ½ cup of Greek yogurt. Stir in the yogurt starter and cover the jar with small washcloths.
- Let sit at room temperature for 3 to 4 hours.
- Taste and if to your liking refrigerate for 8 hours or add a flavoring of your choice before refrigerating. It should be good for up to 2 weeks.
Like this post? Don't Forget to Pin It On Pinterest!
You May Also Like:





Hi Nacey
Hi I love your emails and learn a lot from it.
Just like you I live in a house and big backyard so all my fruits and vegetables and very indepentant of store buys.
We all gardeners have “Super Store” growing our backyard. We are very lucky.
Thanks and keep sending. Great weekend.
Love
Almas
It is yogurt not “greek yogurt”, using this name making you look stupid. “Greek yogurt” is a brand or trade mark imposed by the conjuncture, not a substance doing the job. Any kind of yogurt will start the process, not just so called “Greek Yogurt” . It si spectrum of bacteria, which making the product not the brand. Your recipe is misleading and stupid, please correct yourself in the next publications if you want to look trust warty instead of paid marketer. By the way the predominant bacteria making yogurt is named “Lacto bacilus BULGASRICUS” after the country where the process was discovered in sequence and details. Maybe bulgarians have better reason to call the yogurt “Bulgarian Yogurt”. My wife making at home the best yogurt in the world by broad admission of all the people who ever try it. Maybe she has to name the yogurt after her name?
Sorry for the note and have Happy Holidays.
Mygod- Stoyan has a wife?!