This pandemic has revealed a lot about people, but none has been more surprising than the fact that when the going gets tough, the people bake bread. Social media feeds are filled with beautiful loaves of crusty sourdough fresh out of the oven and amazing baked goods made from the “discard” bits of sourdough starter.
I personally imagined that all of these lucky people had a grandma who passed down some of her 80-year-old heirloom sourdough starter, and thought, “If only I were so lucky.” And then I discovered the yeast shortage in my local grocery store.
Suddenly, I realized that I couldn’t make any of my yeast bread recipes. After extensive research, it became clear that a sourdough starter is yeast–natural yeast cultivated from the yeasts already in flour.
That’s what all the fuss is about! Turns out, you don’t need a secret handshake or an Italian nonna that smuggled a starter out of the Old World. Sourdough starter (yeast) can be cultivated at home. Read on for a step-by-step guide on how to create your own yeast using only flour and water.
Want to save this post for later? Click Here to Pin It On Pinterest!
A few words of caution: This is not necessarily a fast process, so buckle up, prepare for five days to a month of waiting, and get ready to join the cult of sourdough home bakers.
What you will need:
- A kitchen scale (not 100% necessary, but quite helpful to have on hand)
- A glass jar
- A wooden spoon, silicone spatula, or chopstick (ideally, avoid using metal)
- 10 cups of flour (premixed if using a blend)
- Room temperature water (filtered if your tap water is highly chlorinated)
Step 1: Measure
Source some appropriate flour, and measure 10 cups into a container. Some people swear by rye flour because it contains more yeast than wheat, but any all-purpose flour will do.
If you can only find bleached flour, it may take longer to get a strong culture started, but it can be done. You can mix rye or home-milled flour with all-purpose flour, but do it before you store it so the ratios are always the same.
Step 2: Mix
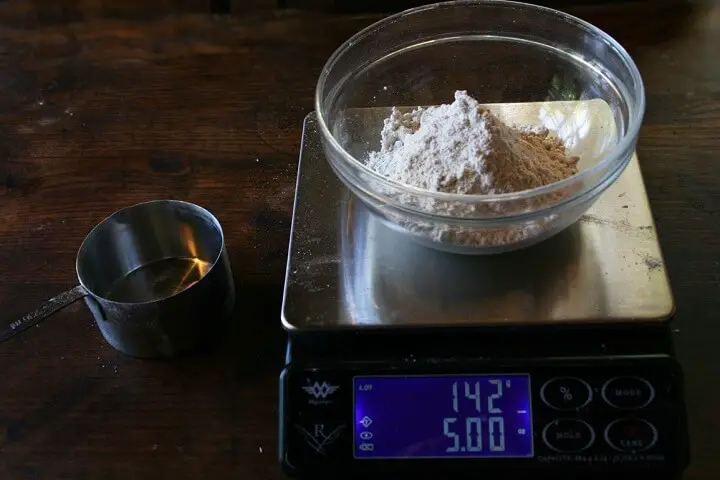
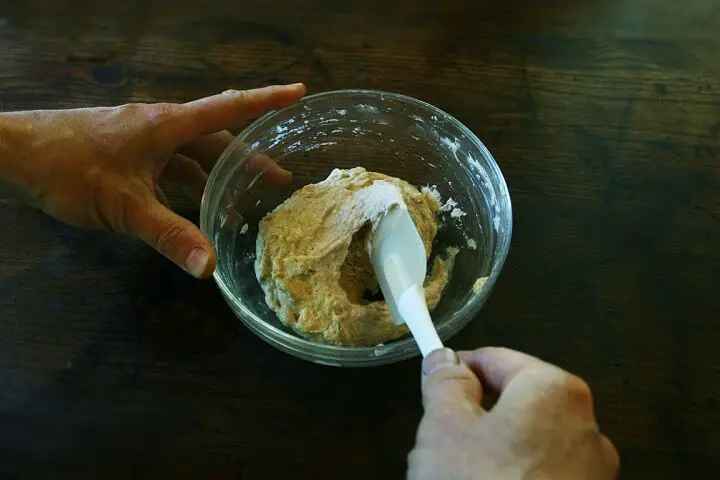
Measure out 5 ounces of flour into a bowl, ideally weighed on a kitchen scale. Then weigh out 5 ounces of water and mix together with a wooden spoon, chopstick, or spatula until all the flour is absorbed.
If you don’t have a scale, then use 1 cup of flour and add ⅔ cups of water. Put your mixture into a jar or bowl, cover it with plastic wrap, and let it sit at room temperature until it is fragrant and filled with bubbles.
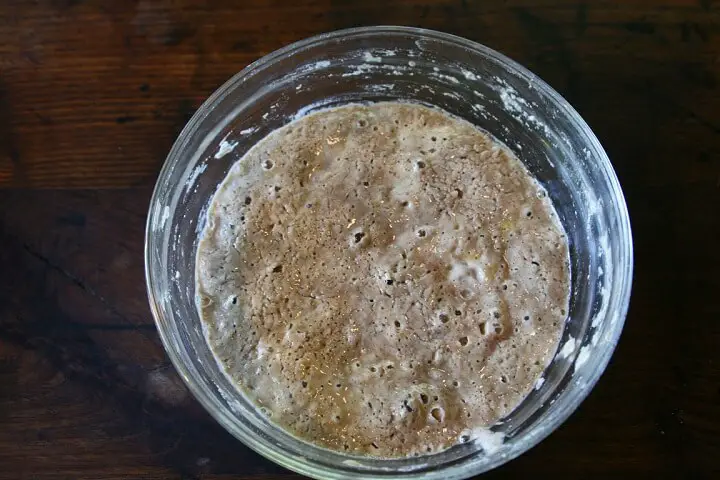
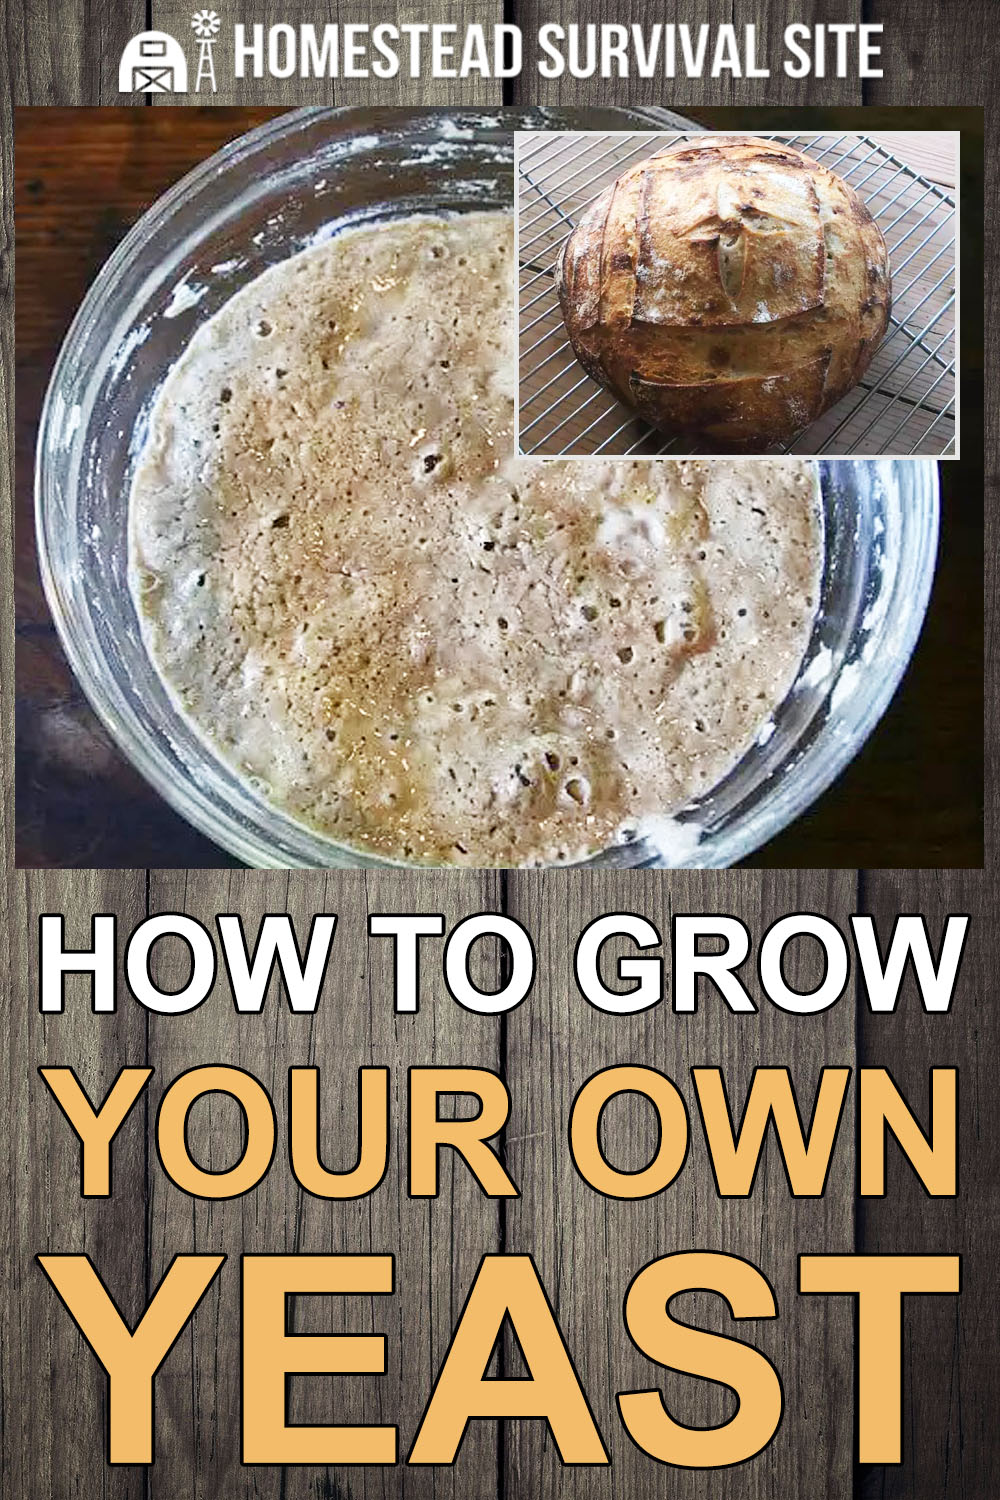
After two to three days, your fledgling starter should be bubbling, much expanded, and a little stinky. The smells coming from this fermenting mixture can range from dirty socks to acetone, so don’t be alarmed if it doesn’t smell exactly delicious.
Step 3: Time To Feed Your Little Beast
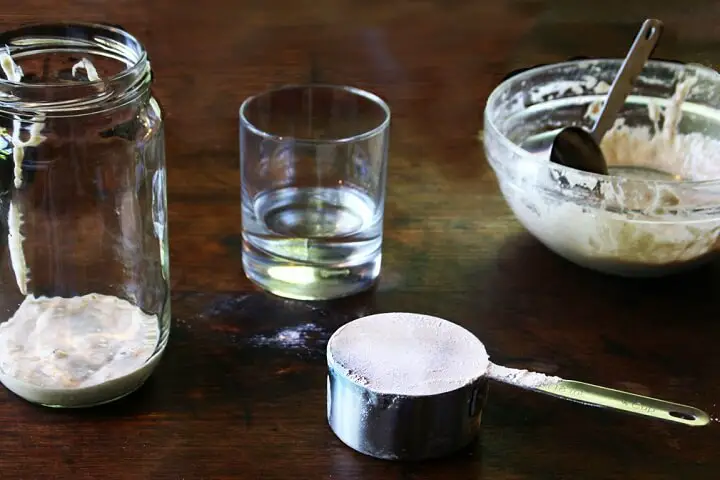
Measure out 2 ounces (¼ cup) of your starter into a clean jar or bowl. Add 2.5 ounces (½ cup) of flour and 2 ounces (¼ cup) of water, and stir until all the flour is well-absorbed. The texture of your starter at this point should be something like thick peanut butter.
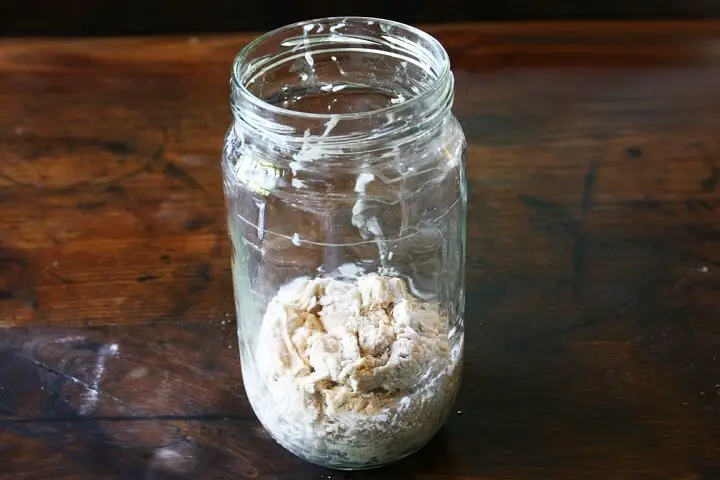
Cover with plastic wrap and let it sit at room temperature for 24 hours.
An important note: If it is cold inside your home, you may have a hard time getting optimal results, even if you do everything right. Ideally, you should have an ambient temperature between 70-80 degrees.
If your home is considerably below that temperature, consider using a secondary heat source. You can place your jar in an oven with a pilot light or light that keeps it warm, on top of a seedling mat, or on top of a refrigerator or radiator.
Some people even wrap their starter in old-fashioned Christmas string lights (incandescent, not LED) to keep the temperature balmy.
Step 4: Keep Feeding
Every 24 hours, remove 2 ounces (¼ cup) of starter from the jar and transfer to a clean bowl. Add 2.5 ounces (½ cup) of your flour mix and 2 ounces (¼ cup) of room temperature water to it, and stir until no dry flour remains. Then loosely cover and wait another 24 hours until the next feeding.
You will repeat this step every 24 hours until your starter doubles in size within 8 to 12 hours after a feeding. Don’t be discouraged if this process takes weeks. Some people claim it can take up to a month.
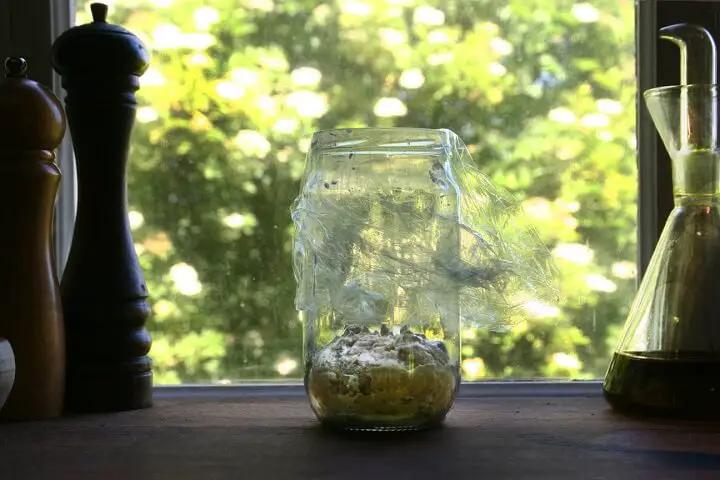
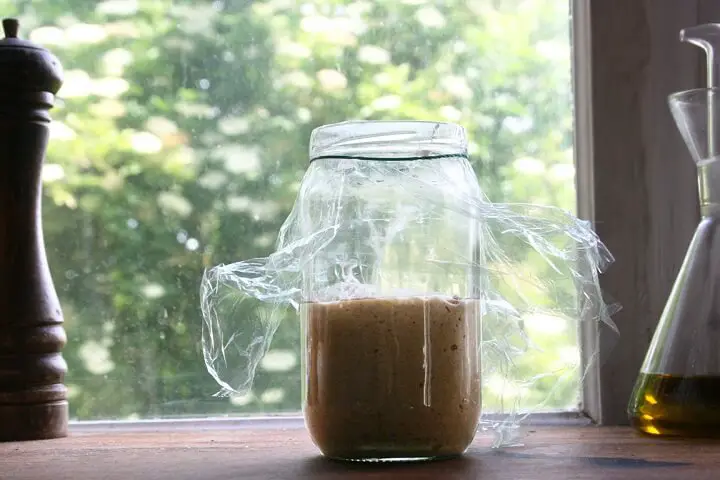
The easiest way to keep track of the progress of your starter is to mark the jar—either with a rubber band, a marker, or a piece of tape—to indicate the level it was at after feeding. This way, you can easily see when it doubles in size.
If you think your starter is ready to bake with, do a quick test by scooping up a spoonful and dropping it into a glass of water. If it floats, it’s ready!
Step 5: The Christening
Bakers always name their starter. It’s a thing. I named mine Tito. Considering that this ingredient is going to be a part of your life for a while, I recommend giving it a name.
Step 6: Storage and Use
Now that your starter is mature, it’s time to take it to the next level: baking. Once your starter doubles in size during that 8-12 hour window, let it reach its peak and then use it within an hour of it beginning to deflate. Just use the amount called for in your recipe, take 2 ounces of the remaining starter, and go back to step 3, feeding.
After 5 hours at room temperature, you can move the starter to the refrigerator and feed it once a week in exactly the same manner you just did.
The remaining starter can be discarded or used in any number of recipes to make pizza crust, crackers, focaccia, pancakes, and so many other delicious things that might call for yeast.
To activate your starter for baking, begin 8 hours before you plan on baking. Measure out 4 (½ cup) ounces of starter, add 5 ounces (1 cup) of flour and 4 ounces (½ cup) of water and combine until the flour is absorbed.
Cover and let it sit at room temperature for 8 hours, then measure out the amount you need for your recipe and go to town!
Like this post? Don't Forget to Pin It On Pinterest!









Would this method work well with whole wheat flour? Any adjustment necessary?
Kitty, Any flour will do. Many people like to use either rye, or whole wheat. It might help you to know that both the place where the yeast is made, as well as the time of year that it is produced can have a noticeable effect on the final taste of the bread. So, . . . in your own quest for a great tasting loaf of sourdough try experimenting with different locations, and times of year. (Late summer and fall seem to be ideal)
Once you’ve found a starter that you like be sure to continue to feed and increase it. A jar of original starter and the unique airborne yeast that it contains can last for years, and years, and years!
The one thing I’ve learn not to do is to feed my starter with commercial sugar. Even fruit juice can make for a better source of sweetness and energy.
This was one of the best, no nonsense, least intimidating articles on making your own sourdough starter I have read. Thank you.
I agree, most articles on sourdough starter can be overwhelming. Glad you found this helpful!