Estimated reading time: 12 minutes
I have to confess, I’ve always been intimidated to make soap. I was too nervous using lye and concerned about how dangerous it was. But lye is a necessary ingredient in the soap-making process. It’s what turns the fat into soap in the process called saponification.
And while you do need to be very careful with lye, if you follow the types of precautions you learned in chemistry class, you’ll probably be just fine.
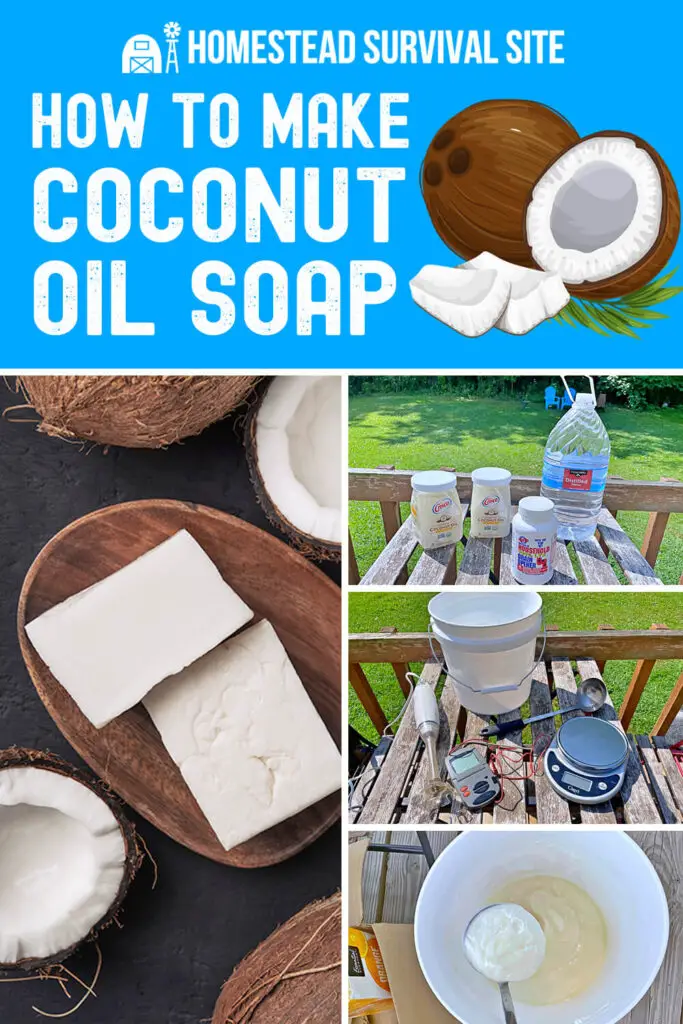
Making soap is a very simple process, and I used the recipe idea for Coconut Oil Soap found on Becky’s Homestead. It’s so easy that even a beginner could do it!
Want to save this post for later? Click Here to Pin It On Pinterest!
Why Make Coconut Oil Soap
Coconut Oil Soap is a great beginner soap because the recipe is easy, and the soap is very forgiving! It’s pretty hard to mess up if you follow the directions and safety precautions carefully. It’s also an inexpensive soap to make, so if you do end up making a mistake, you can just mix up a new batch.
Coconut Oil has plenty of health benefits, too. And in soap, it creates a rich lather for washing and is also very moisturizing, making it a great soap to use for dried-out skin. Coconut oil soap is very gentle for people with sensitive skin. It can support healing for eczema and acne, reduce skin inflammation, and promote healing. Coconut oil is also believed to be antibacterial, antifungal, and antiviral.
So you’ll get a rich, creamy soap that is easy to make and smells nice!
Another benefit to this recipe is that you can add in your favorite fragrance, essential oils, or coloring additives without messing up the consistency of the soap.
Let’s get started!
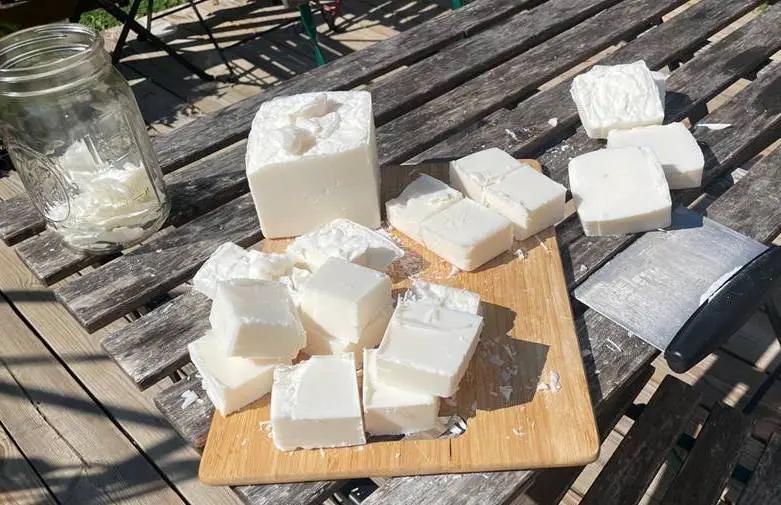
How to Make Coconut Oil Soap
First, you gather all of your ingredients, tools, and safety gear.
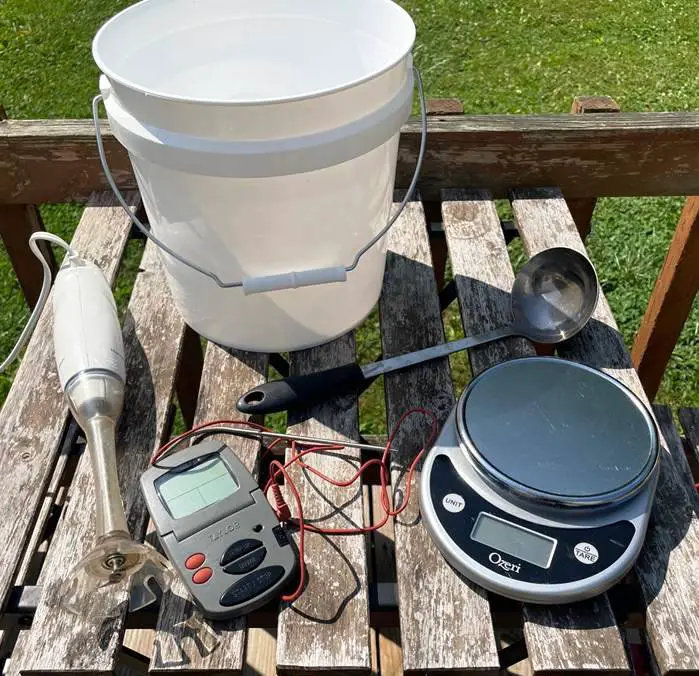
You’ll need:
- 2 sturdy buckets
- Ladle
- Stick blender
- Glass bowl
- Kitchen scale
- Gloves
- Long sleeves
- Safety Goggles
- N95
- Lye
- Distilled water
- Coconut oil
- White vinegar
- Coloring, if desired
- Essential oils, if desired
- Soap Cutting Tool ( I used a kitchen scraper)
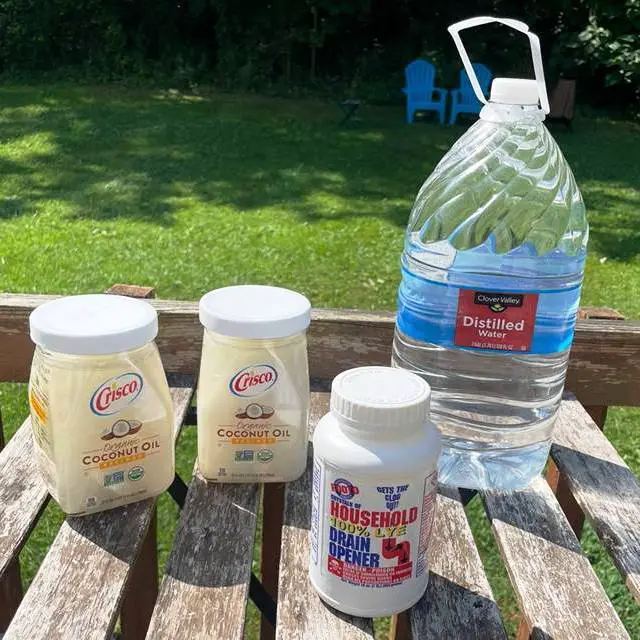
Then, you measure out your ingredients like this:
- 54 ounces of liquified coconut oil
- 24.25 ounces of distilled water
- 9.7 ounces of lye
- Coloring or essential oils (if desired)
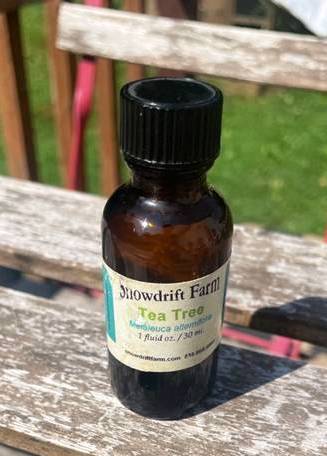
I used about 100 drops of tea tree oil in my soap. Tea tree oil is antifungal, antibacterial, and great for your skin. It also smells good! This will create a faintly scented soap, and you can add more if you want a stronger scent. You could add some soap coloring if you like, or nothing at all.
I purchased 2 27-ounce containers of food-grade coconut oil. You need your coconut oil to be a liquid. You can let it sit in the sun like I did or put it in the microwave for 20 seconds at a time to make sure it is in liquid form.
It’s important to use distilled water because any trace minerals in tap water or spring water could cause an unexpected reaction with the lye.
You can purchase soap-making lye if you desire. But I went to my local hardware/Mennonite supply store for lye. They showed me that many people who make their own soap use plumbing lye. As long as you use pure sodium hydroxide, it won’t matter if you use plumbing lye or soap-making lye, although the type from the hardware store was much less expensive.
Keep a bottle of white vinegar on hand to counteract the lye if it spills. Use the vinegar to clean out any lye that is left in or on your tools and containers.
You’ll want to make sure you do this in the right order!
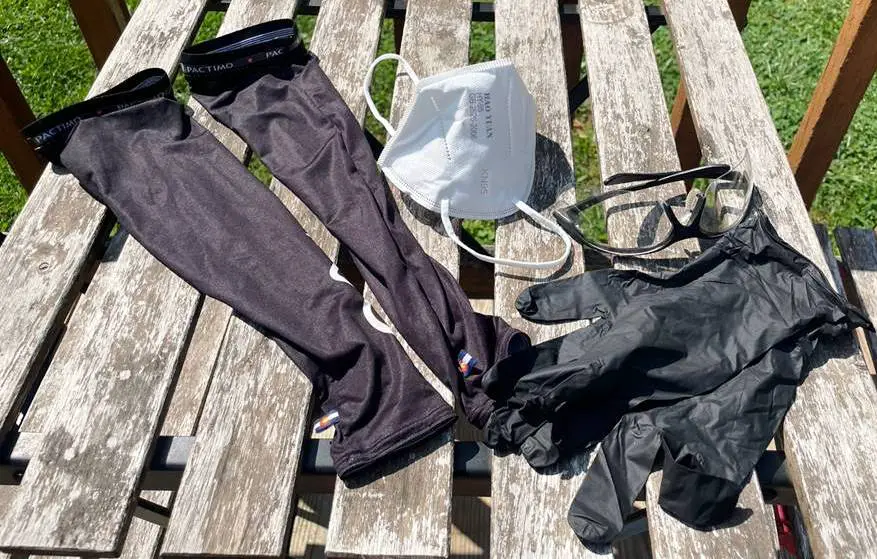
1. First, suit up! You need to protect your skin. I wore a hat, safety goggles, N95, long sleeves, and gloves. Lye heats up very quickly and can burn, so always be careful not to splash or spill it on yourself.
2. Pour your water into a strong plastic bucket. Pour your coconut oil into another strong plastic bucket.
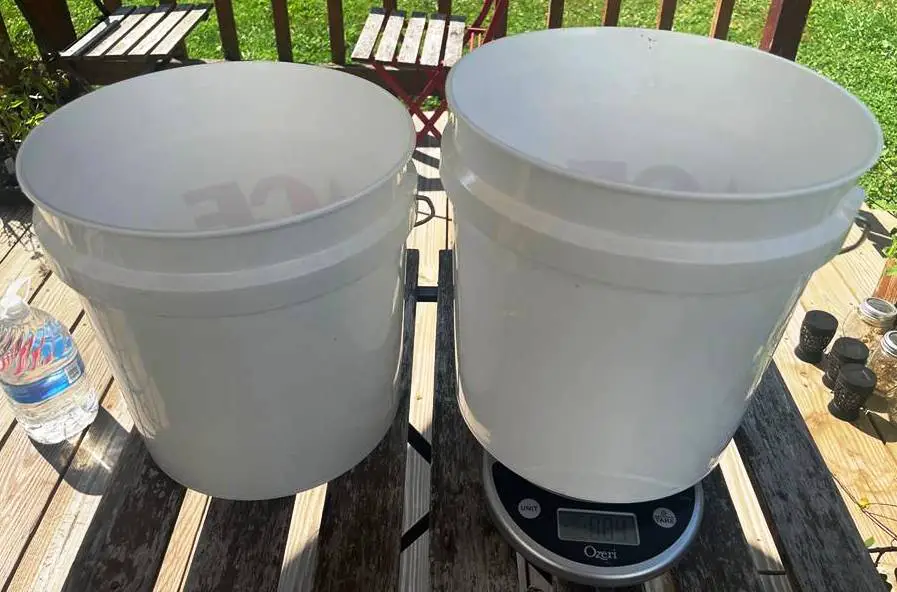
3. You’ll measure out your lye with a kitchen scale, then slowly pour it into the water and gently stir. Be very careful because the lye water will heat up almost instantly. My lye water reached a temperature of 203 degrees Fahrenheit in just a couple of minutes.
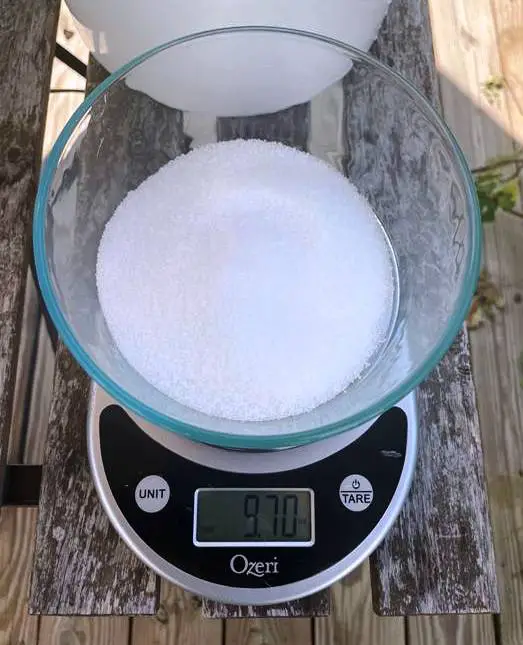
4. Wait for the lye water to cool to about 100 degrees. This took just over an hour for me, but the time may vary depending on how hot or cold it is where you are working.
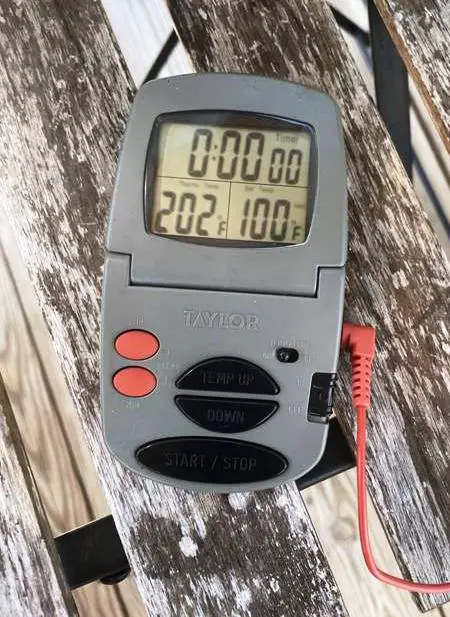
5. When the lye water cools to around 100 degrees, carefully pour it into the coconut oil. Be very slow and deliberate, so you don’t splash. I used buckets that were much larger than I needed to contain any splashes.
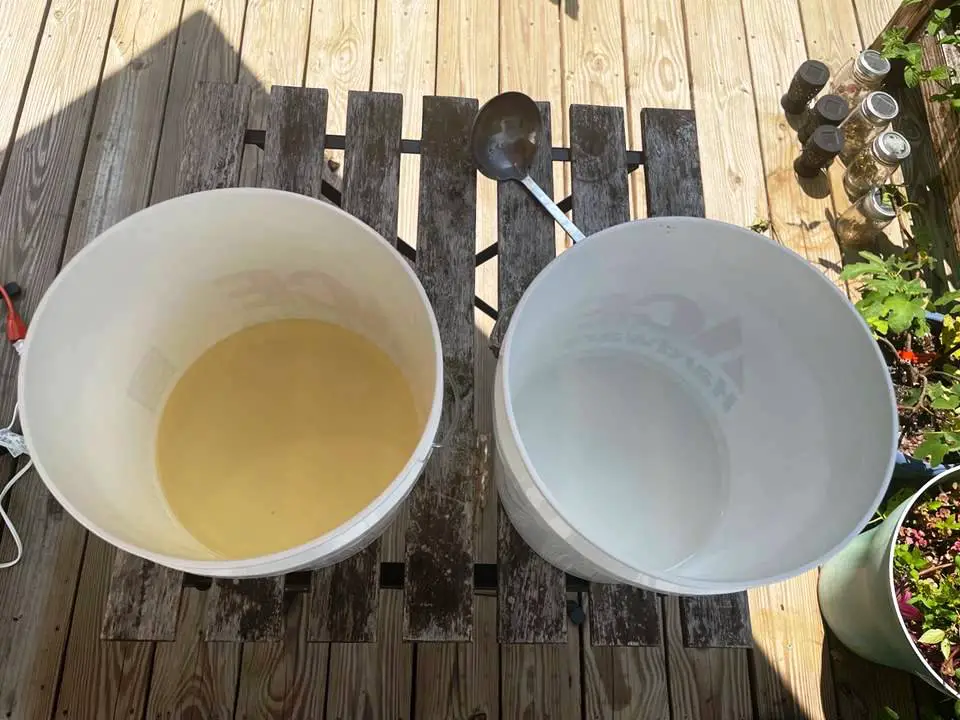
6. Stir the coconut mixture with your ladle until you see it start to thicken a little bit.
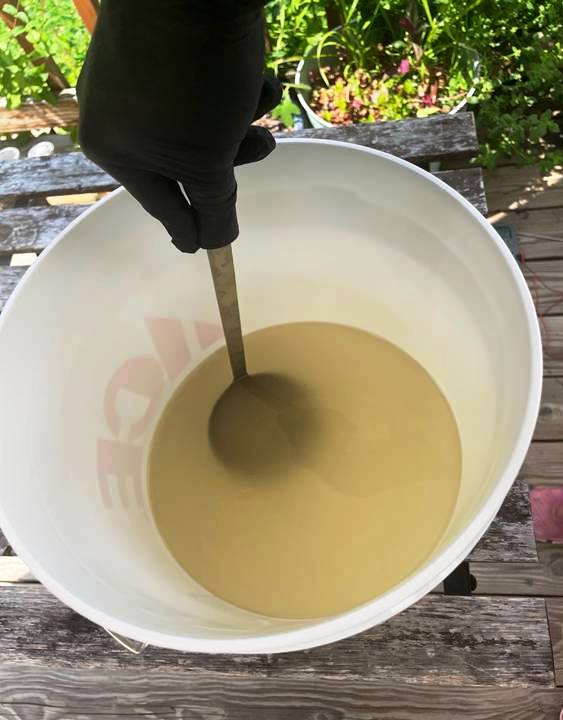
7. Mix in your additives. I blended in about 100 drops of tea tree oil.
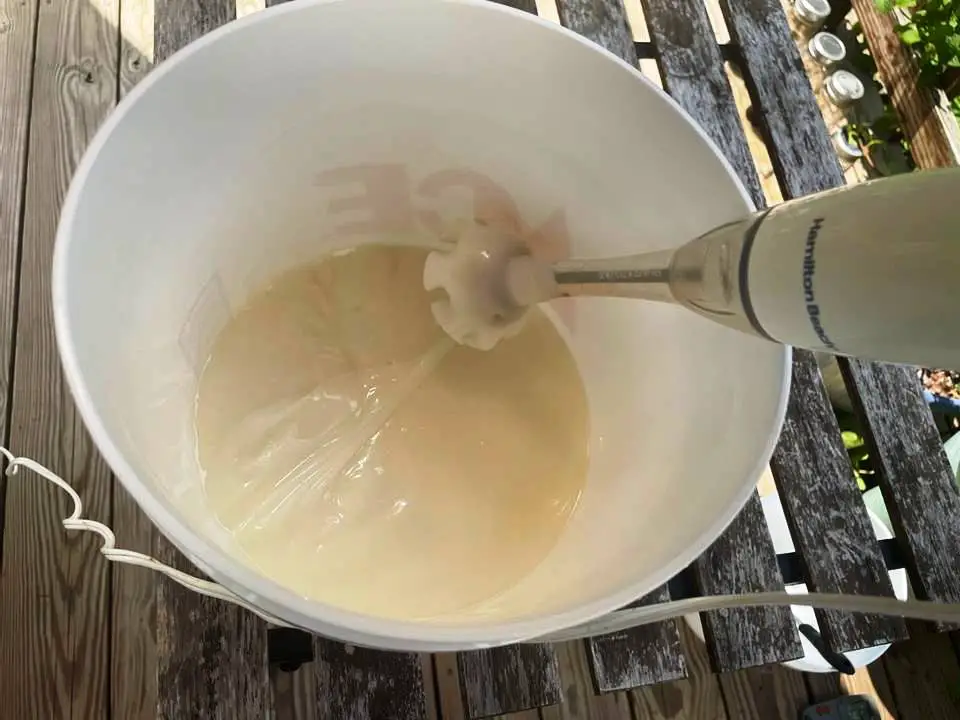
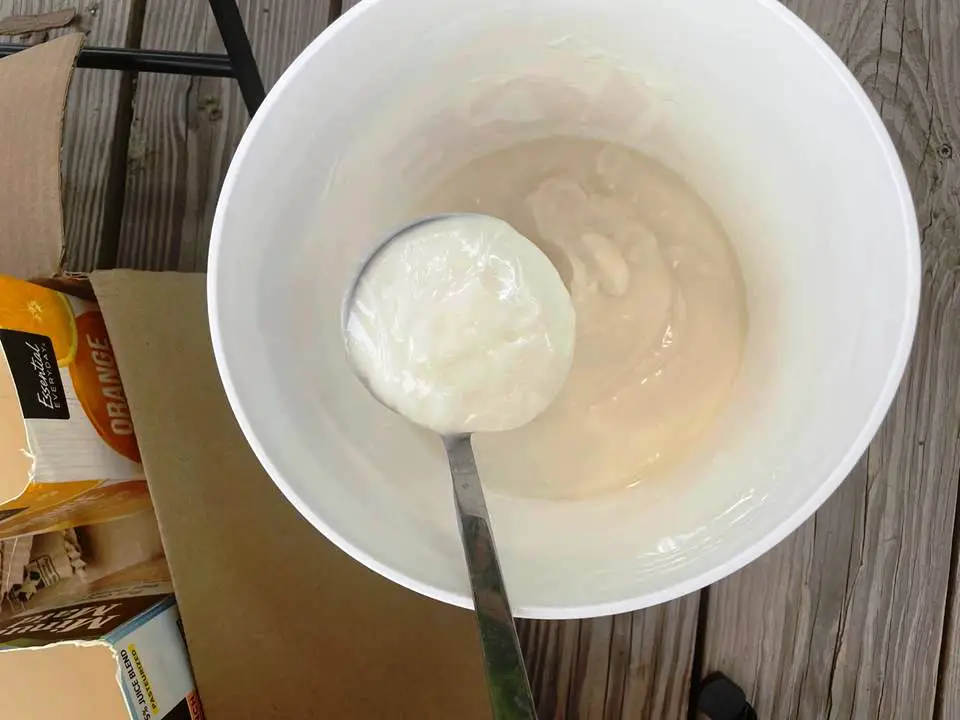
8. Use the stick blender to get it to trace. I put the mixing end of the blender into the mixture before turning it on to prevent splashing. I started on low, then carefully switched it to high. This only took a few minutes for the mixture to thicken up to trace. Trace is when a dollop or string of the mixture will sit on top of the solution without falling right back in.
9. Ladle the mixture into your molds. I used empty juice square juice cartons. I just cut off the top and washed them out really well. The coating on the inside of the carton will protect the soap and make it easy to remove.
You can purchase molds specifically for soap-making if you prefer. You can find all different types of designs. Silicone molds make it easier to remove the soap without cracking it.
You can also make your own molds from whatever size box you like. You can line large boxes with trash bags or even use Pringles containers and line them with parchment paper on the inside to make round soaps.
After you ladle the mixture into your molds, gently tap the molds to get out any air bubbles. You can smooth the top of the mix if you like or leave it rough and bumpy.
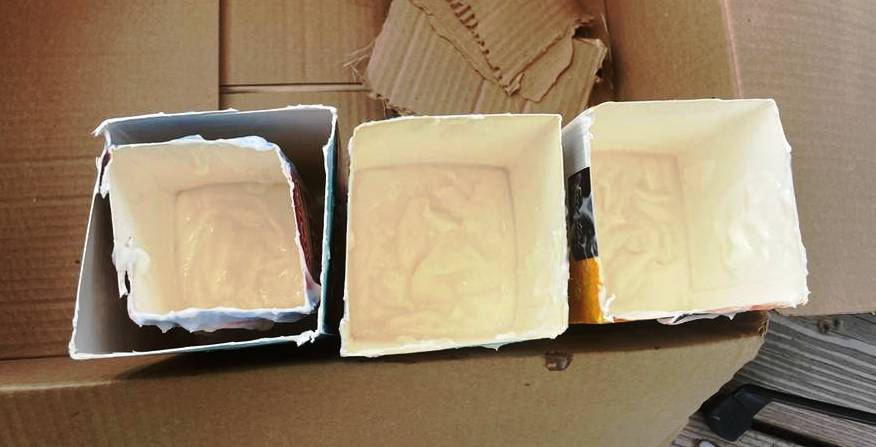
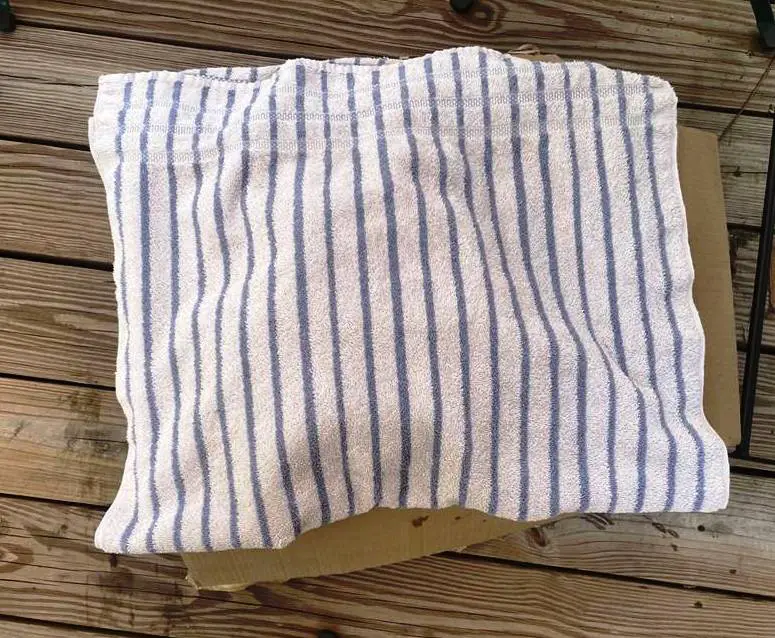
10. Once the soap is in the molds, it will need to set for 24 to 48 hours. I put my soap-filled cartons into a cardboard box. I put cardboard over the top of the cartons to keep anything from falling into the soap. Then, I placed a thick towel over the top to help keep the heat in.
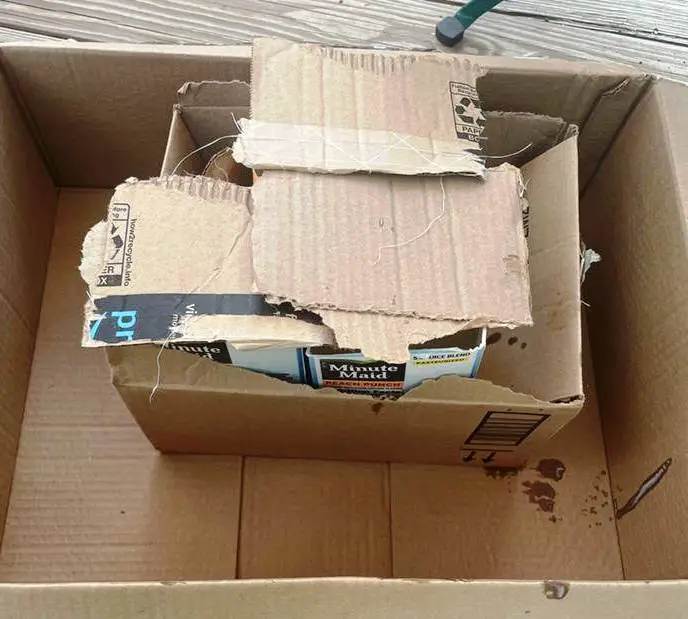
It took about 24 hours for my soap to set. If you check your soap while you’re waiting, you’ll find that it releases heat for at least several hours. This is part of the saponification process. Once your soap is at room temperature, you can remove it from the molds.
11. Remove the soap from the molds.
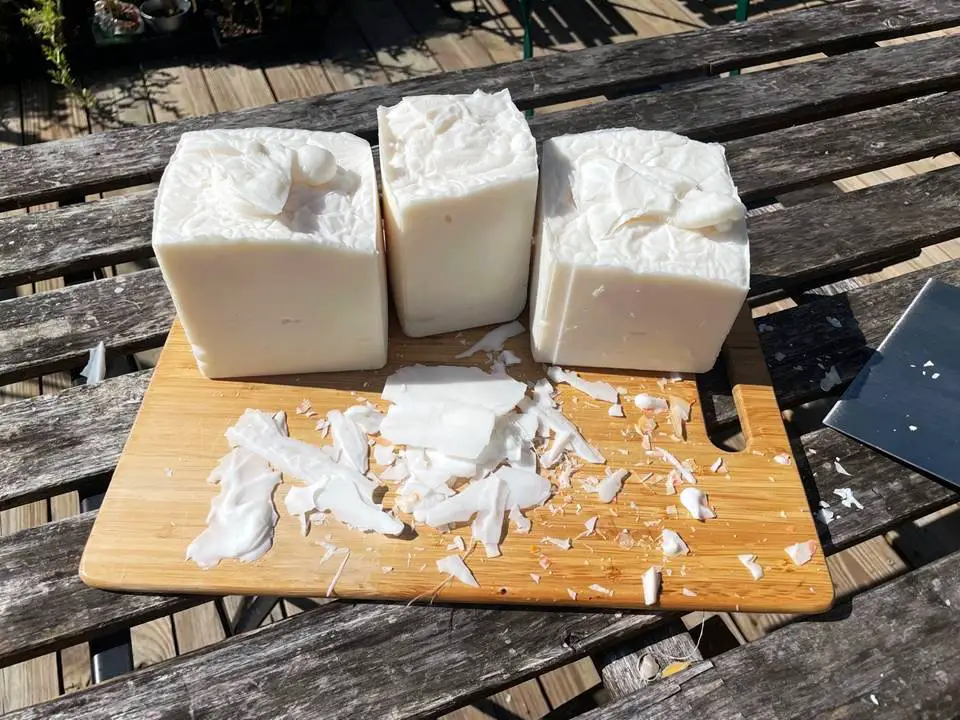
Since I used cardboard cartons for my molds, I just tore away the sides to reveal the soap. It’s just like opening a present! If you use silicone molds, though, gently release the soap from the mold so you don’t crack it.
12. Cut the soap, if desired.
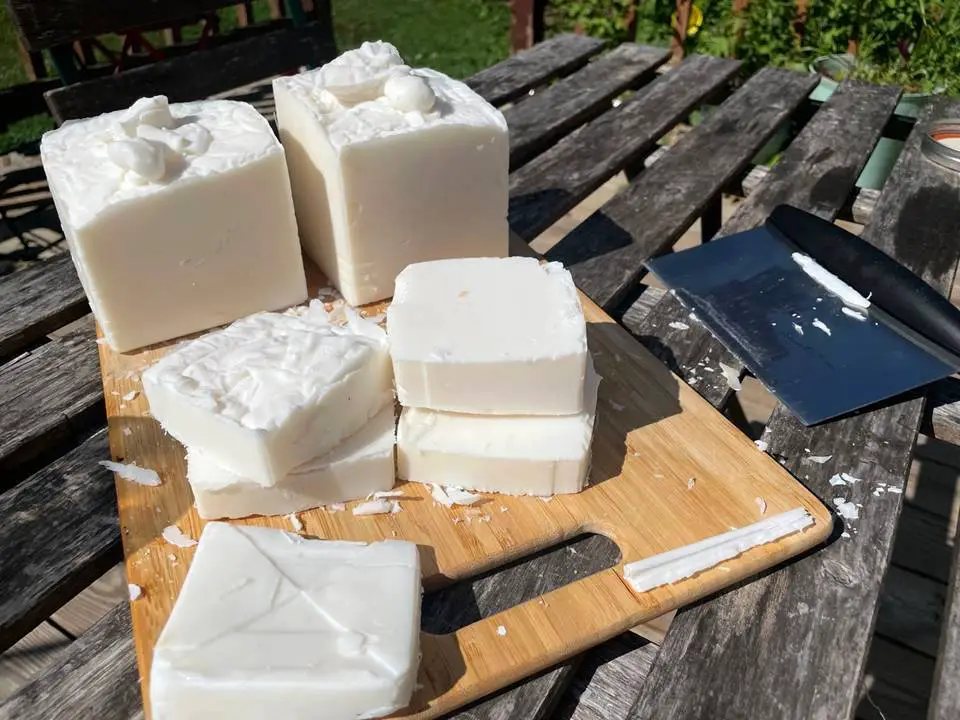
I loved the look of the large squares of soap! But that’s too big to be usable, so I used a kitchen scraper/dough cutter to cut my soap into more manageable pieces.
The soap will still feel a bit soft and damp inside, but it shouldn’t be wet and gummy. If there were any air bubbles, the soap might crack a little bit. I didn’t try to make my soap bars perfectly shaped – I just made a variety of shapes and sizes. I prefer a rough-looking soap, but you may want to smooth the edges to make them more pretty!
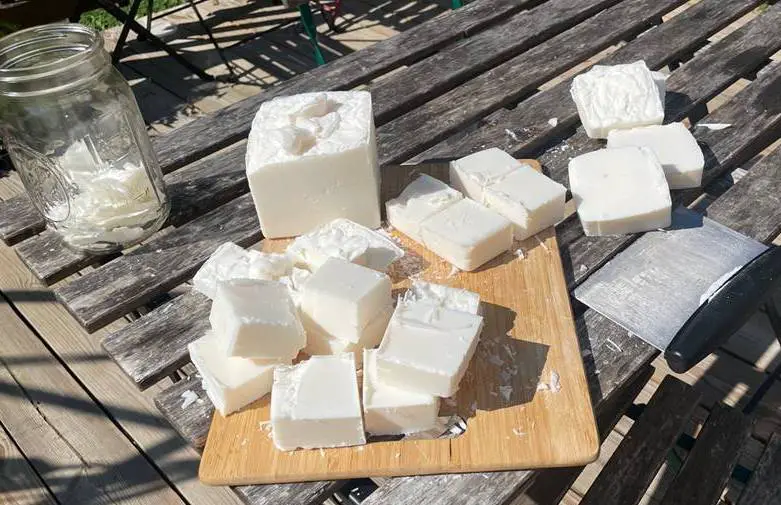
When I cut my soap, I had some bits and pieces fall off. I just gathered them up and placed them in a jar to use later, but you’ll probably want to let it cure if you are planning on using it.
Cure the soap
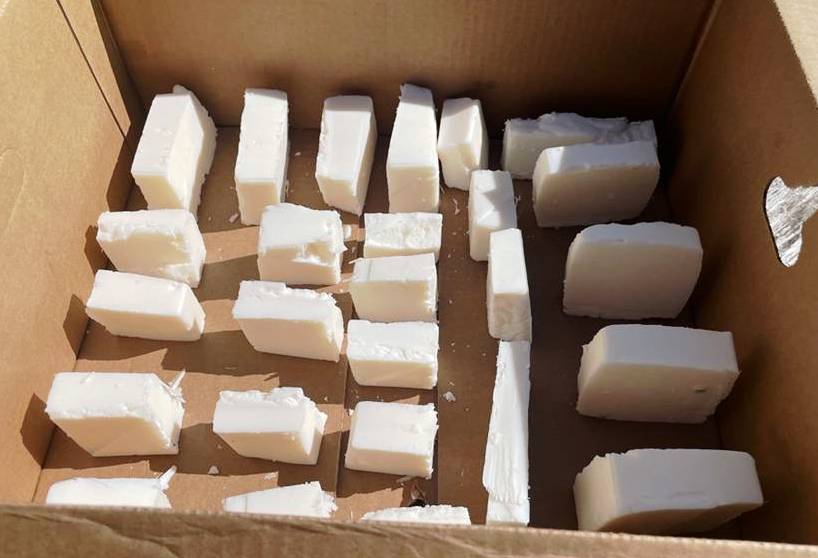
In order to complete the saponification process, your soap will need to cure for about 4 to 6 weeks. Longer is better! This allows any leftover dampness to evaporate from the soap, so it will last longer when you use it. It also makes sure that all of the lye has been processed so you don’t get burned.
To cure your soap, you can simply set it in a cardboard box in a dry, dark place for 6 weeks. If you want to stack the soaps, you can place plastic needlepoint canvas in between or even use wire baking racks. Just make sure that there is air space all around the soap so that it can cure evenly.
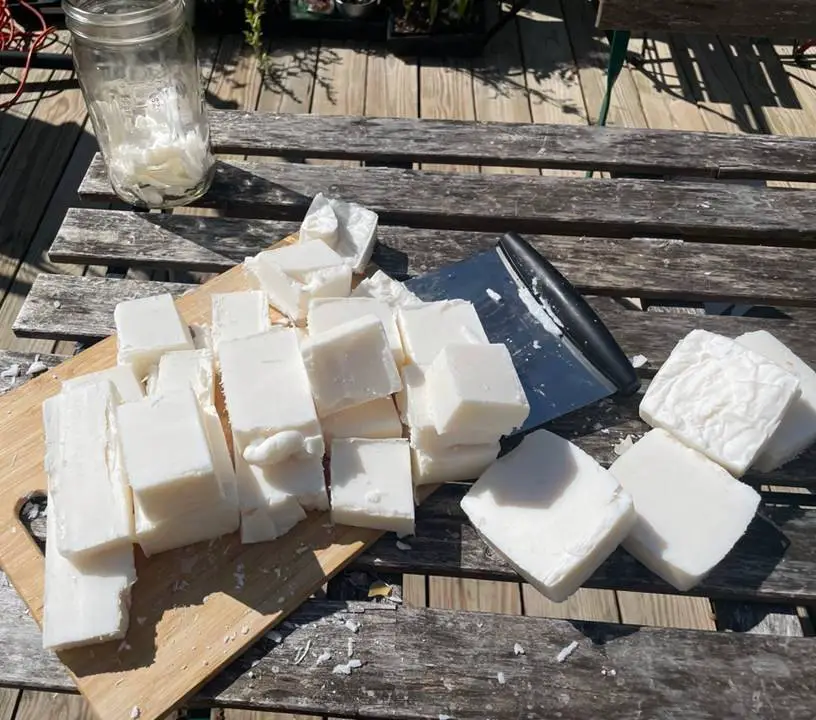
In 6 weeks, your soap is ready! You can package it up or use it!
Cover the soap and let it set for 24 hours. Then you can break it loose from the molds and cut it, if needed. Set the soap into a cardboard box and let it cure for 6 weeks. After 6 weeks, your soap is ready to go!
Like this post? Don't Forget to Pin It On Pinterest!
You May Also Like:






A great idea would be make a soap more natural, lye isn’t found in tree sap. It’s a process. I’d hate to get that soap in my eye. 😒👁️ maybe something grandma never thought of, more natural and no acid. ❓