Estimated reading time: 7 minutes
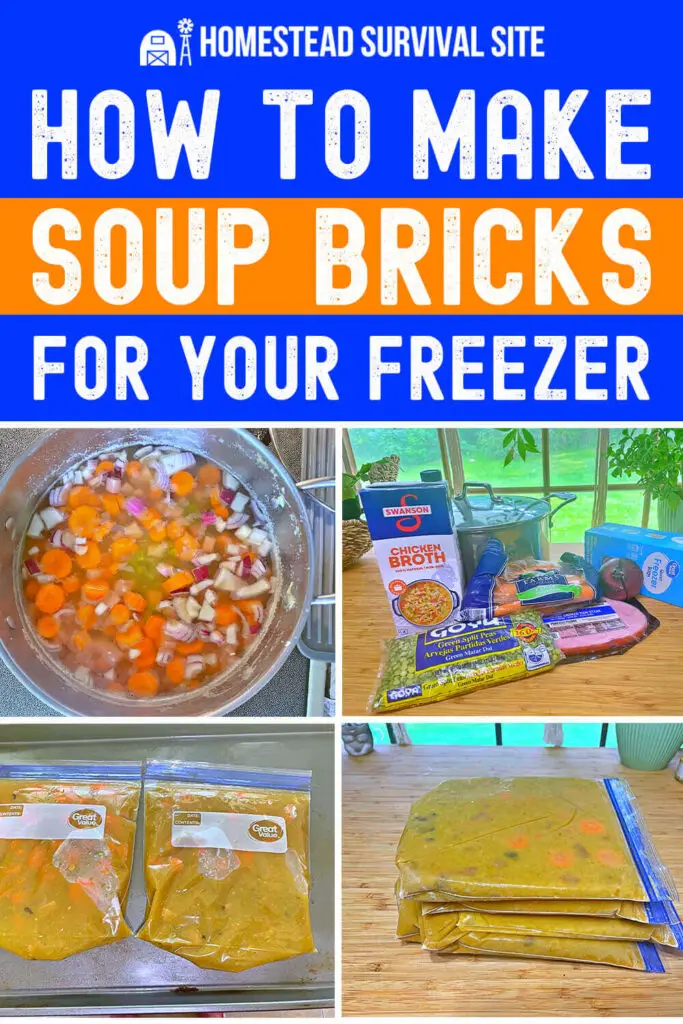
Soup bricks are a game-changer when it comes to making meal times easier. Soup bricks make an easy meal when you don’t have time to cook, but they also don’t take up too much of your precious freezer real estate, either. They’re easy to make, don’t take much time, and you can use your favorite recipe, too!
What’s a Soup Brick?
A soup brick is a flat, frozen serving of soup. You can use almost any recipe you like, then freeze them into the size and shape that suits your lifestyle.
You can make up large or small batches of soup, pour them into your desired container, and then freeze. I like to make them in quart-sized freezer bags so I can easily adjust portion sizes. They freeze flat, so they aren’t hogging up too much space, either.
Soup bricks are great to use when life is busy. You can also make them up for when you aren’t feeling well but still have a family to feed or even save them for those emergency situations. You can easily warm up your soup bricks in a pan on the stove, camp stove, or even over a campfire!
Want to save this post for later? Click Here to Pin It On Pinterest!
How to Choose a Recipe for Your Soup Bricks
You can adjust the recipe of a soup brick to provide the nutrition you need. Bean soups will give you more protein and calories, while broth-type soups will have more flavor but less calories.
Soup bricks are a great way to preserve extra veggies from your garden at the end of the season. You can make pea soup, squash soup, and any other mixture of vegetables that you enjoy! Add in any leftover protein or meat to add flavor and calories.
I chose a split pea and ham recipe because it’s one of my family’s favorites. Since I didn’t have anything ready to harvest in my garden, I chose sale items from the grocery store to make my soup.
Split Pea and Ham Recipe
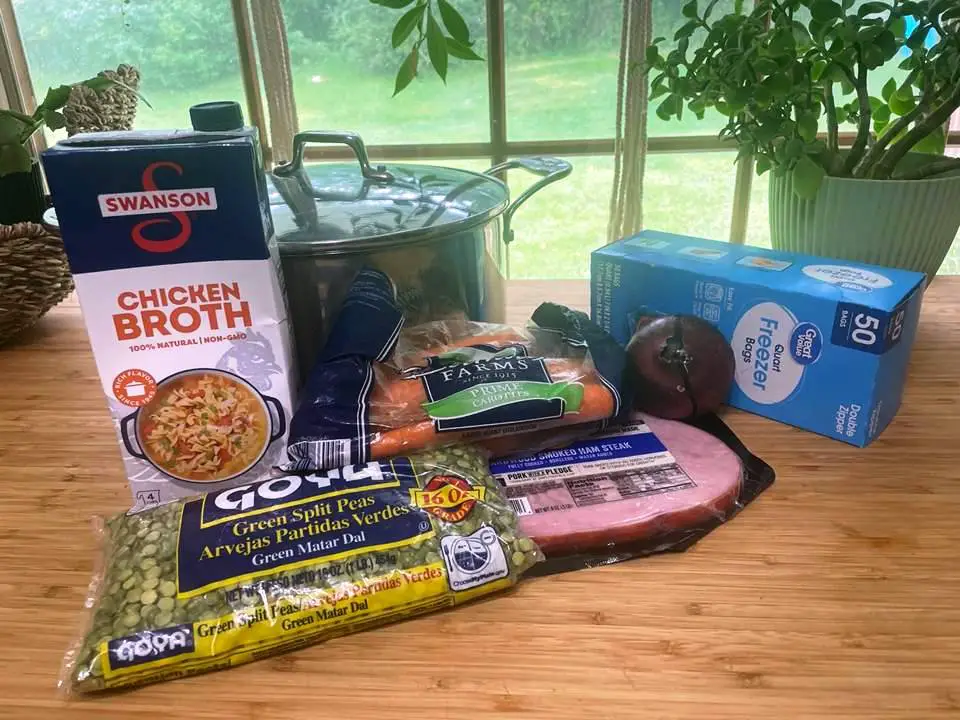
The recipe is easy and nutritious. It will taste great on those cool fall days or be ready to use when I’m in a hurry.
Ingredients:
- 1 pound bag of green split peas
- 1 small bag of carrots
- 1 ham steak
- 1 onion
- 1 container of chicken broth
- Enough freezer-safe bags to hold your soup
You can add additional vegetables or even use bullion cubes instead of the chicken broth.
1. Rinse, sort, and drain your peas.
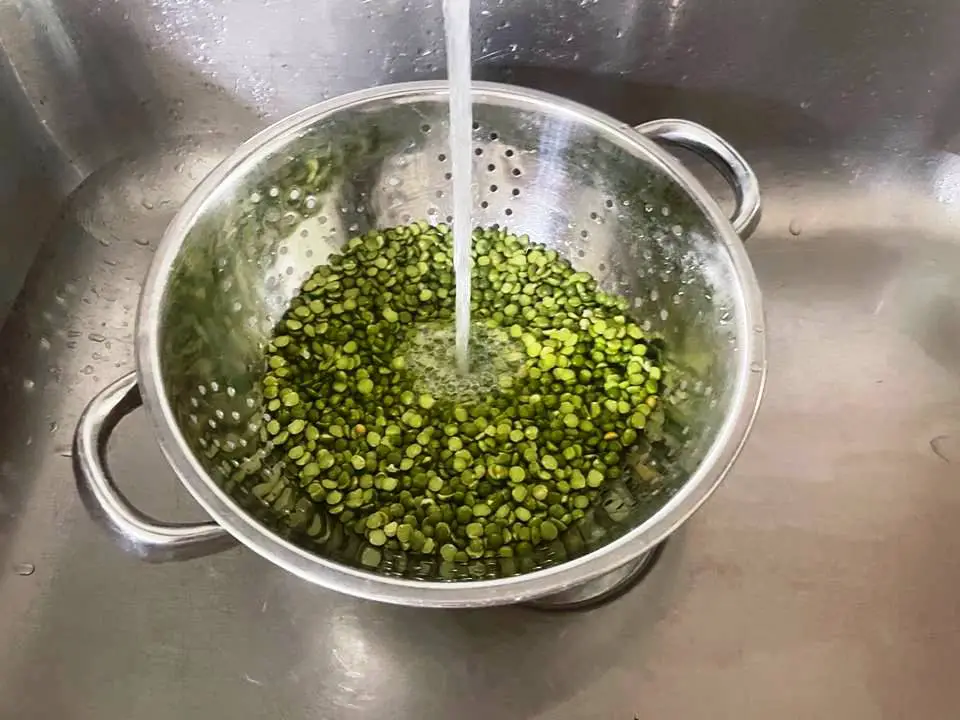
Lentils and beans can have bits of field debris and even tiny rocks. So do a quick sort and rinse in a colander to make sure there isn’t anything unwanted in there.
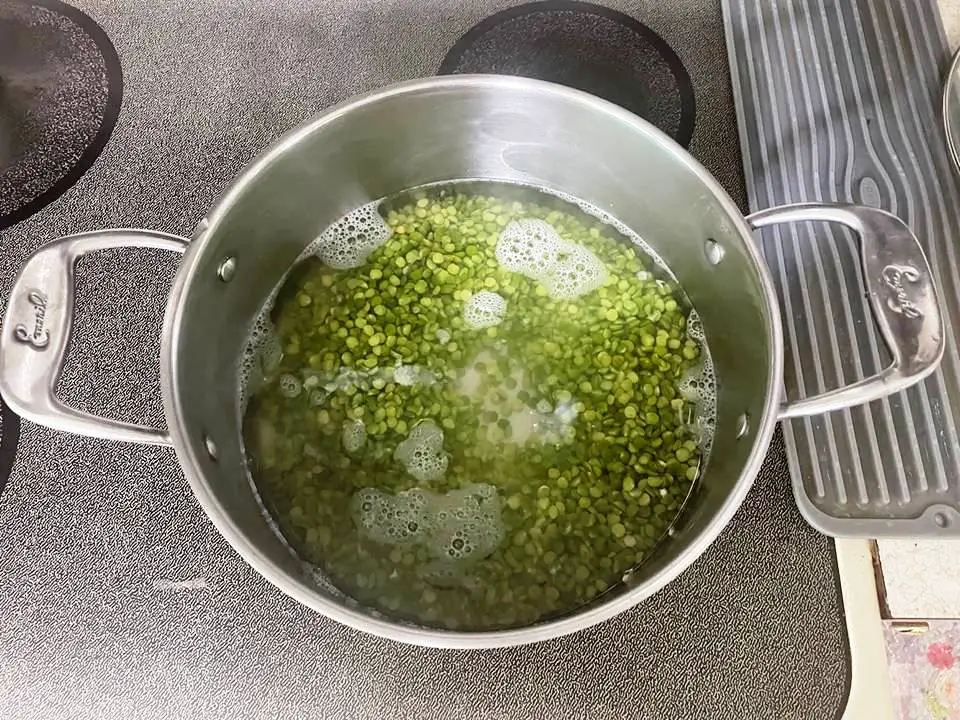
2. Place your peas in a stock pot with about 4 cups of water and simmer. They just need a little headstart on your other vegetables.
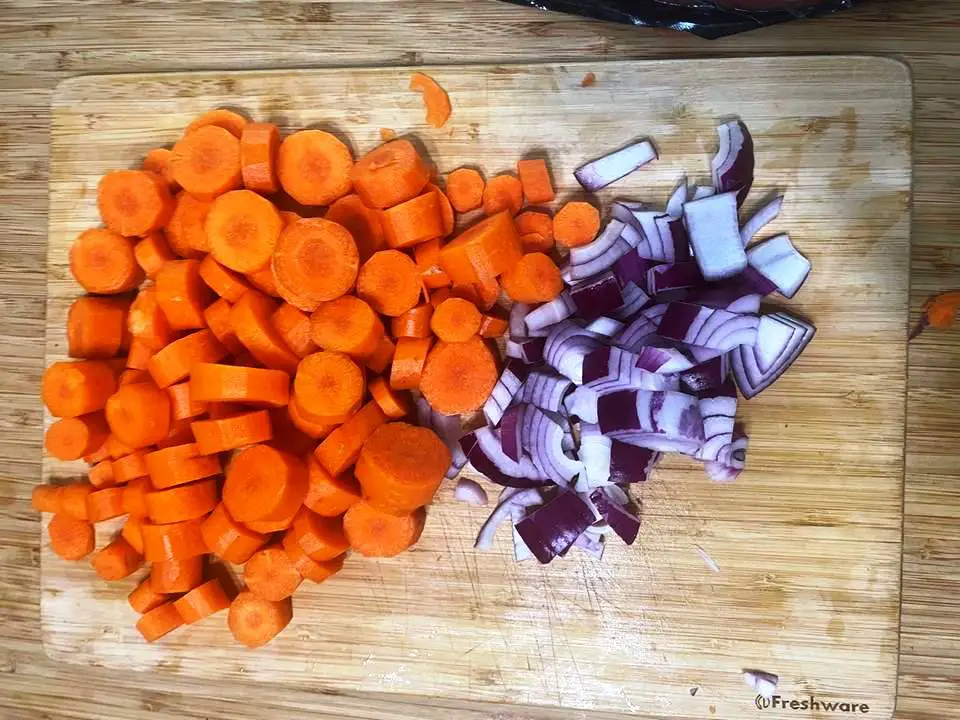
3. Peel and chop your carrots, onions, and other vegetables into bite-size pieces.
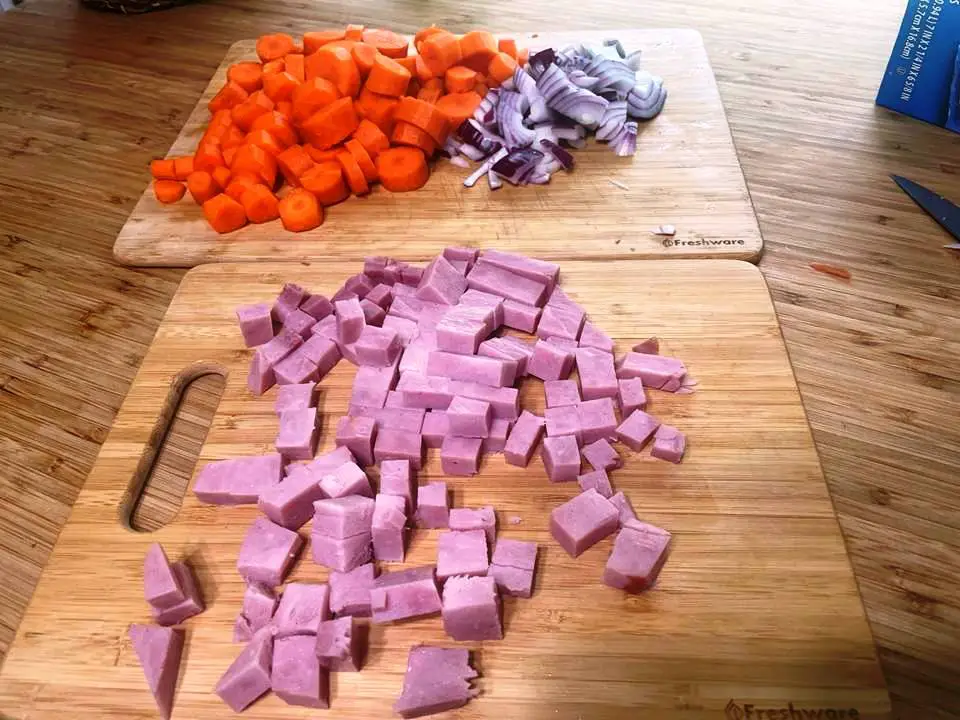
4. Put your ham or other protein into bite-size pieces, as well. Any protein you use should be thoroughly cooked before adding it to the soup. Turkey would also work well in this recipe.
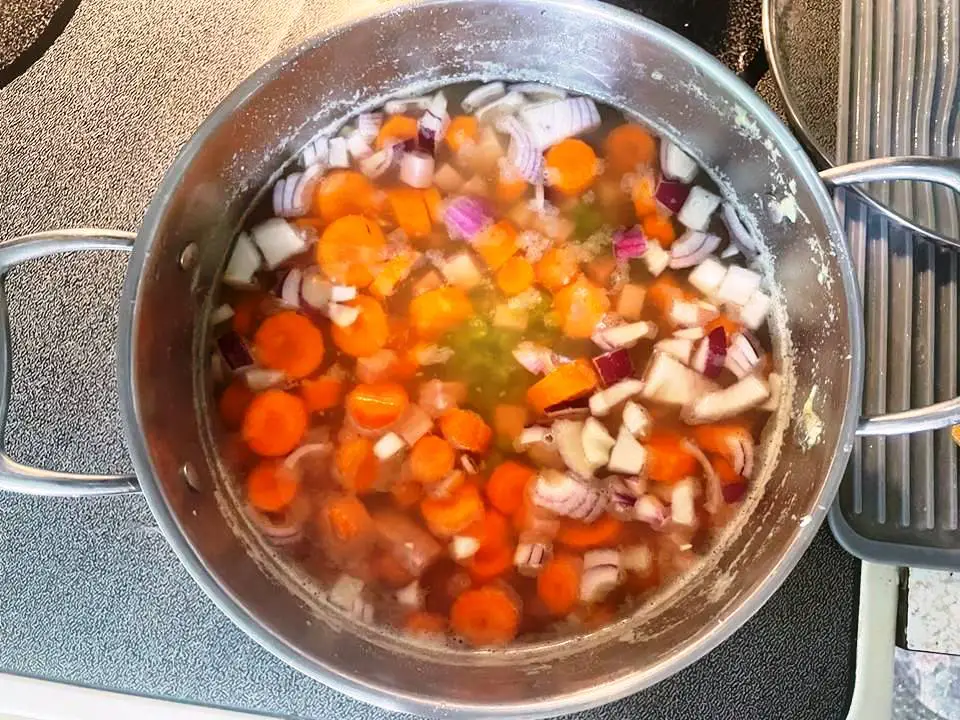
5. Add everything, including the broth, to your stock pot and simmer until tender. It took mine about an hour, but your times may vary depending on the size and thickness of your vegetables. Stir occasionally and add water if the soup reduces too much.
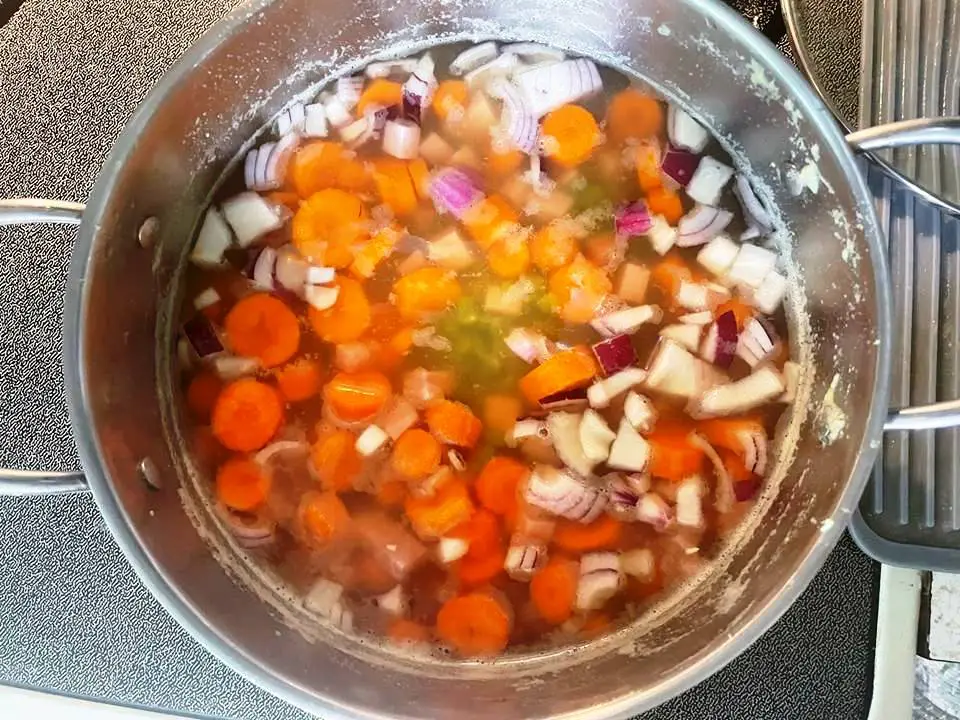
After everything is tender, you can remove your pot from the heat and allow the soup to cool.
6. I like to use a cooking sheet as a workspace to contain any drips. You can set up your bags. If you don’t have easy-fill bags like these, you can use a coffee mug or wide-mouth mason jar to hold the bag open while you fill it.
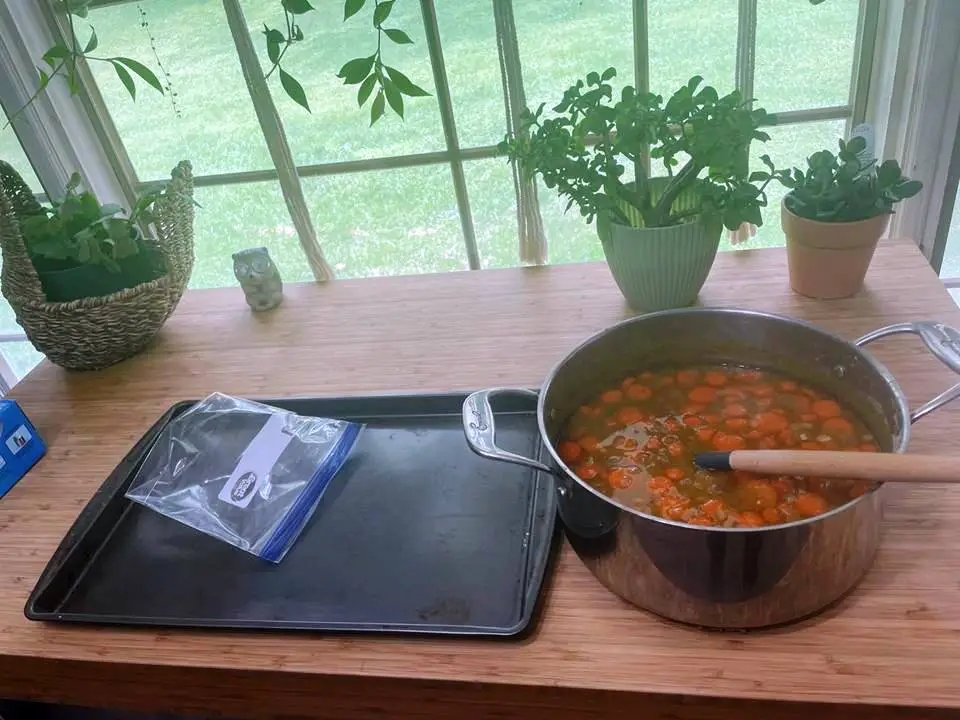
7. Spoon your desired amount into the bags. Carefully squeeze out all of the air and lay the bags flat on your tray.
You may need to wipe up the drips. It’s okay to stack the bags as long as they are clean and dry (otherwise, they might freeze together). You can place paper towels between the freezer bags if you’re worried about them being stuck together.
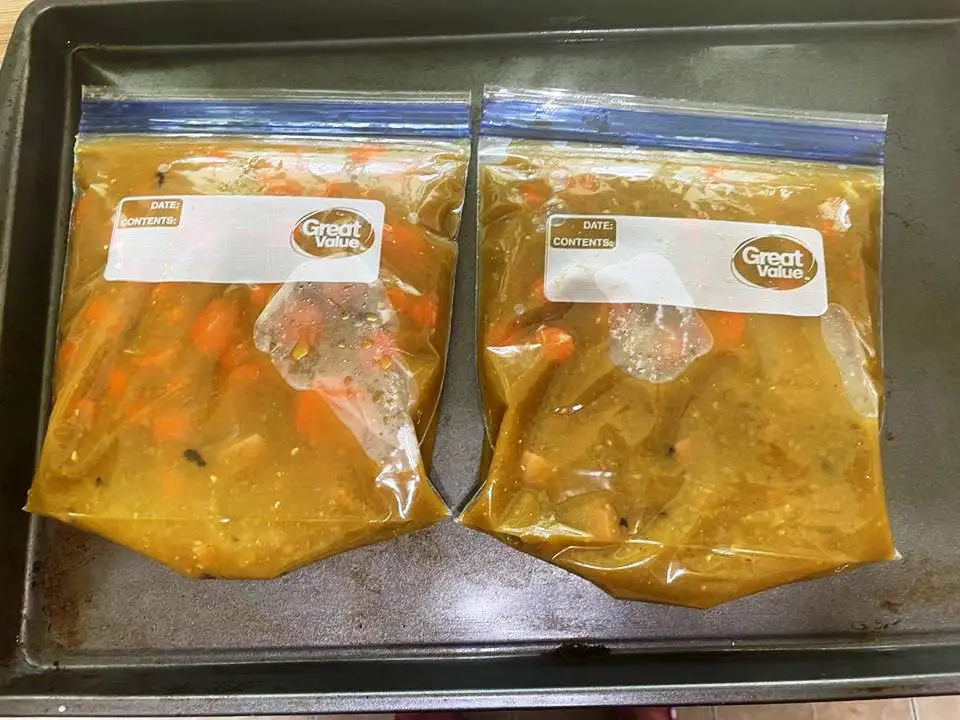
8. Place the bags in your freezer overnight or until frozen solid.
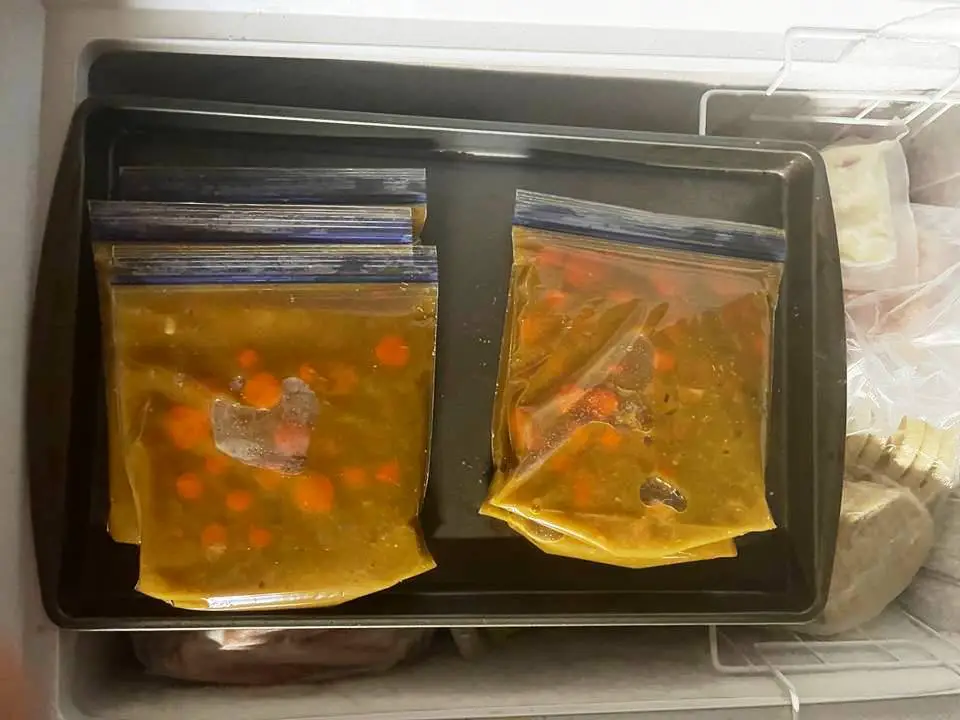
9. Once the bags are frozen, you can store them easily in your freezer. Place them upright, lay them flat, or however they fit.
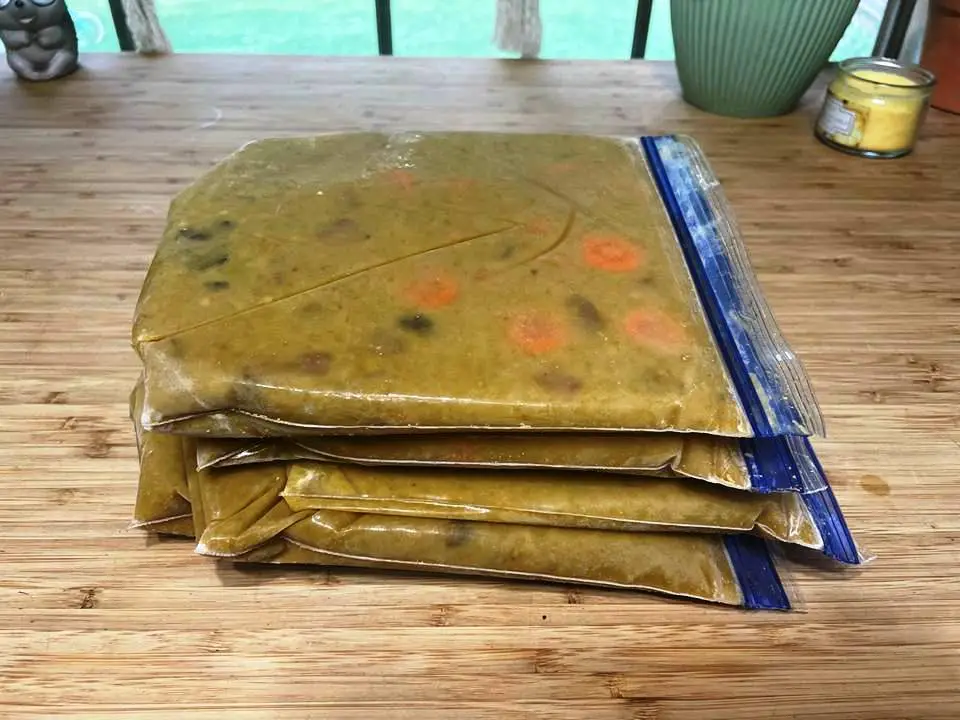
10. To reheat, you can defrost them in your fridge overnight. Or let your bag sit in a bowl of warm water for a few hours to defrost. You can even peel away the bag and warm up the soup in a microwave-safe bowl or in a pan on your stove or campfire. It’s up to you!
Your soup should stay safe in your freezer for up to a year under ideal conditions. If you prefer, you can freeze your soup in ice cube trays or food-safe molds in whatever shape or size is convenient for you. When the soup is frozen, pop it out of the tray and store it in freezer bags or other freezer-safe containers.
Like this post? Don't Forget to Pin It On Pinterest!

Split Pea and Ham Soup Brick
Equipment
- 1 colander
- 1 soup pot
- 2 1-gallon resealable plastic bags
Ingredients
- 1 lb. green split peas
- 1 small bag carrots
- 1 ham steak
- 1 large red onion
- 4 cups chicken broth
Instructions
- Rinse, sort, and drain your peas. Lentils and beans can have bits of field debris and even tiny rocks. So do a quick sort and rinse in a colander to make sure there isn’t anything unwanted in there.
- Place your peas in a stock pot with about 4 cups of water and simmer. They just need a little headstart on your other vegetables.
- Peel and chop your carrots, onions, and other vegetables into bite-size pieces.
- Cut your ham or other protein into bite-size pieces, as well. Any protein you use should be thoroughly cooked before adding it to the soup. Turkey would also work well in this recipe.
- Add everything, including the broth, to your stock pot and simmer until tender. It took mine about an hour, but your times may vary depending on the size and thickness of your vegetables. Stir occasionally and add water if the soup reduces too much.
- After everything is tender, you can remove your pot from the heat and allow the soup to cool.
- I like to use a cooking sheet as a workspace to contain any drips. You can set up your bags. If you don’t have easy-fill bags like these, you can use a coffee mug or wide-mouth mason jar to hold the bag open while you fill it.
- Spoon your desired amount into the bags. Carefully squeeze out all of the air and lay the bags flat on your tray. You may need to wipe up the drips. It’s okay to stack the bags as long as they are clean and dry(otherwise, they might freeze together). You can place paper towels between the freezer bags if you’re worried about them being stuck together.
- Place the bags in your freezer overnight or until frozen solid.
- Once the bags are frozen, you can store them easily in your freezer. Place them upright, lay them flat, or however they fit.
- To reheat, you can defrost them in your fridge overnight. Or let your bag sit in a bowl of warm water for a few hours to defrost. You can even peel away the bag and warm up the soup in a microwave-safe bowl or in a pan on your stove or campfire. It’s up to you!
You May Also Like:


