

Estimated reading time: 7 minutes
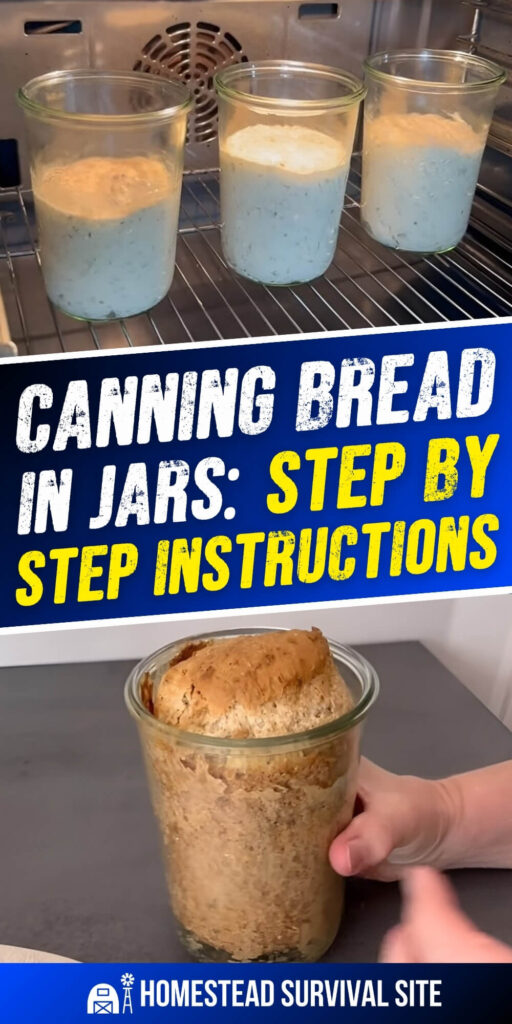
Home canning bread is a clever way to bake small loaves directly in glass jars for longer storage. It is simple to make and tastes amazing. This version uses spelt flour, mixed grains, apple cider vinegar, and yeast to create a soft, flavorful bread that is baked right in the jar, sealed while hot, then processed again for longer keeping.
Before getting started, there is one important note: canning bread can be risky and is not USDA approved. Home-canned bread is not considered a standard tested canning recipe. That said, this particular method is meant to be good for up to 12 months when made exactly as shown, though you should use your own judgment and inspect your bread before eating it.
Want to save this post for later? Click Here to Pin It On Pinterest!
I found this particular tutorial on the YouTube channel Bread & Buns. It's called atomic bread, and you can watch the video and and read the instructions below.
How to Make Canned Bread in a Jar
Ingredients:
- 500 g spelt flour
- 350 g lukewarm water
- 2 tsp salt
- 2 tbsp apple cider vinegar
- 10 g vanilla sugar
- 1 yeast cube
- 90 g mixed grains
Equipment:
- 750 ml glass jars
- Oil for greasing the jars
- Clean cloth or paper towel
- Lids and rubber seals
- Large baking dish
- Oven
- Mixing bowl
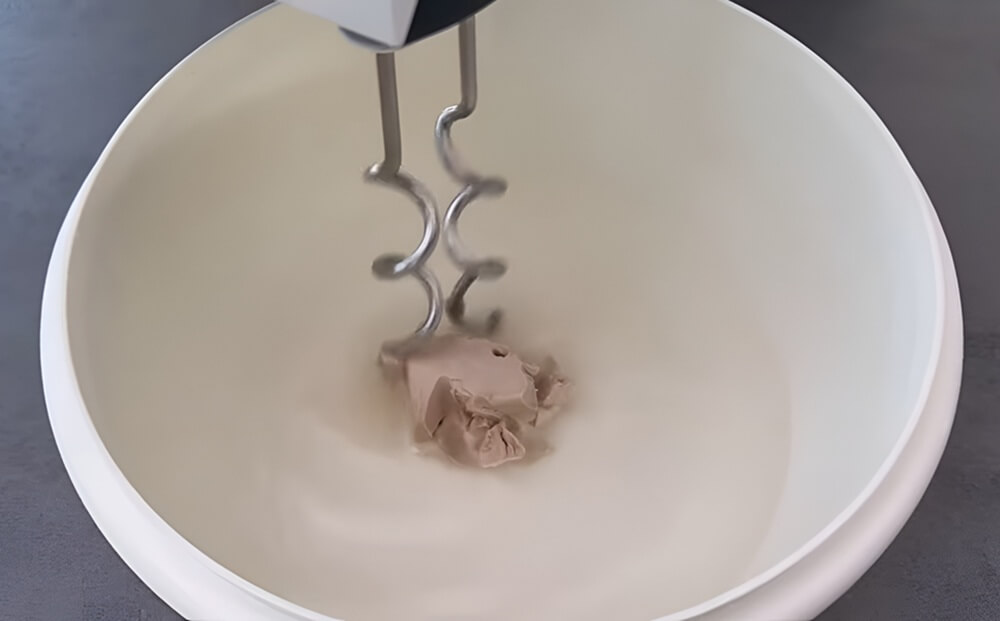
1. Dissolve the yeast
Pour the 350 g lukewarm water into a mixing bowl. Add the yeast cube and the vanilla sugar, then stir until the yeast begins to dissolve. You can use a blender to help break up the yeast cube.
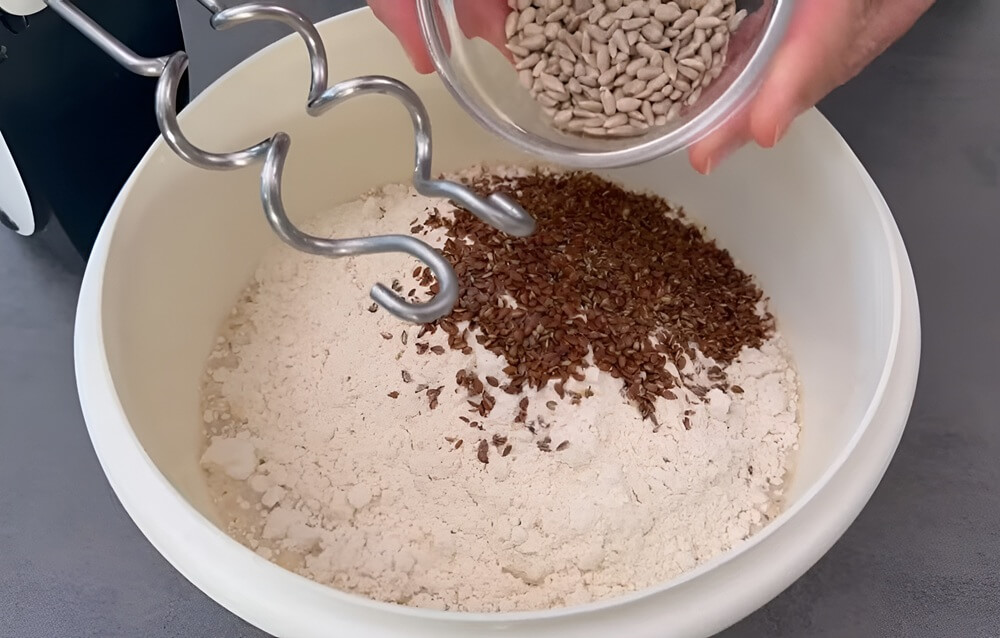
2. Add the dry ingredients
Add the spelt flour and mixed grains to the bowl.
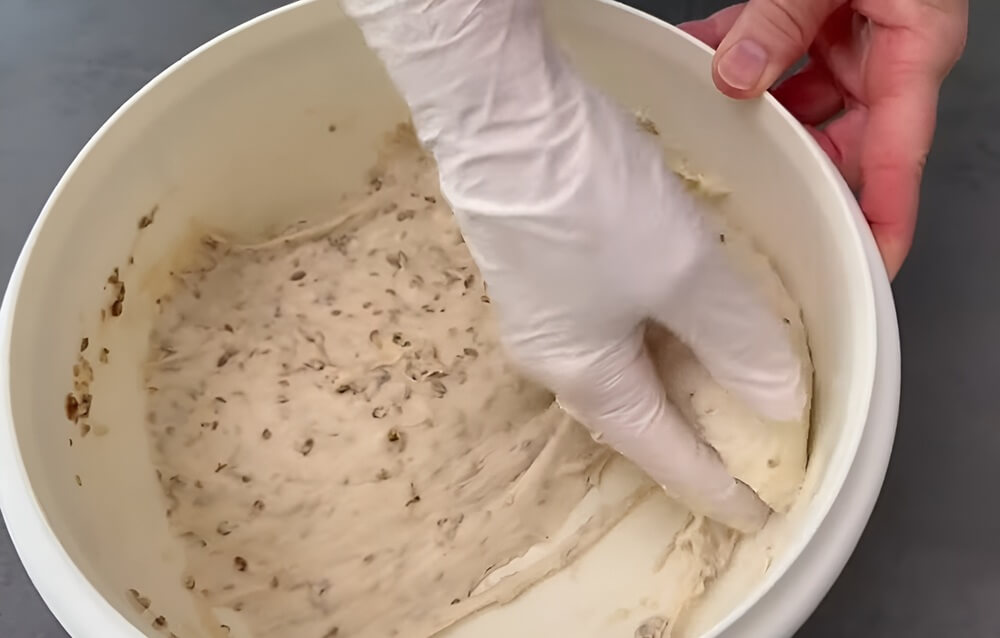
3. Season the dough
Mix in the apple cider vinegar and salt. Stir or knead until you have a uniform bread dough.
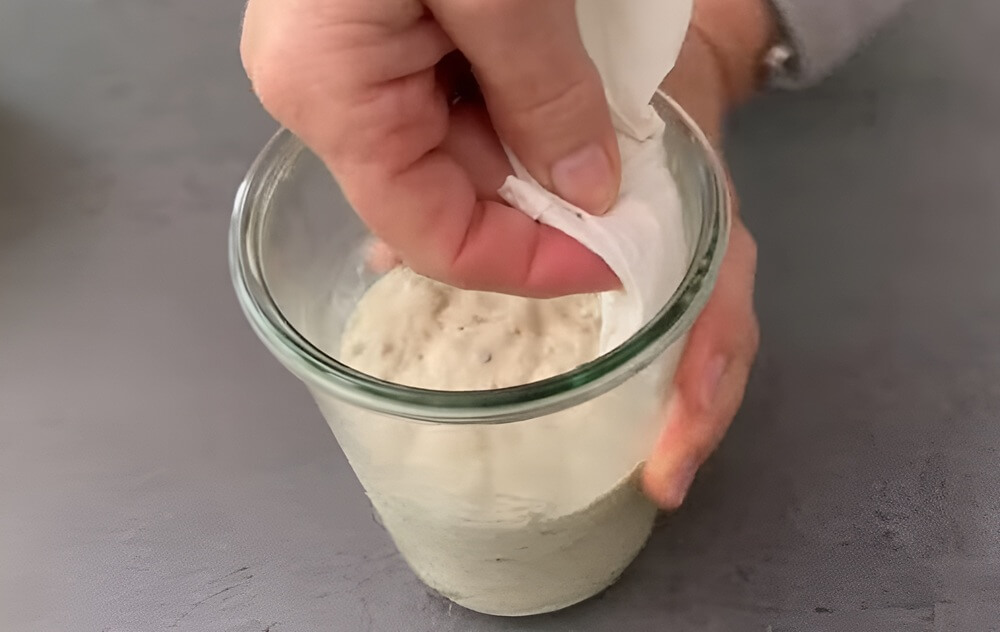
4. Prepare the jars
Take your 750 ml glass jars and brush the inside lightly with oil. This helps keep the bread from sticking.

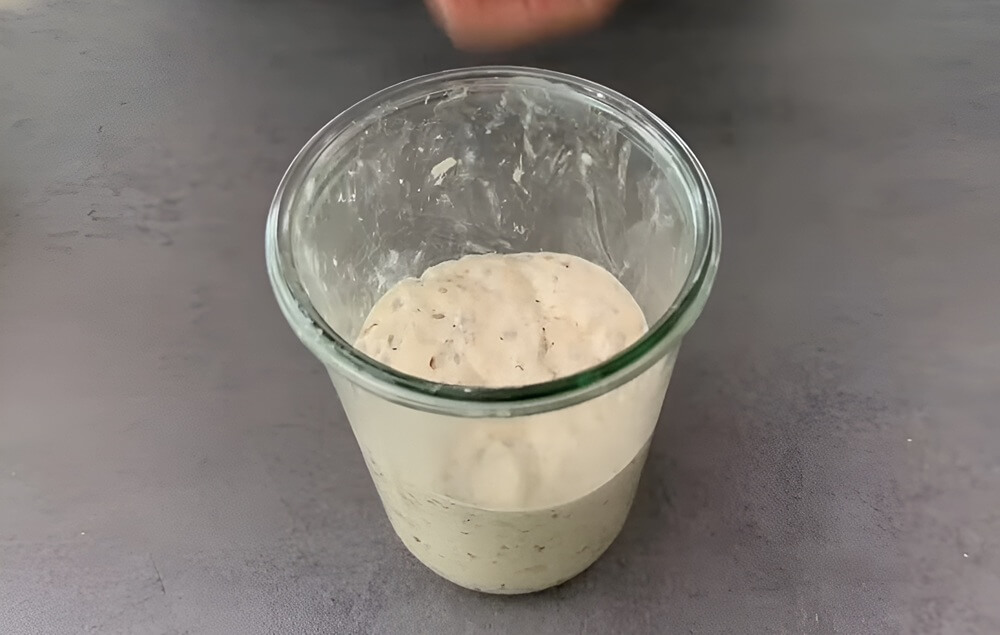
5. Fill the jars
Spoon the dough into the jars, filling each one only about one-third full. This leaves room for the dough to expand.
Press the dough down gently in the jar to remove trapped air pockets.
6. Clean the rims
Wipe the rim of each jar thoroughly so the sealing surfaces are clean.
7. Let the dough rest
Cover the jars and let the dough rest for 30 minutes.
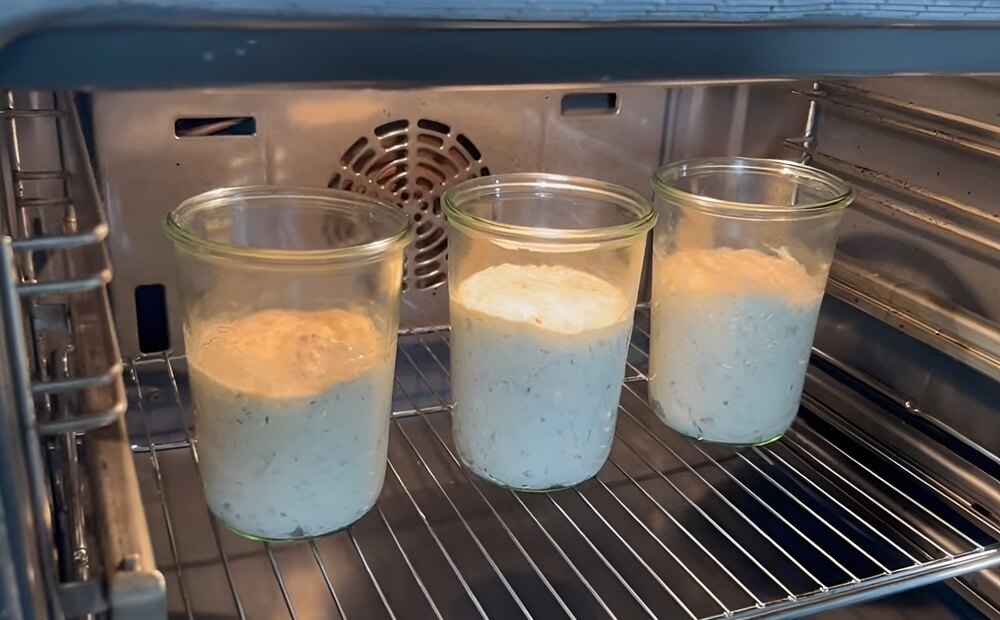
8. Bake the bread
Bake the jars at 200°C for 50 minutes.
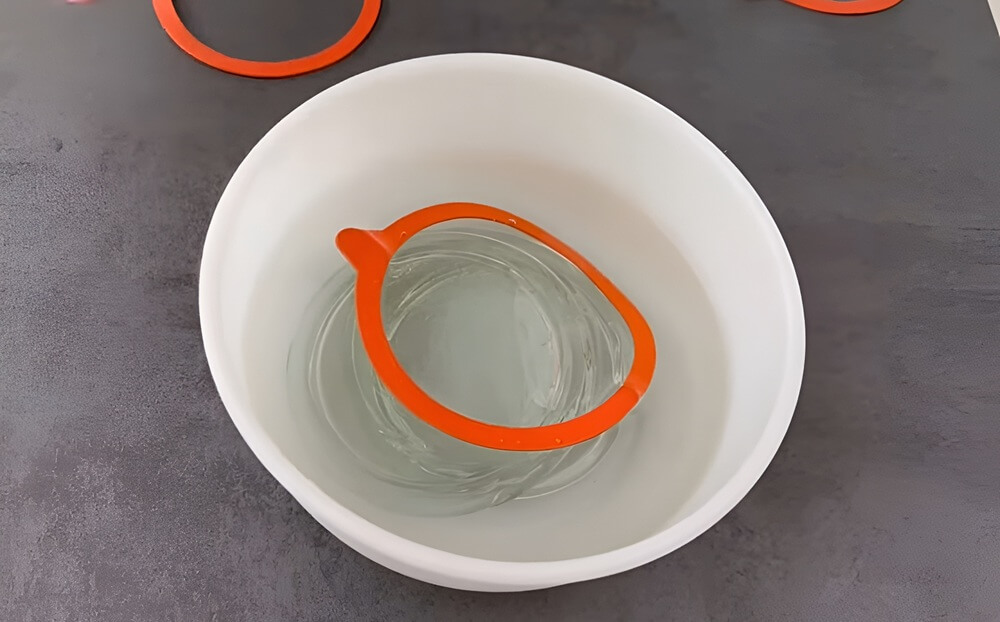
9. Warm the rubber seals and lids
Shortly before the bread is done, place the rubber seals and lids in hot water. This helps prevent the jar from bursting when sealed.
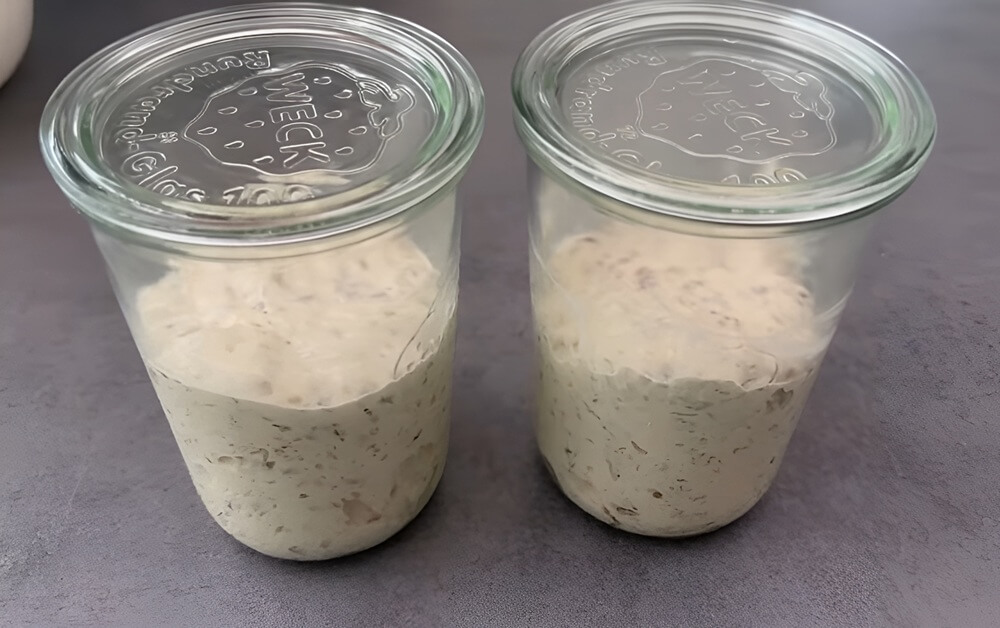
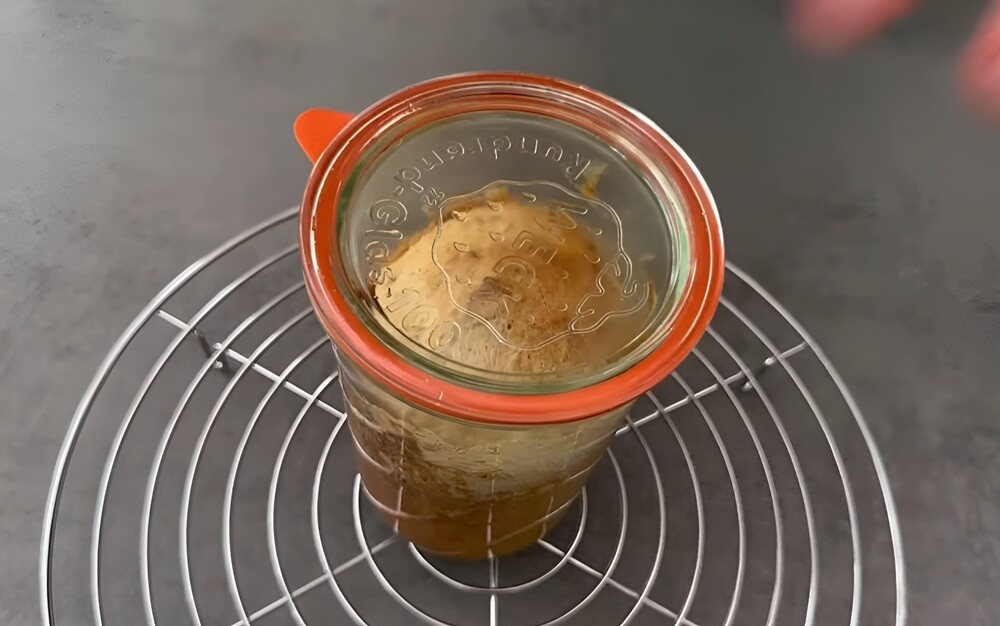
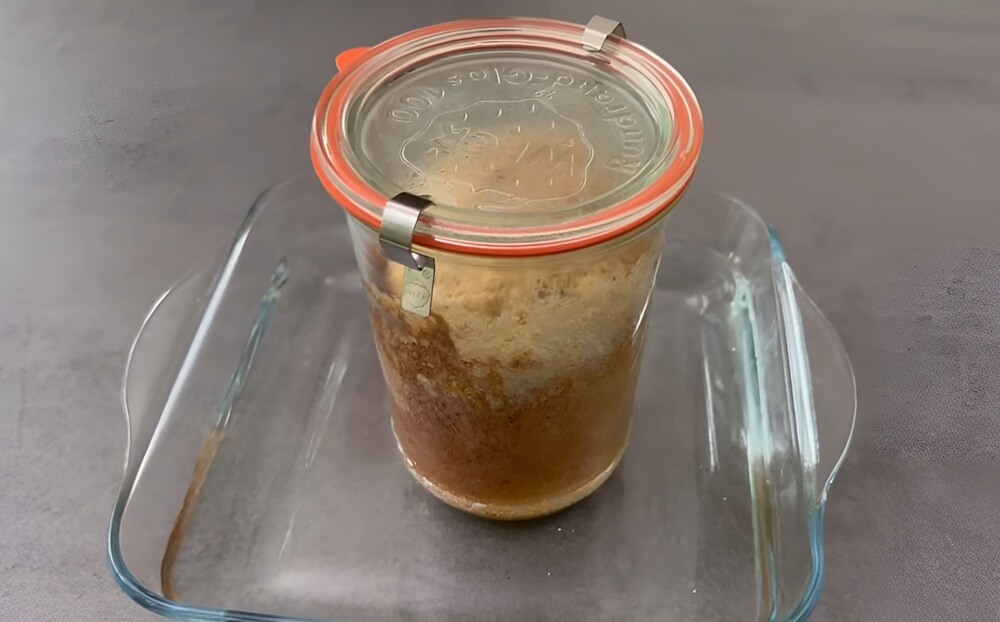
10. Seal immediately after baking
As soon as the jars come out of the oven, attach the hot rubber seals and lids and close the jars immediately.
At this point, the keep for up to 12 weeks. To make it last longer, you'll need to follow the additional steps (starting with step 12), but go ahead with step 11 first.
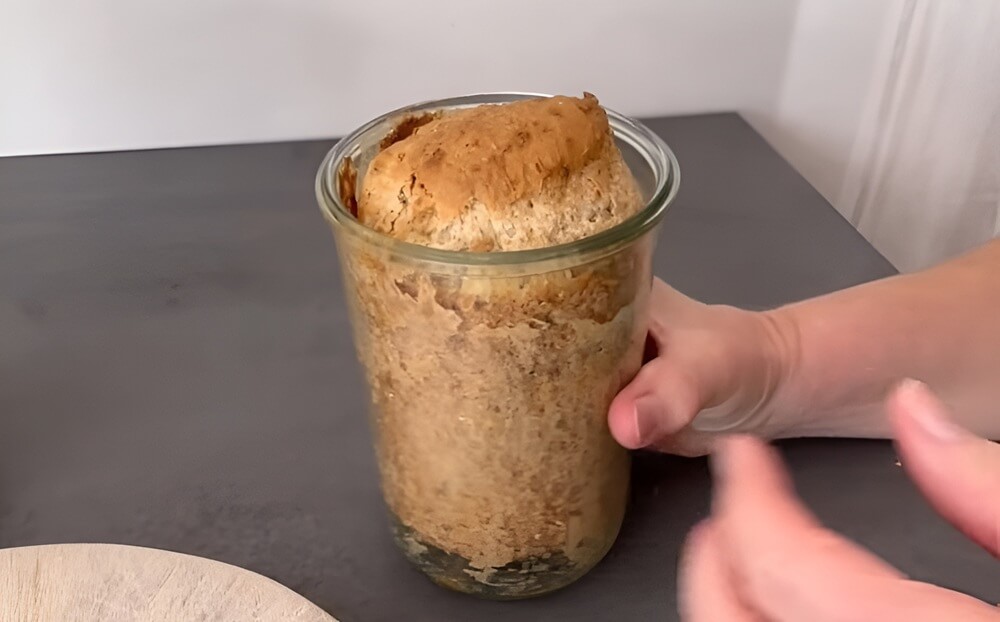
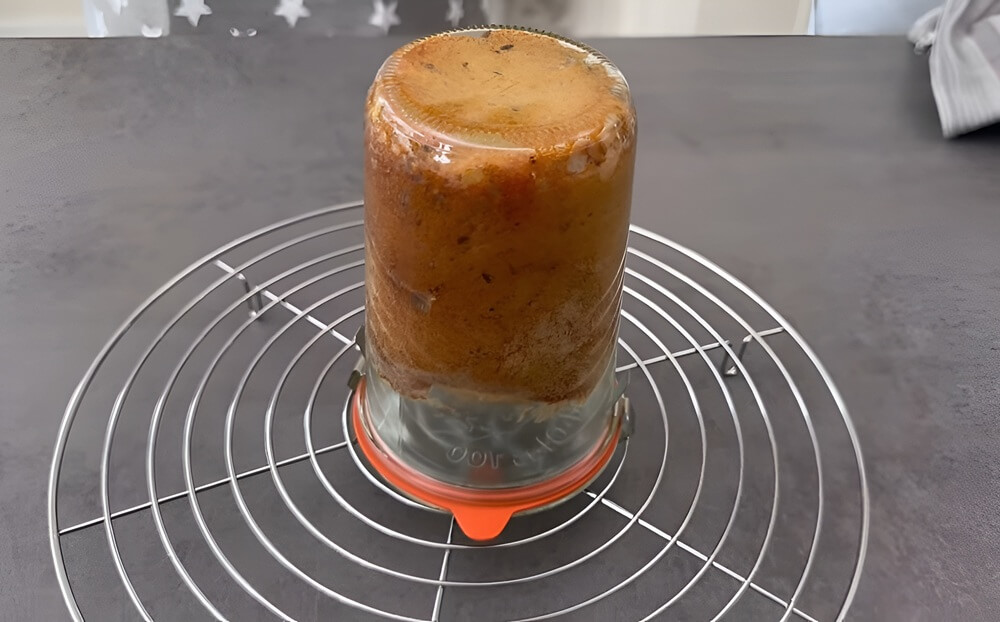
11. Cool the jars upside down
Turn the sealed jars upside down and let them cool.
Extra Step for Longer Storage
If you want the bread to keep for up to 12 months, the tutorial includes one more oven-processing step:
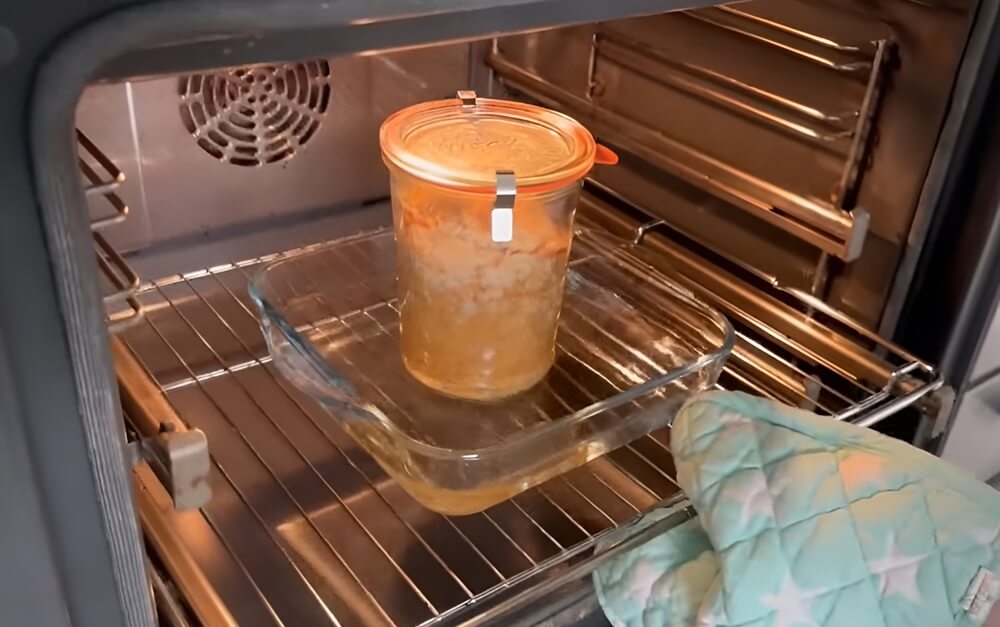
12. Water-bath style oven processing
Fill a baking dish with about 4 cm of hot water. Place the already sealed jars into the dish.
13. Heat again
Put the dish in the oven and process the jars for 45 minutes at 130°C.
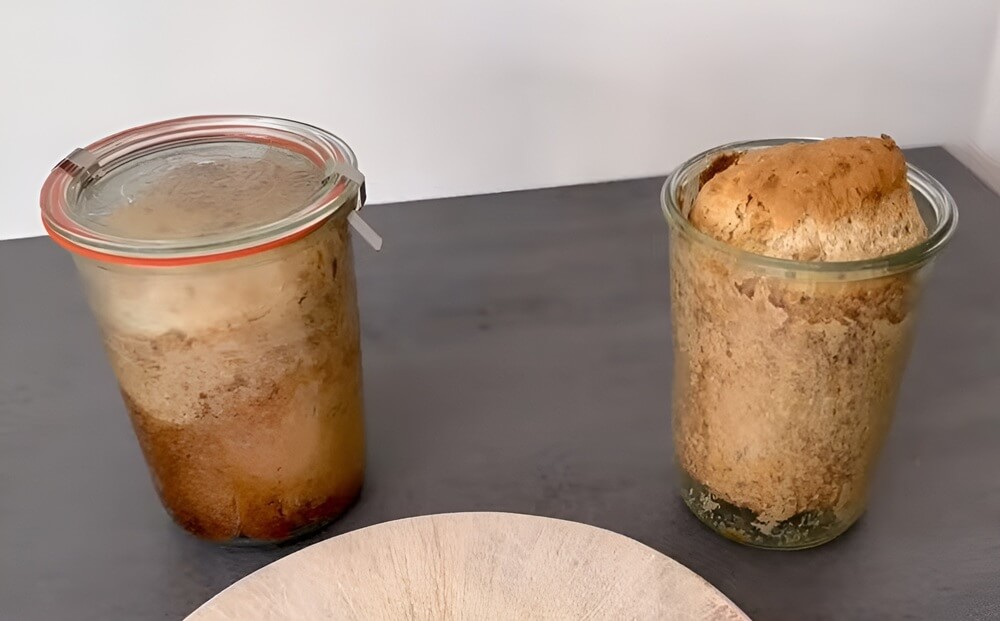
14. Remove and cool
After processing, remove the jars and let them cool fully.
The tutorial states that after this step, the bread can be stored for up to 12 months.
Storage and Safety Notes
Because this is a bread-in-a-jar recipe, it is important to be cautious.
- Canning bread is risky and not USDA approved.
- This is not a standard tested home-canning method.
- Always check jars before eating. If a jar has an off smell, mold, leakage, an unsealed lid, or any unusual appearance, discard it.
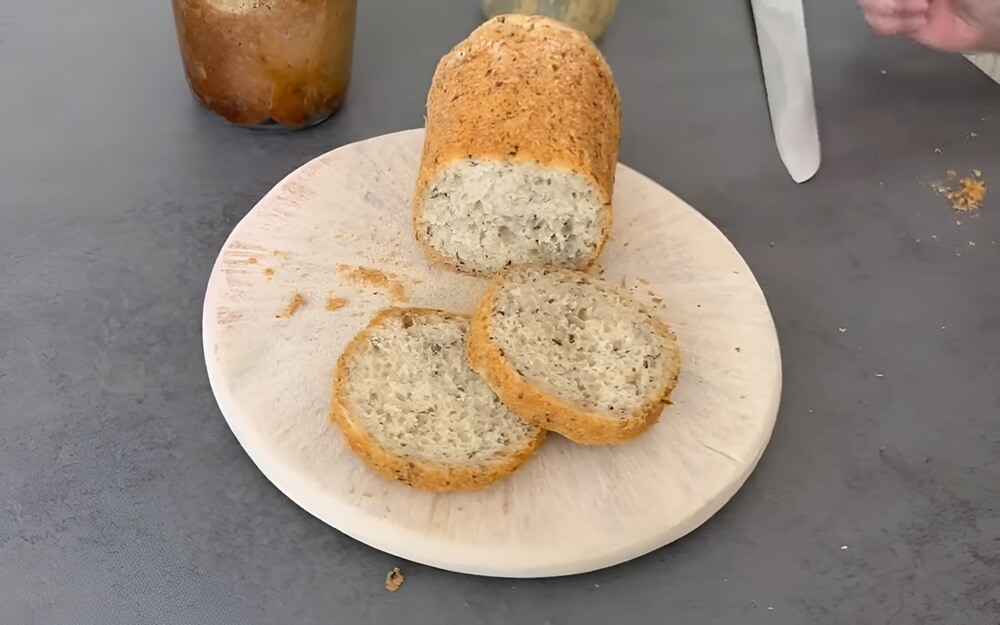
Final Thoughts
Atomic bread is an interesting homemade pantry project for anyone who likes long-storage foods and small-batch baking. The process is straightforward: mix the dough, fill greased jars one-third full, bake, seal, and process again for longer shelf life.
Like this post? Don't Forget to Pin It On Pinterest!
You May Also Like:


How about a metric conversion to normal measurements???
This is The USA, NOT Europistan, nor Britainistan.!
How about a metric conversion to Normal measurements???
This is The USA, not Europistan, nor Britainistan!