Estimated reading time: 6 minutes
Backpacking, long hikes, and bugging out require a lot of calories to keep you going. But you're also limited by what you can carry on your back.For many, hard tack is a good option because it's lightweight, easy to carry, and stores for long periods of time. But it isn't very tasty so you may want to consider an alternative: logan bread.
What is Logan Bread?

Logan bread is a hearty, cake-like bread that is nutrient-dense, easy to carry, and delicious. While it doesn't have the same shelf life that hard tack does, it will last for a few days, making it a great choice for backpacking or long hikes.
It tastes great, which helps prevent appetite fatigue. Logan bread also packs a nutritional punch because it contains a lot of calories and nutrients in a small package.
There are a lot of different recipes for logan bread, and the ingredients you choose will affect how long it will last. However, most types of this tasty bread include some of the same ingredients, such as flour, molasses, nuts, and dried fruits.
Want to save this post for later? Click Here to Pin It On Pinterest!
Where did Logan Bread come from?
In 1950, a team setting out to climb Mount Logan created the bread to replicate a sort of DIY energy bar.It worked so well that the bream – and its name -caught on.
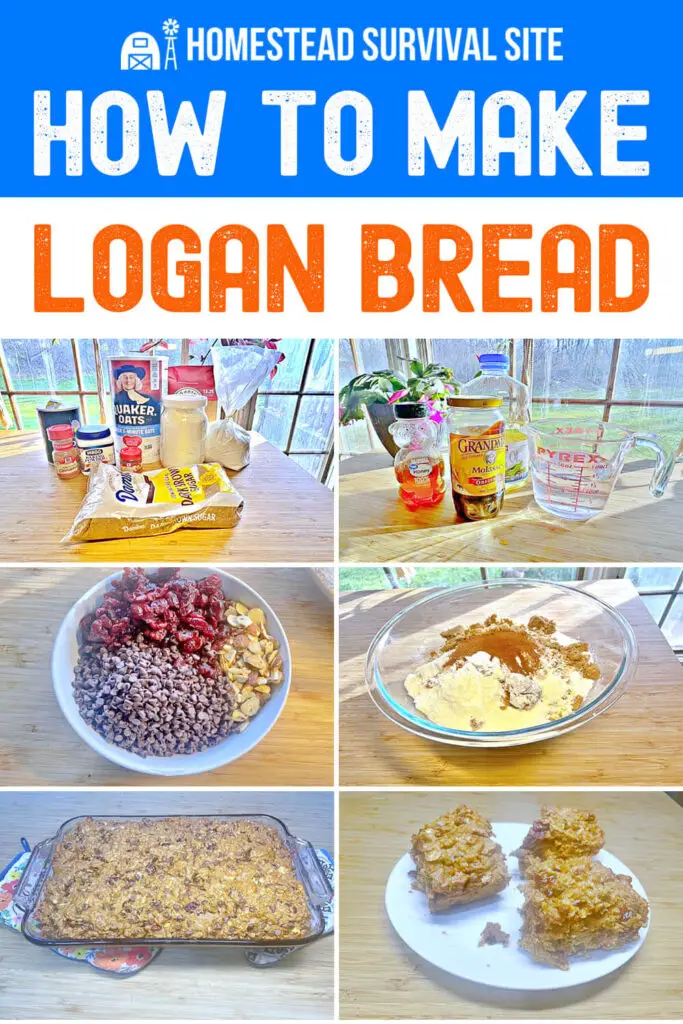
How do you make logan bread?
To make logan bread, you'll mix your dry ingredients first.Then, you'llcombine your wet ingredients separately.Lastly, you'll add in your mix-ins, such as nuts and dried fruit.
Dry Ingredients:
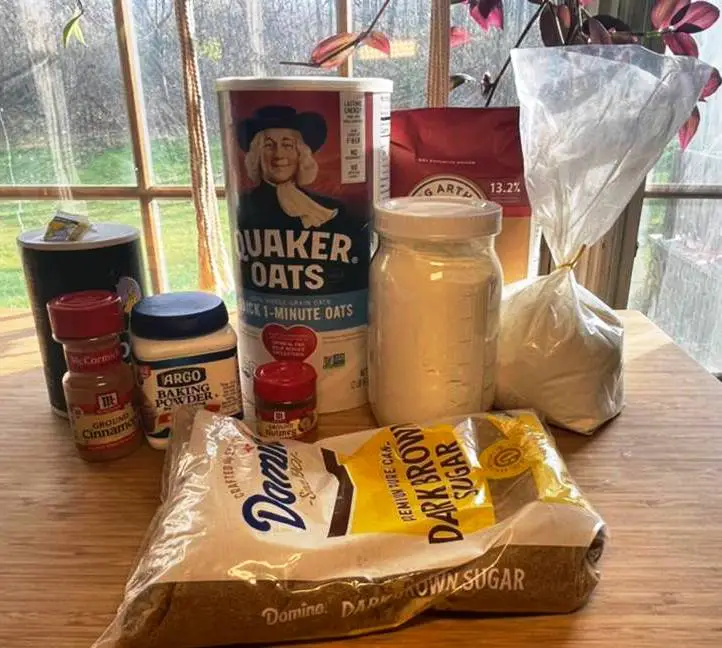
- 2 C Wheat Flour
- 2 C White Flour
- 2 C Quick Oats
- 3/4 C Brown Sugar
- 1/2 C Powdered Milk
- 2 teaspoons Baking Powder
- 1 teaspoon Salt
- 1 teaspoon Nutmeg
- 1 teaspoon Cinnamon
Wet Ingredients:
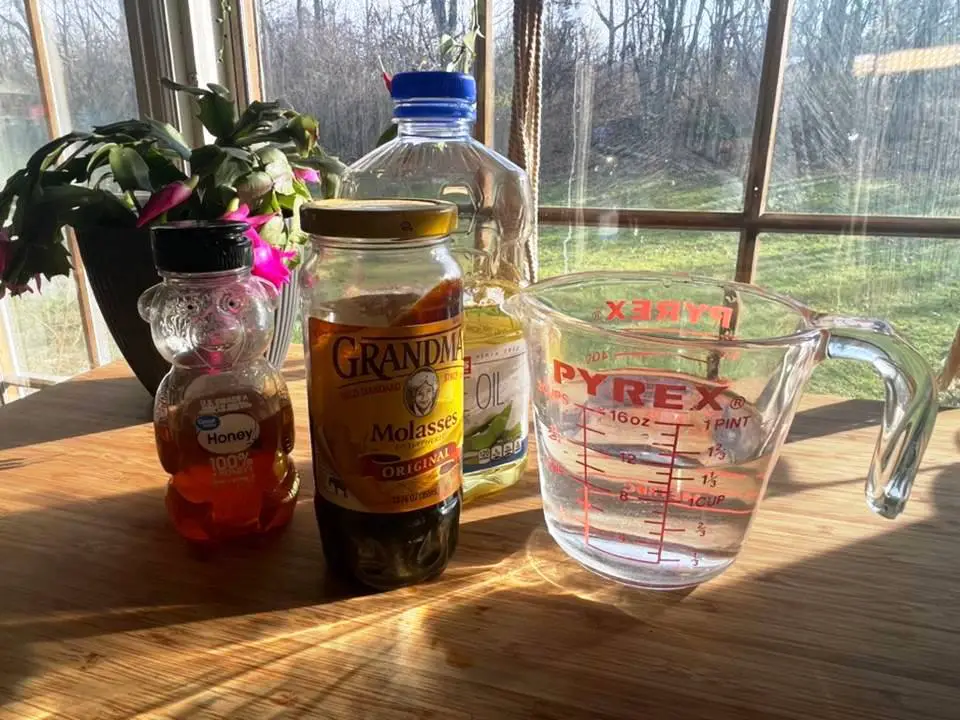
- 1 1/2 C Water
- 3/4 C Honey
- 1/2 C Molasses
- 3/4 C Oil
Mix-ins:
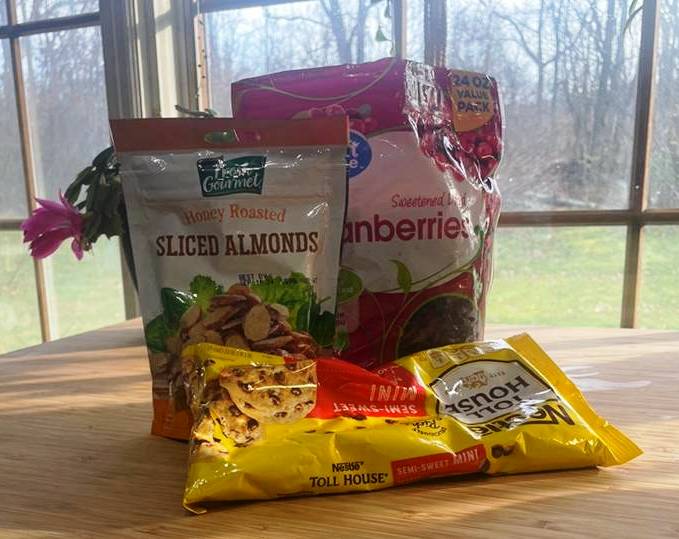
- 1 1/2 C Sliced Almonds
- 1 1/2 C Dried Cranberries
- 1 1/2 C Dark Chocolate Chips
There is some debate over what the original ingredients in Logan Bread were, but it probably didn't contain chocolate chips. However, you can make some adjustments depending on your tastes. You can include just about any type of dried fruit or nut. You can increase the amount of mix-ins as desired.
However, if you put in too many mix-ins, there won't be enough ‘bread' to hold it together. If you don't like the flavor of molasses or want to use less honey, you can substitute some of the wet ingredients for applesauce, but keep in mind it may alter the baking time slightly.
Here's how I made my version of logan bread.
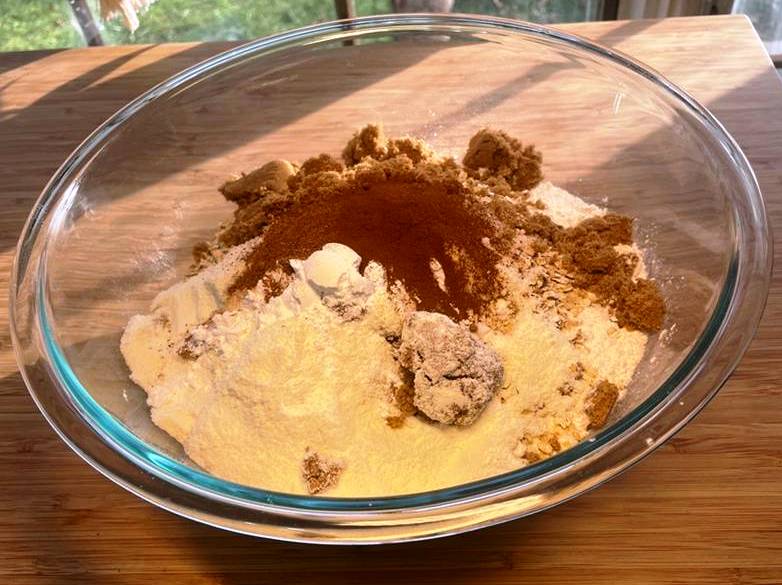
1. Mix all dry ingredients together in a large mixing bowl. I used a 4-quart mixing bowl, and it was just large enough to mix everything together without making a big mess. Make sure it's well-mixed.
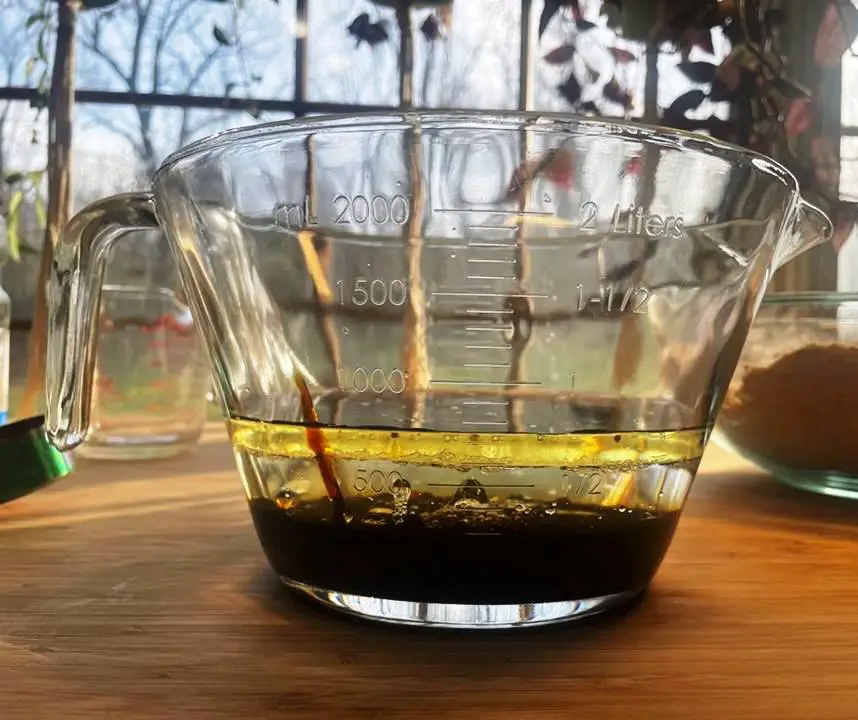
2. Mix your wet ingredients in a separate bowl. I used an 8-cup mixing bowl.
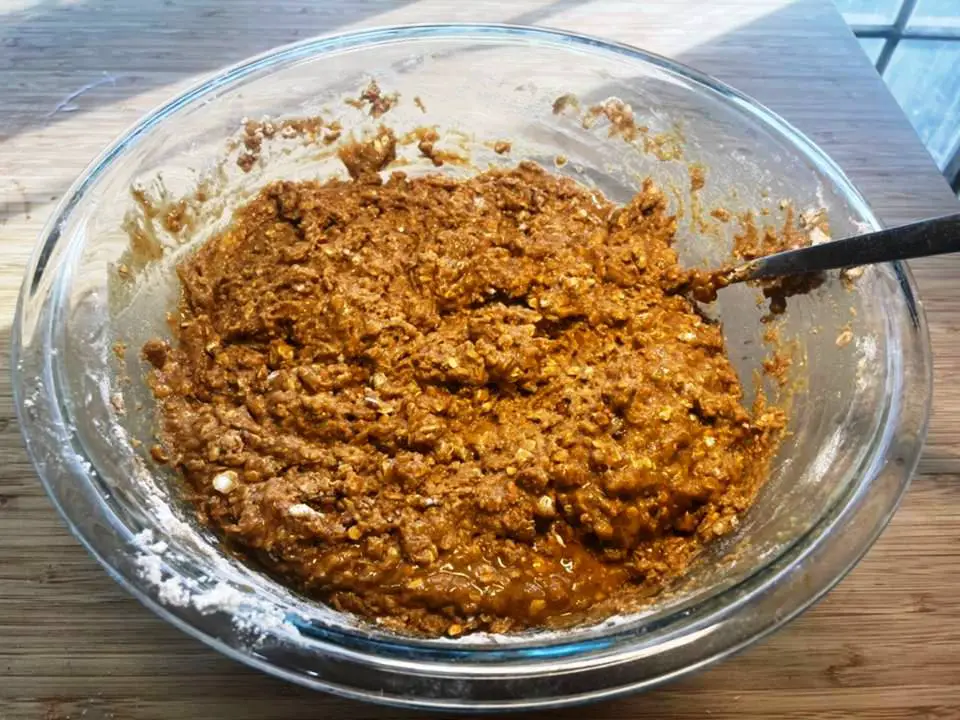
3. Add your wet ingredients to your dry ingredients, and mix it until it creates a thick batter. It will look more like cookie batter than bread mix. It smells and tastes delicious already!
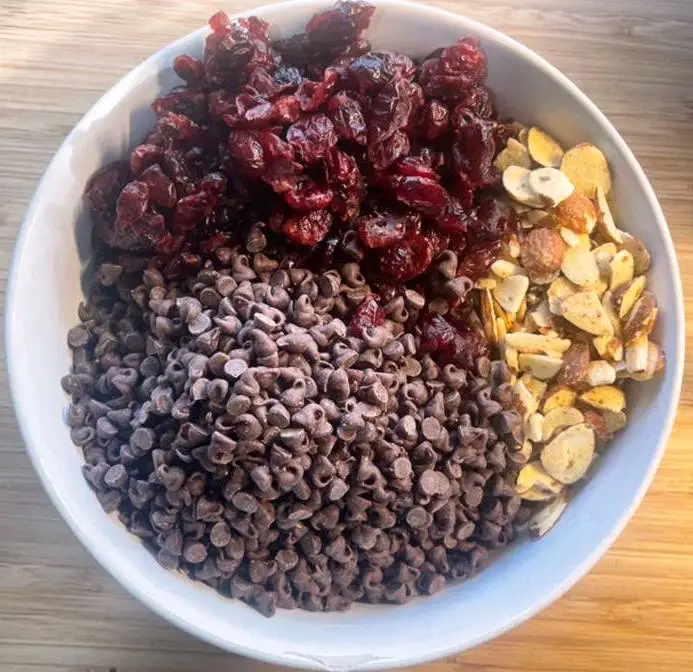
4. Once your batter is evenly mixed, you can fold in your mix-ins.
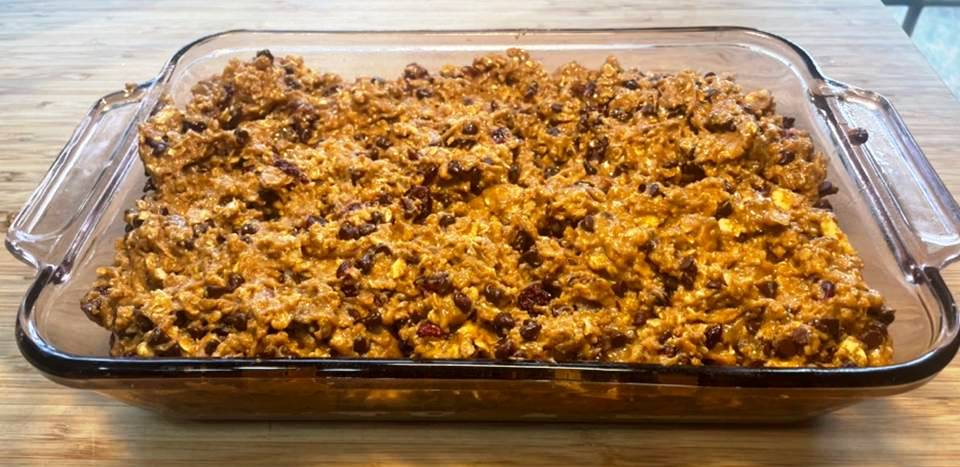
5. Spread your batter evenly into a greased pan. I used a 2-quart Pyrex dish, but you could use a 9 x 13 pan or even two loaf pans if you prefer.
6. Bake at 300 degrees for approximately an hour. My glass dish took a little bit longer.
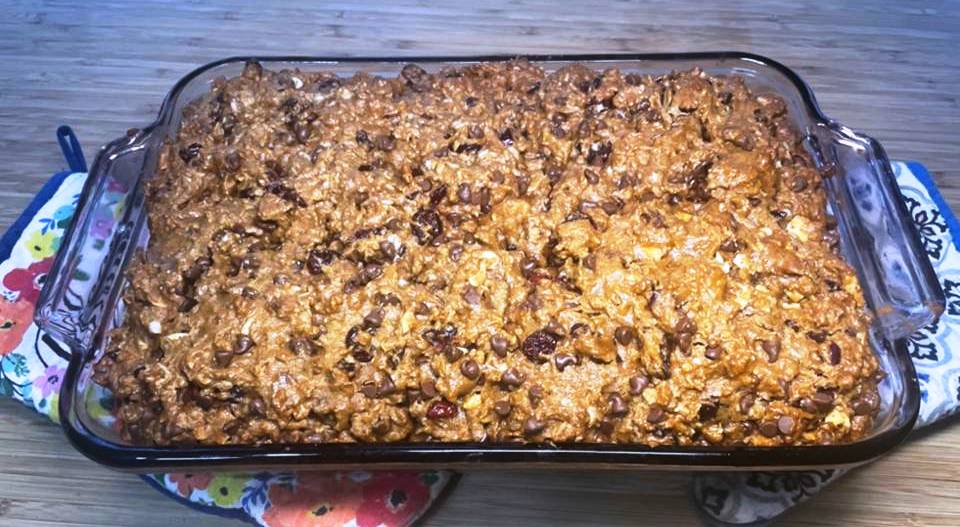
7. Cut your logan bread into squares while it is warm.
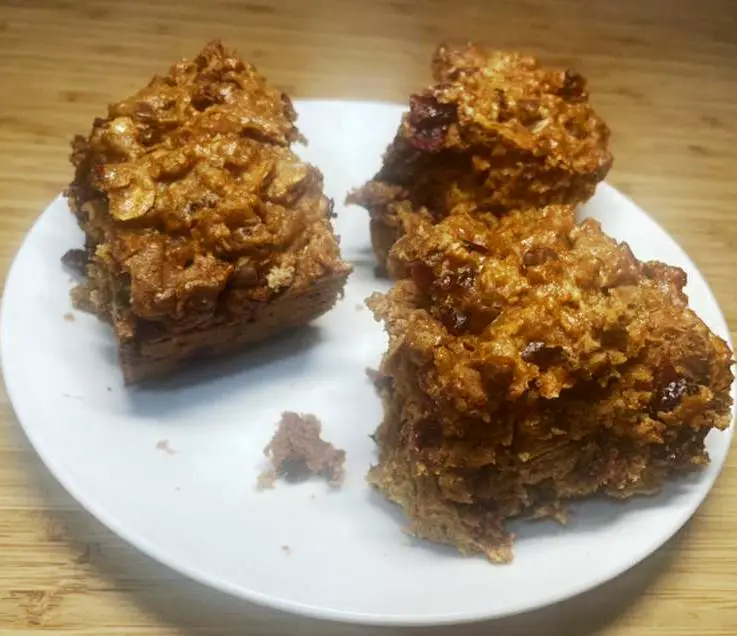
If you choose, you can return your bread to the oven on the lowest setting with the door slightly open. This will dry out your bread even more to make it last longer, which is better for hiking. Or serve it warm for a delicious treat.
Like this post? Don't Forget to Pin It On Pinterest!
Logan Bread
Ingredients
Dry ingredients
- 2 cups wheat flour
- 2 cups white flour
- 2 cups quick oats
- 3/4 cup brown sugar
- 1/2 cup powdered milk
- 2 tsps. baking powder
- 1 tsp. salt
- 1 tsp. nutmeg
- 1 tsp. cinnamon
Wet ingredienta
- 1 1/2 cups water
- 3/4 cup honey
- 1/2 cup molasses
- 3/4 cup oil
Mix-Ins
- 1 1/2 cups sliced almonds
- 1 1/2 cups dried cranberries
- 1 1/2 cups dRK CHOCOLATE CHIPS
Instructions
- Mix all dry ingredients together in a large mixing bowl. I used a 4-quart mixing bowl, and it was just large enough to mix everything together without making a big mess. Make sure it's well-mixed.
- Mix your wet ingredients in a separate bowl. I used an 8-cup mixing bowl.
- Add your wet ingredients to your dry ingredients, and mix it until it creates a thick batter. It will look more like cookie batter than bread mix. It smells and tastes delicious already!
- Once your batter is evenly mixed, you can fold in your mix-ins.
- Spread your batter evenly into a greased pan. I used a 2-quart Pyrex dish, but you could use a 9 x 13 pan or even two loaf pans if you prefer.
- Bake at 300 degrees for approximately an hour. My glass dish took a little bit longer.
- Cut your logan bread into squares while it is warm.
- If you choose, you can return your bread to the oven on the lowest setting with the door slightly open. This will dry out your bread even more to make it last longer, which is better for hiking. Or serve it warm for a delicious treat.
You May Also Like: