

Estimated reading time: 10 minutes
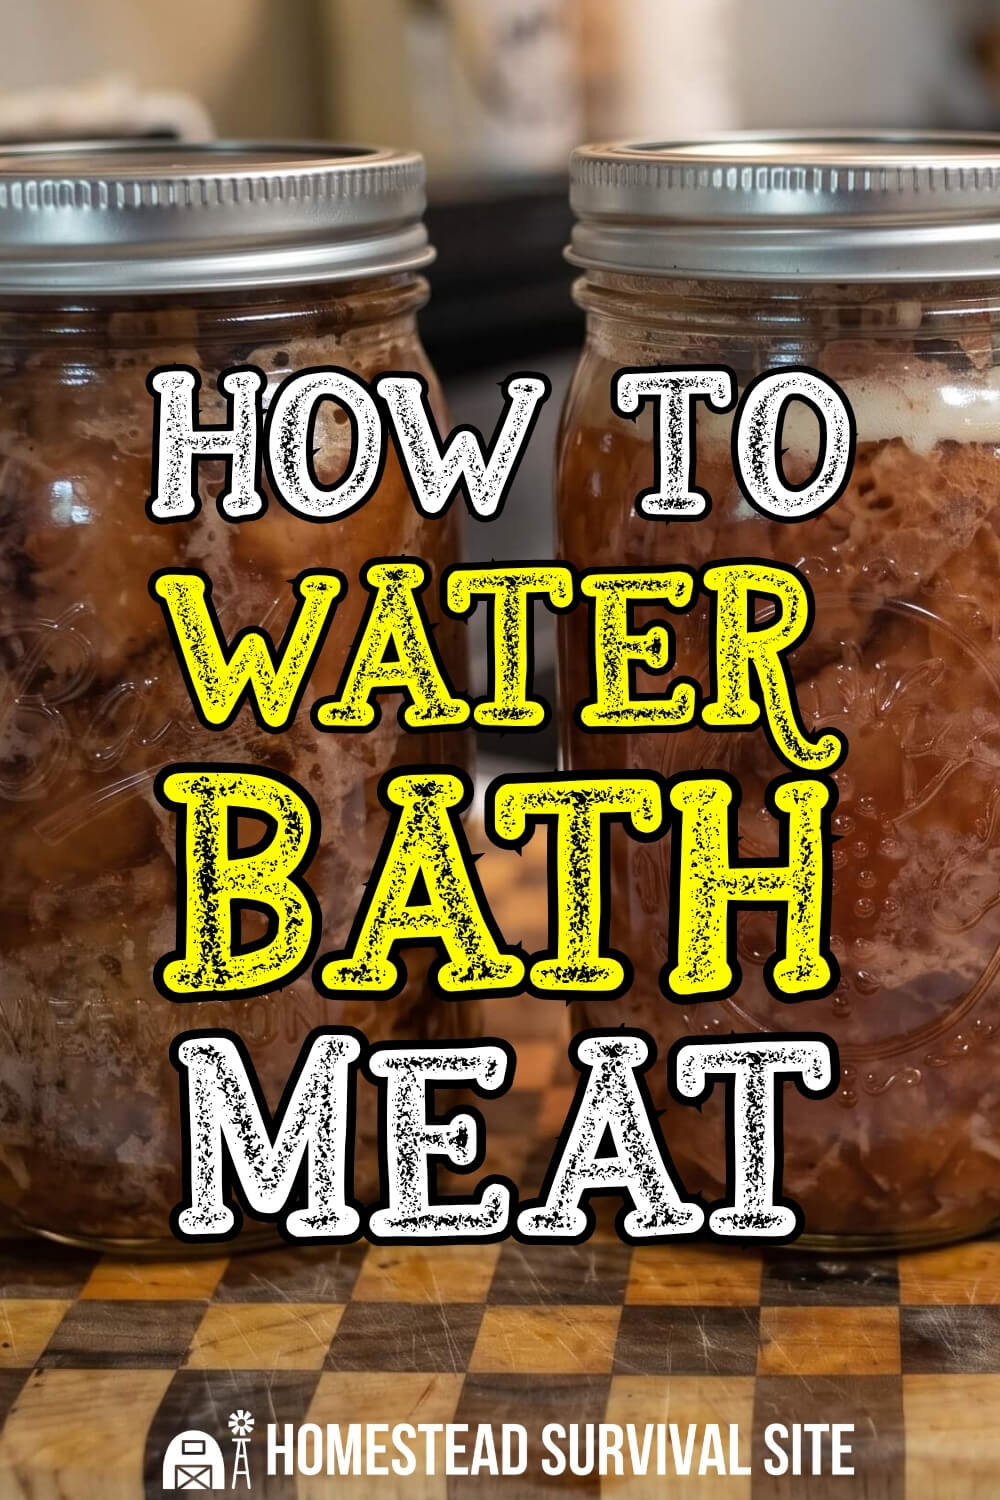
If you’ve ever canned food before, you’ve probably heard the rule that meat should always go in the pressure canner. Period. And there’s a good reason for that. Meat is a low-acid food, and low-acid foods are where botulism likes to hide. A pressure canner gets the inside of your jars hotter than boiling water ever can, which is why the USDA says it’s the only safe way to can meat at home.
But here’s the thing: people were canning meat long before pressure canners were invented. In fact, the Amish still water bath their meat to this day. And in a lot of countries, pressure canners are either impossible to find or way too expensive, so water bathing is the only option. It’s sometimes called “heritage canning” or “rebel canning,” and while it’s not the officially recommended method, it can be done if you’re careful.
If the grid ever goes down and you’ve got a freezer full of meat that’s about to thaw, knowing how to do this could save you a lot of food. If you want to try it, there's a great video from the YouTuber Survival HT that explains exactly how to water bath meat as safely as possible. You can watch the video and read the steps blow.
Want to save this post for later? Click Here to Pin It On Pinterest!
A Quick Word Before You Start
Survival HT is upfront about this: if you own a pressure canner and can use it, use it. Water bathing meat is something she shares for educational purposes, for folks in other countries who don’t have another option, and as a backup skill for emergencies. That’s the right way to think about it.
It’s also worth knowing that boiling water doesn’t kill botulism spores the way pressure canning does. That’s why the long processing time and the “reheat before eating” step (more on that below) are so important. Don’t skip either one.
Step 1: Thaw Your Meat First
Don’t put frozen meat straight into jars. Heating up frozen jars is asking for trouble, since sudden temperature swings can stress the glass and crack it. Let your meat defrost completely before you start.
Step 2: Cut It Into 1- to 2-Inch Chunks
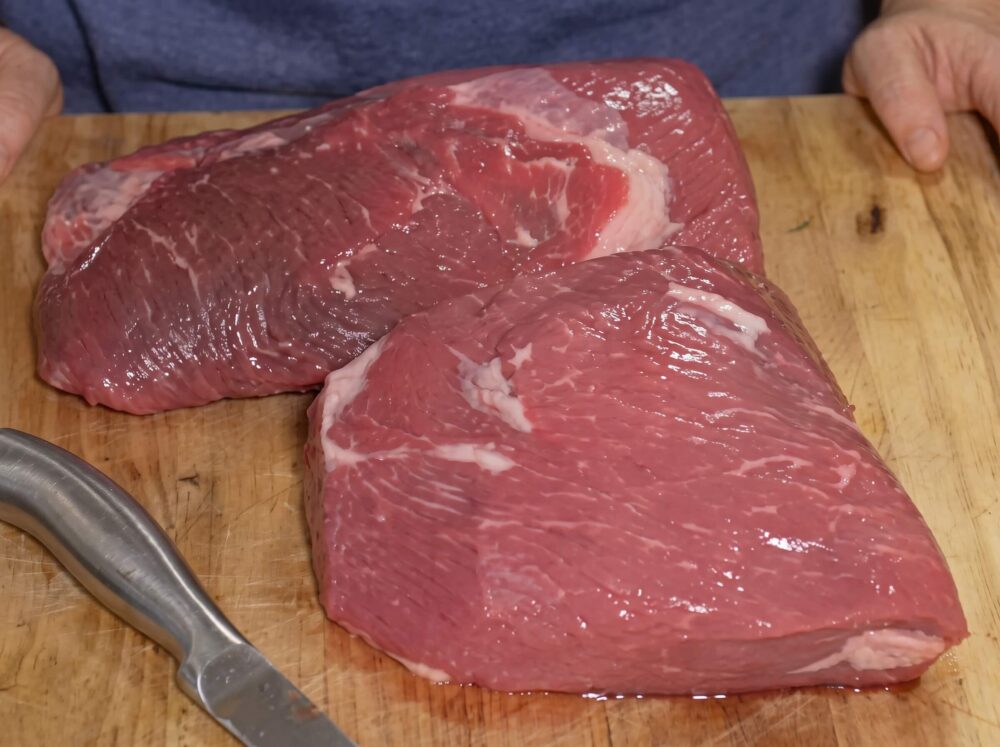
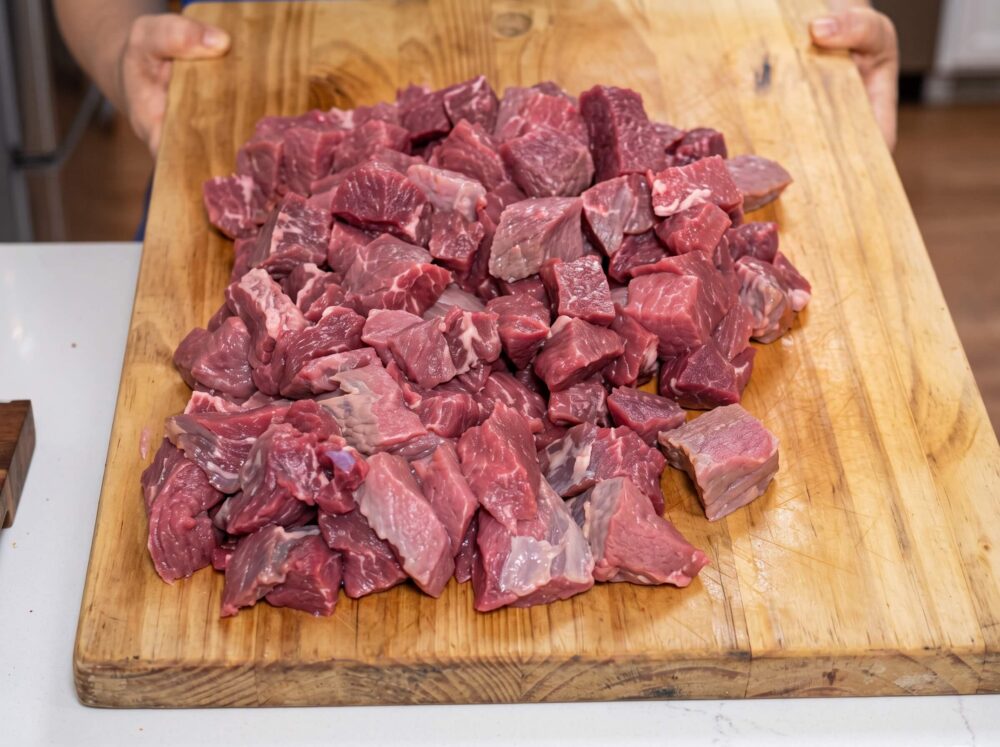
Cube your meat into pieces roughly 1 to 2 inches across. In the video, she used two beef roasts and cut them into about 1-inch cubes, since roast is a tougher cut. If you’re working with a more tender cut, you can go up to 2 inches.
Step 3: Decide Whether to Add Liquid
If you’re raw packing (putting the meat in the jar uncooked), you technically don’t need to add any liquid. The meat releases plenty of juice as it cooks.
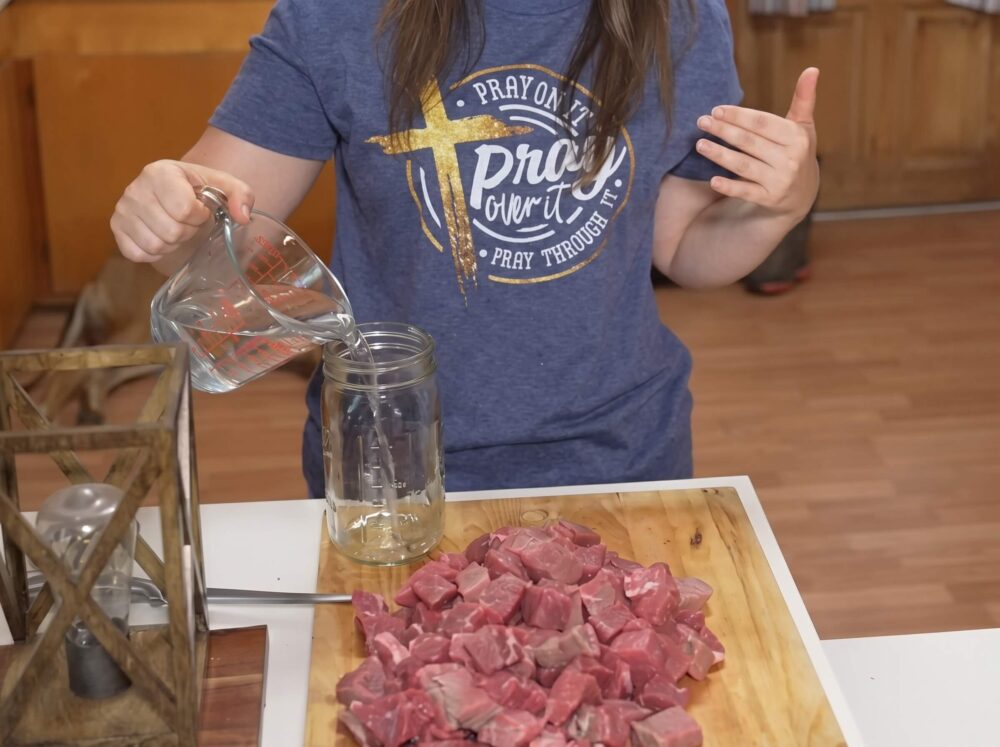
That said, she usually adds about an inch of water or broth anyway. Sometimes the meat doesn’t give off enough juice to stay covered, and any pieces sticking up out of the liquid can come out a little tough. It won’t make them unsafe, just less pleasant to eat.
If you cook your meat before packing it, you’ll definitely want to add broth or water.
Step 4: Season It (Salt Is Optional but Helpful)
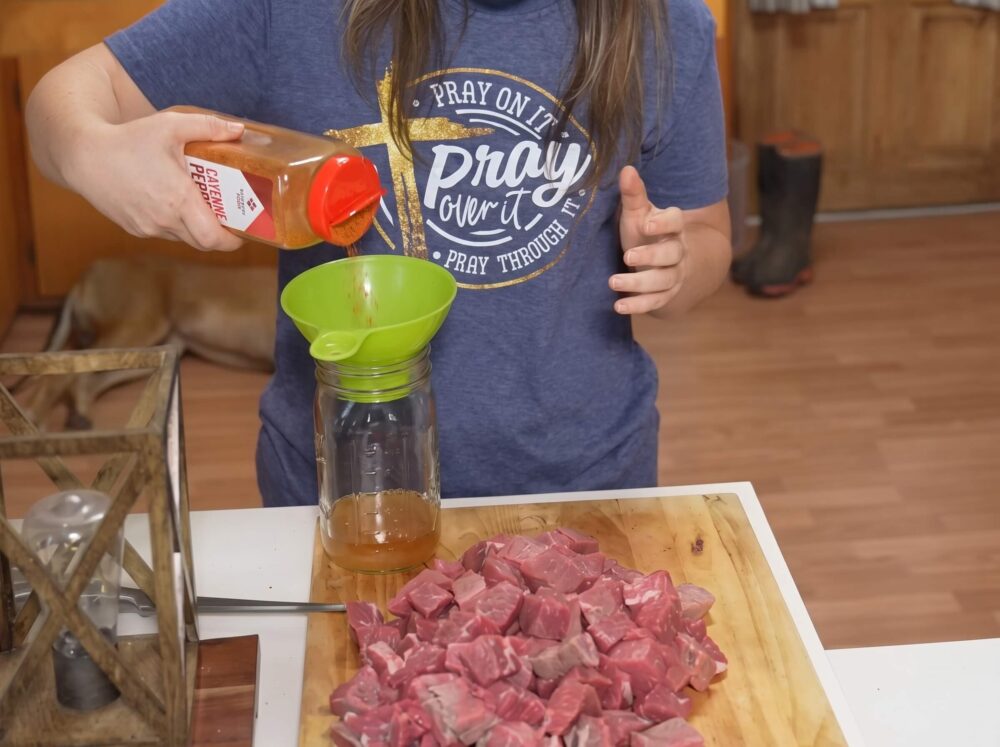
Salt isn’t required, but it’s a preservative, so it can help with shelf life. Most people add anywhere from half a teaspoon to half a tablespoon per jar.
She seasons everything, and her reasoning makes a lot of sense for preppers: if you’re storing food for an emergency, you don’t know what you’ll have on hand when you open it, so you might as well season it now. She keeps the salt to about half a teaspoon because her other seasonings already contain some.
Step 5: Pack the Jars
Wide-mouth jars are your friend here, since they make it a lot easier to get the meat back out later. Stuff as much meat into each jar as you can, leaving about an inch of headspace. It doesn’t have to be perfect.
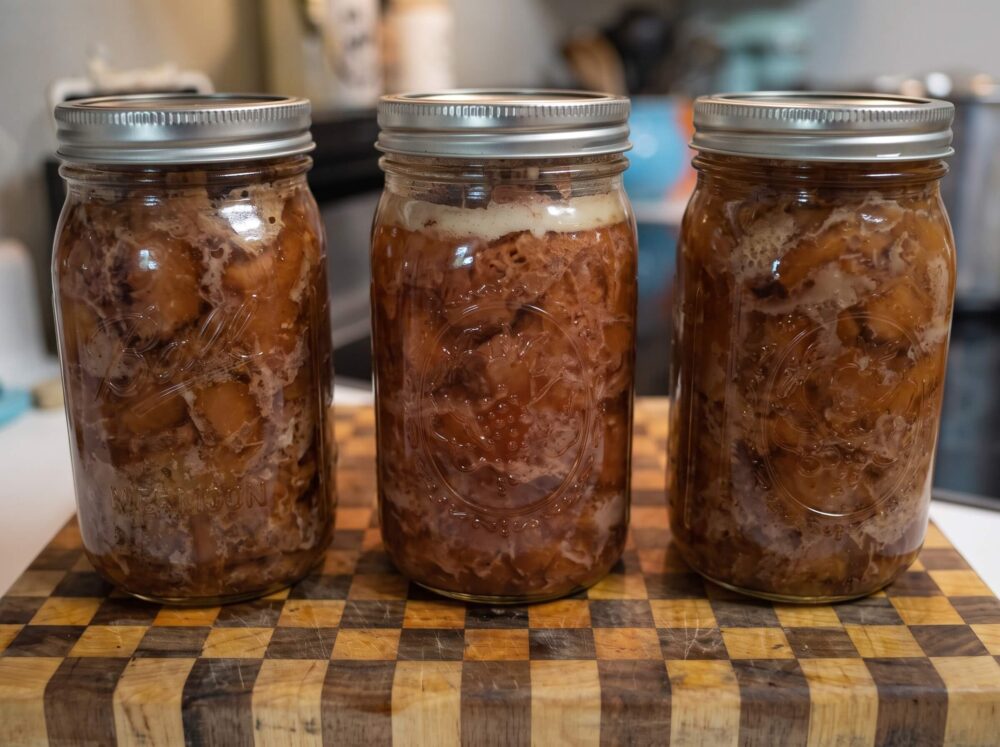
You’ll be surprised how much meat fits. Those two beef roasts filled three quart jars.
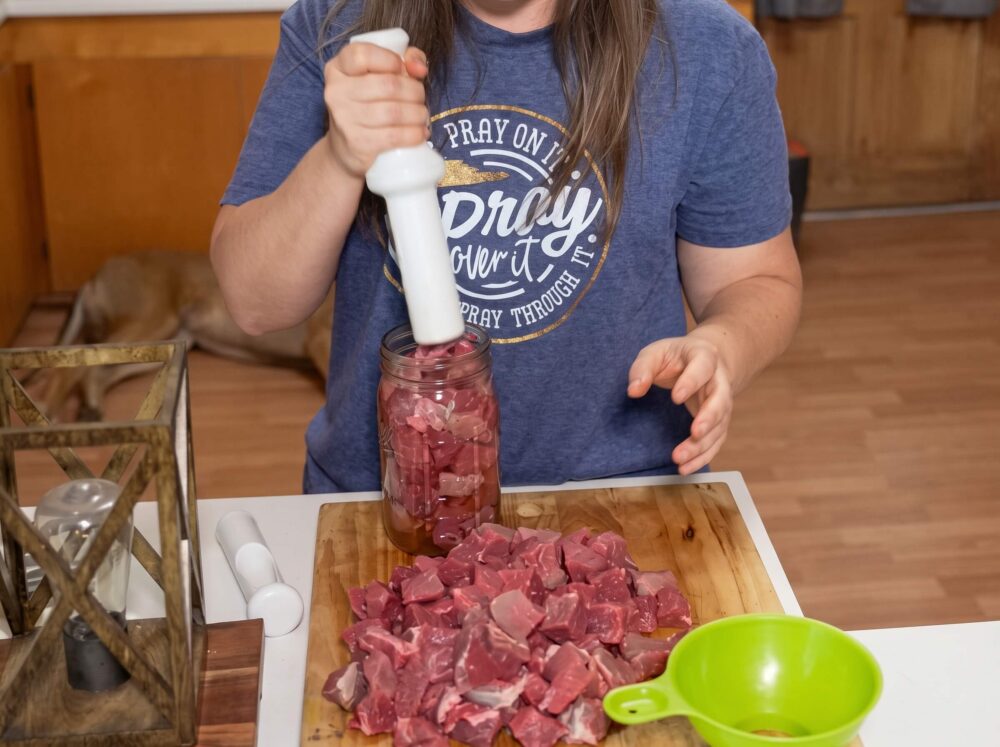
Step 6: Wipe the Rims
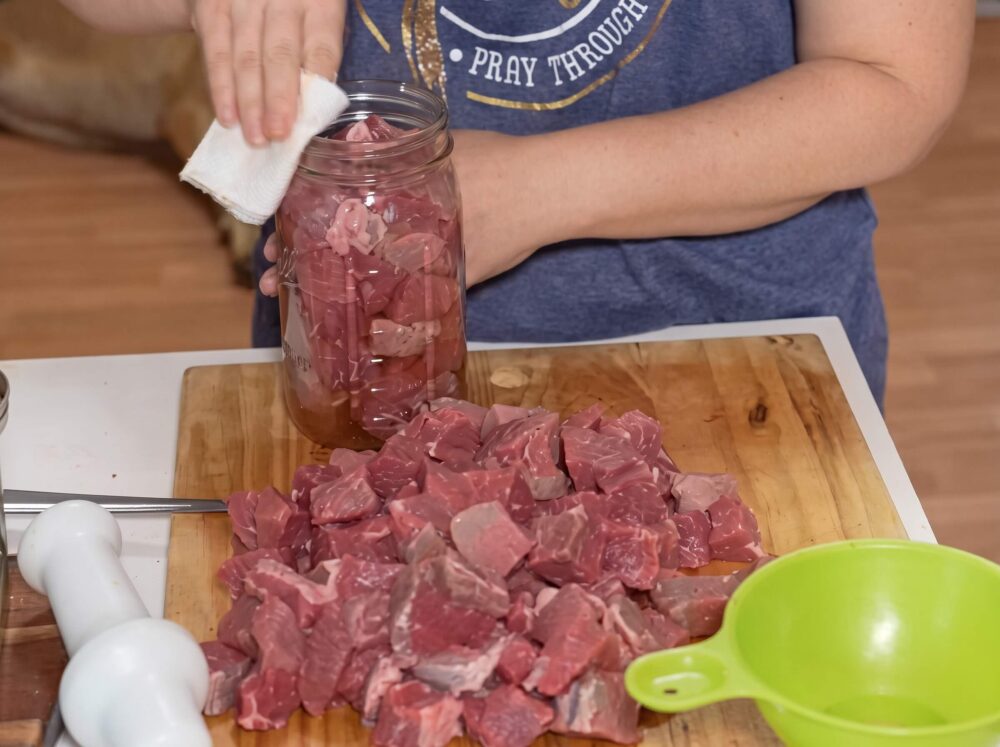
Before the lids go on, wipe each rim with a clean rag dipped in hot water or vinegar. Vinegar works especially well with meat because it cuts through the grease. You don’t want anything sitting between the rim and the lid, or you won’t get a good seal.
Step 7: Put the Lids On Fingertip Tight
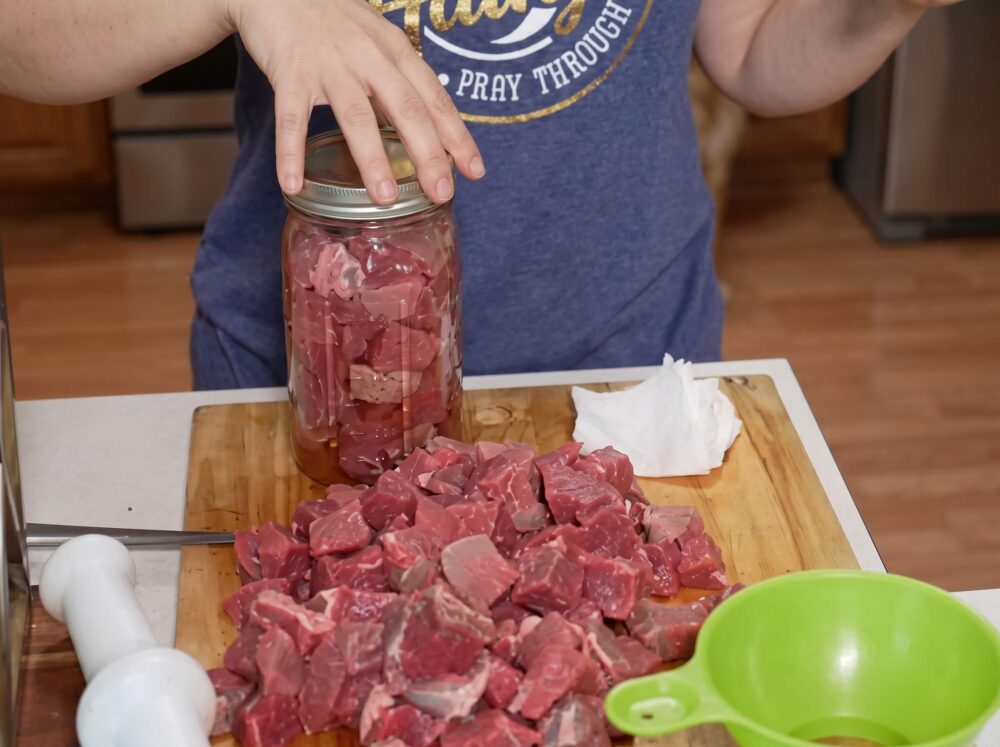
Screw the rings on just fingertip tight. Don’t crank them down.
Here’s why: as the jars heat up, the contents expand and push air out through the lid. Then as everything cools, a vacuum forms and seals the lid down. If the ring is too tight, the air can’t escape. You want it just snug enough to keep water out.
Step 8: Set Up Your Pot
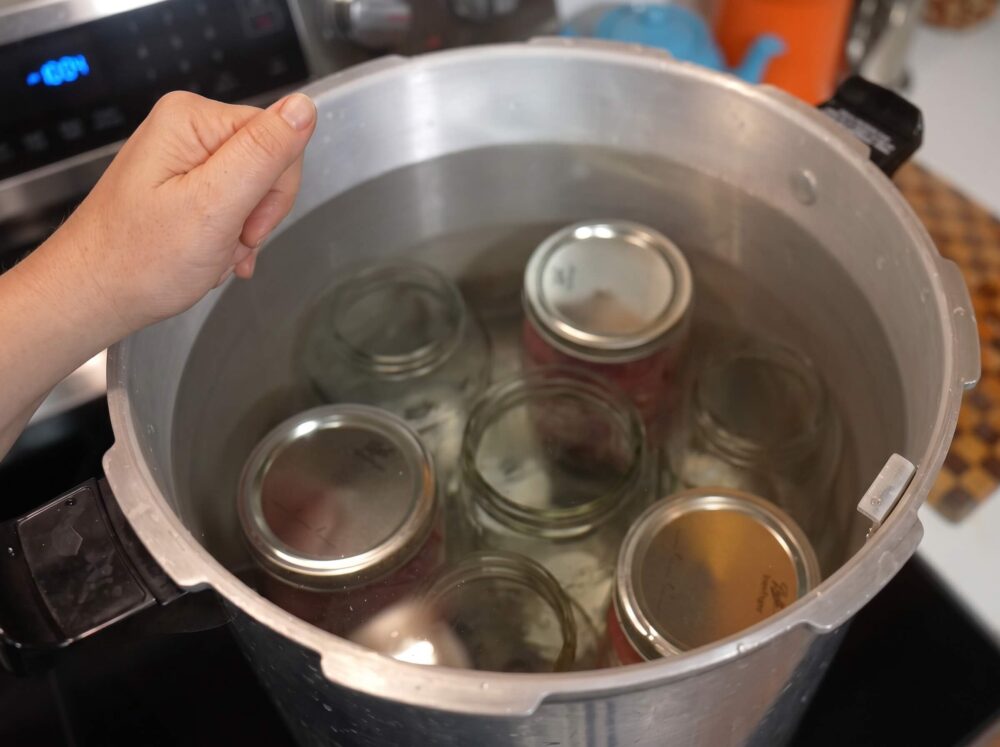
You don’t need a fancy water bath canner. Any pot that’s deep enough to fully submerge your jars will work. A few tips:
- Use a heavy-bottomed pot if you can. Thin pots put a lot of direct heat on the jars.
- Put something under the jars. A canning rack is ideal, but a folded dish towel works too. It buffers the heat and keeps jars from bouncing around during the boil.
- Fill empty space. If you don’t have a full load, add empty jars to fill the gaps so your full jars can’t knock into each other once the water’s at a hard boil.
- Cover the jars completely. The exact amount of water doesn’t matter as long as it’s over the tops of the lids. More water means less chance you’ll have to top it off later.
The process is the same whether you’re doing three jars in a stockpot on the stove or 70 jars in an 80-quart crawfish pot over a propane burner outside.
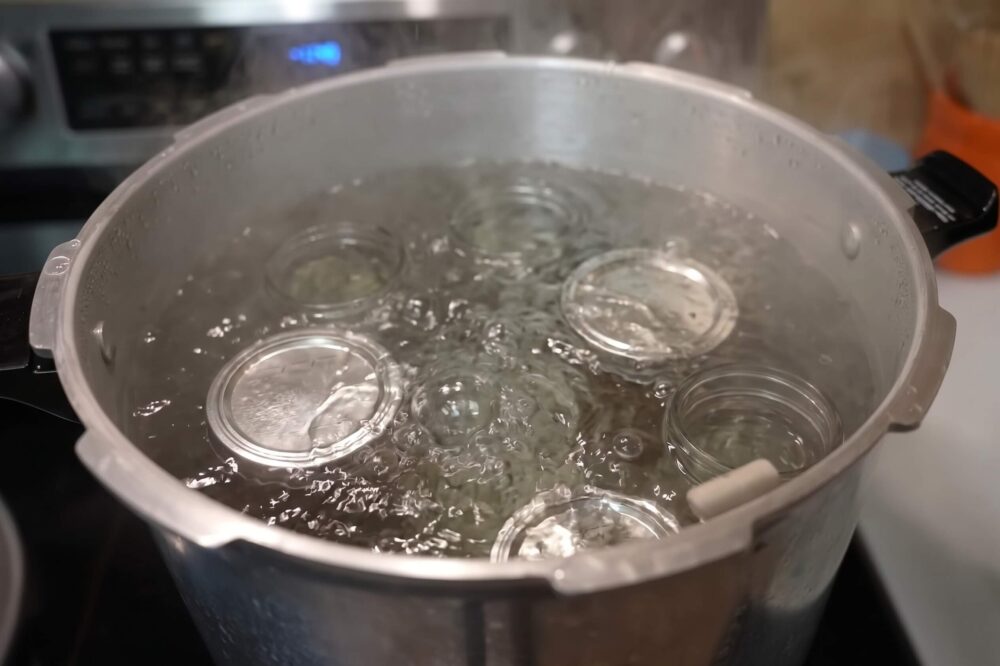
Step 9: Boil for 3 Hours Straight
This is the big one. Once the water reaches a hard, rolling boil, start your timer for 3 hours. Not before. You can put a lid on the pot to help it come to a boil faster.
The boil has to be continuous for the full 3 hours. If it stops boiling at any point, you have to bring it back up to a hard boil and start the timer over.
Important: Keep Hot Water on Standby
Three hours is a long time, and your water is going to evaporate. If the level drops below the tops of your jars, you’ll need to top it off, but only with hot water. Adding cold water will knock the pot off its boil and reset your clock.
Keep a kettle or a second pot of water heating nearby so you’re ready the moment you need it. Even if you’re using a big pot and don’t expect to need it, have it ready anyway. You don’t want to get two and a half hours in and have to start over.
Step 10: Let the Jars Cool Overnight
When the 3 hours are up, turn off the heat and let the pot settle down a bit. When you pull the jars out, you should see the contents still boiling inside the jars. That’s a good sign that everything got heated through.
Then leave them alone. Let them sit undisturbed overnight so they can cool completely and seal.
Step 12: Check the Seals and Remove the Rings
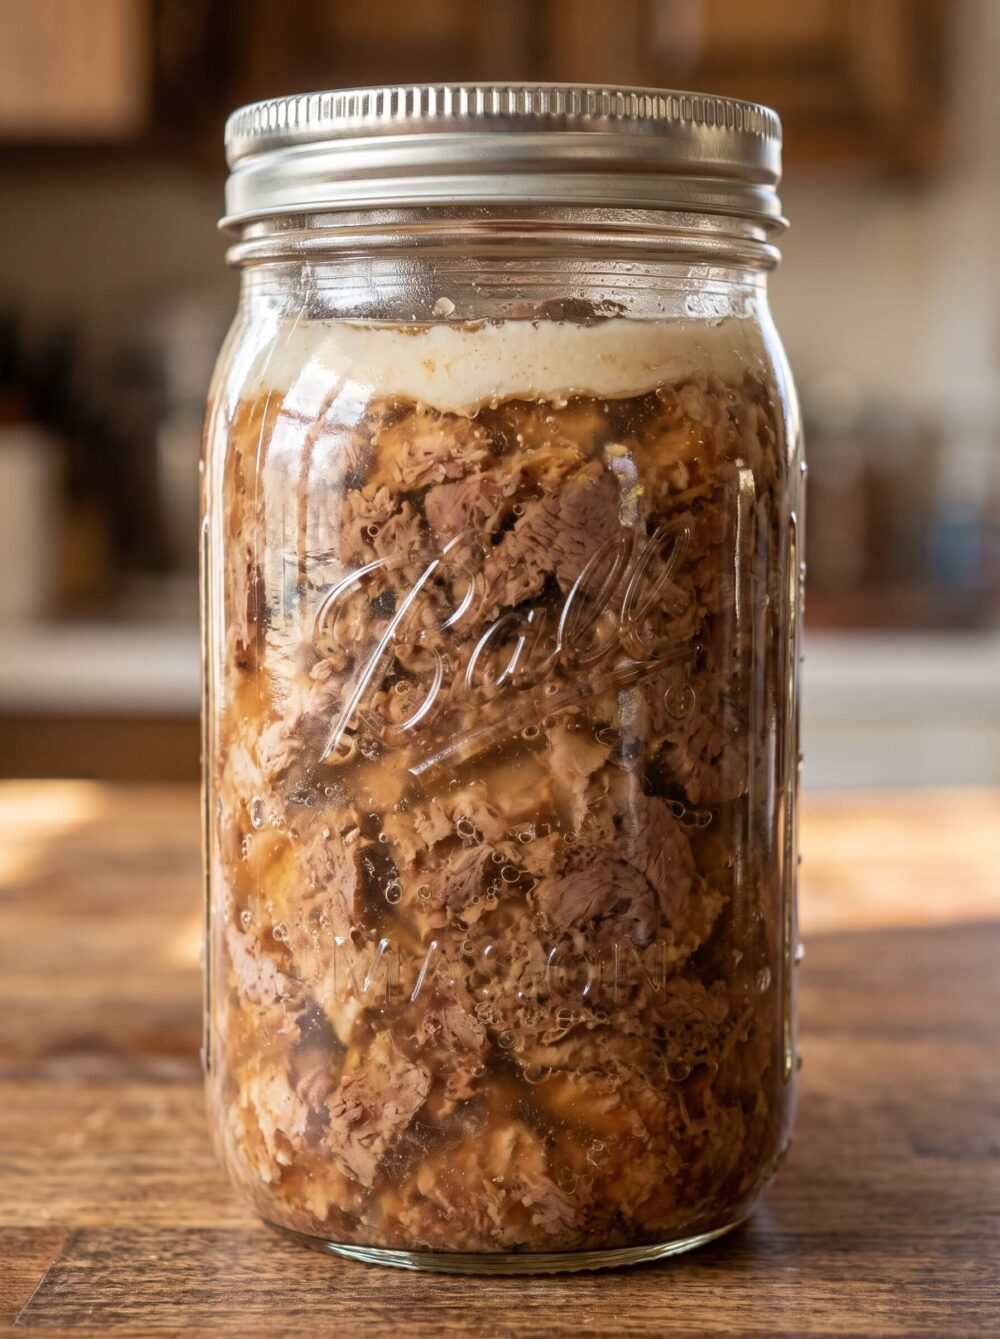
The next day, check your seals. A good one will let you lift the jar by the lid alone.
Once everything’s fully cooled and sealed, take the rings off before storing. There are two reasons for this:
- If a jar loses its seal and the contents start to spoil, the gas will just pop the lid off instead of building up pressure and possibly cracking the jar.
- With the ring on, a jar can lose its seal and then appear to reseal as temperatures change, so you might never know something went wrong.
Step 13: Label Your Jars “WB”
When you mark your lids, write “WB” on them so you know at a glance which jars were water bathed and which were pressure canned. Down the road, that’s going to matter.
Step 14: Always Reheat Before Eating
This one’s non-negotiable. Before you eat water-bathed meat, heat it thoroughly to a boil. (Many canning sources recommend boiling home-canned low-acid foods for at least 10 minutes before eating.) She actually recommends doing this even with pressure-canned meat.
That’s why water-bathed meat is best saved for dishes you’re going to cook again anyway, like soups, stews, gravies, pot pie filling, etc. That way you’ve got an extra layer of protection every single time.
Final Thoughts
Water bathing meat isn’t the officially recommended method, and if you’ve got a pressure canner, that’s still your best bet. But it’s a valuable skill to have in your back pocket, especially if the power goes out with a full freezer or you ever need to put up a lot of meat at once. Just follow the steps in the video carefully, never cut the 3-hour boil short, label your jars, and always reheat before eating.
Like this post? Don't Forget to Pin It On Pinterest!
You May Also Like: