

Estimated reading time: 7 minutes
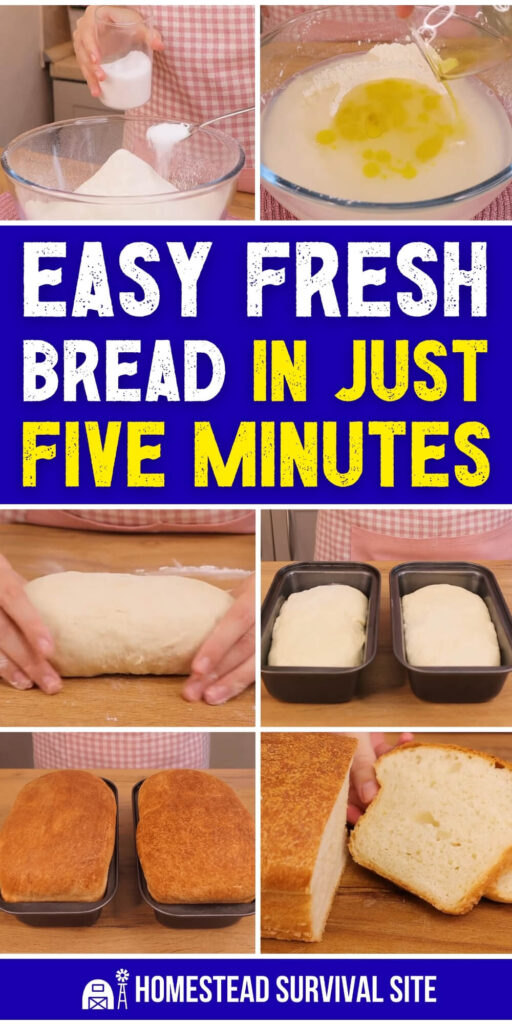
Imagine being able to bake fresh, soft, crispy-crusted bread whenever you need it, whether it's for Sunday dinner, weekday sandwiches, or just because you're hungry. And imagine it only takes 5 minutes to prepare.
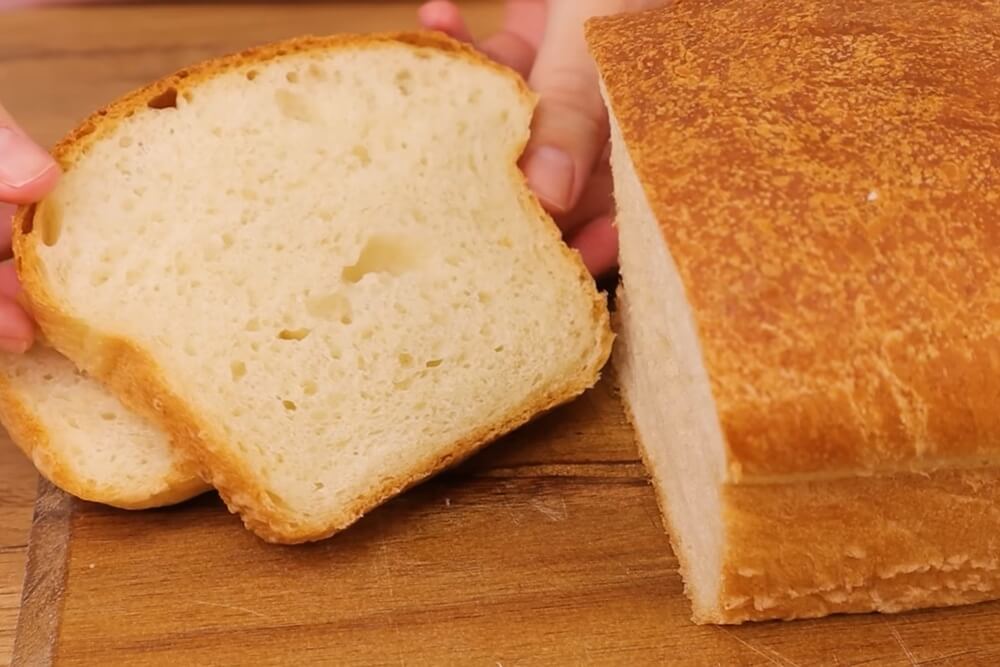
This is a simple, no-fuss American-style sandwich bread made with staples you probably already have on hand. The dough comes together quickly, does most of the work on its own while it rises, and bakes into two beautiful loaves that are soft on the inside and wonderfully crispy on the outside.
Want to save this post for later? Click Here to Pin It On Pinterest!
I came across this gem on the YouTube channel Schnell Lecker Kochen, where home cook Helga shares practical recipes that make everyday cooking easy and fun. You can watch the full video right here, but I typed up the instructions below for those who prefer to read.
Ingredients
Makes 2 loaves
- 6⅓ cups (800g) all-purpose flour, plus more for dusting
- 2 teaspoons salt
- 2 tablespoons sugar
- 1 tablespoon (10g) dry yeast
- 2 cups (500ml) warm water
- 2 tablespoons (30ml) olive oil, plus more for greasing
- Sunflower oil (for greasing the bowl)
- Milk and olive oil (for brushing the tops)
Instructions
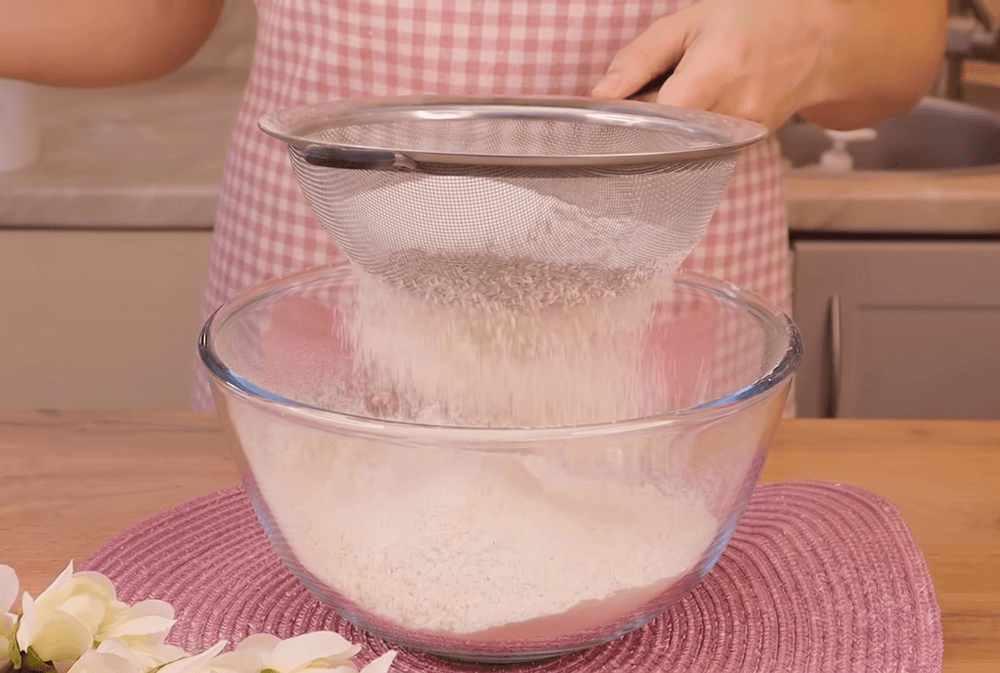
Step 1: Sift the Flour
Measure out the flour and sift it through a fine mesh sieve into a large mixing bowl. Sifting is an important step. It aerates the flour and helps give the finished bread a lighter, softer texture.
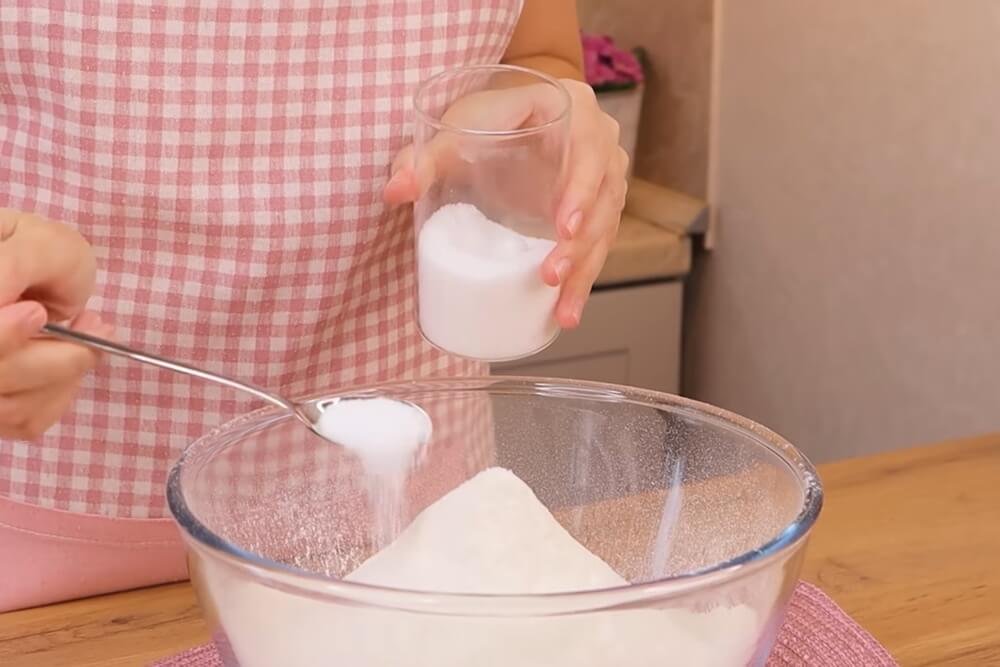
Step 2: Add the Dry Ingredients
Add 2 teaspoons of salt, 2 tablespoons of sugar, and 1 tablespoon of dry yeast to the sifted flour. Mix all of the dry ingredients together thoroughly before adding any liquid.
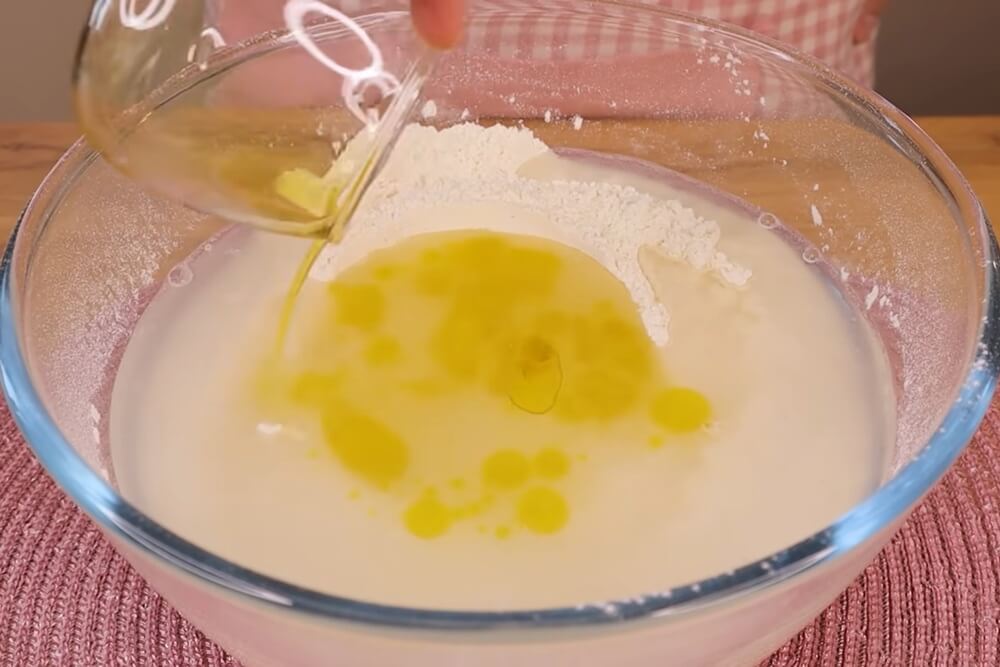
Step 3: Add Water and Oil
Pour in 2 cups of warm water and 2 tablespoons of olive oil. The water should be warm to the touch but not hot. Too much heat can kill the yeast.
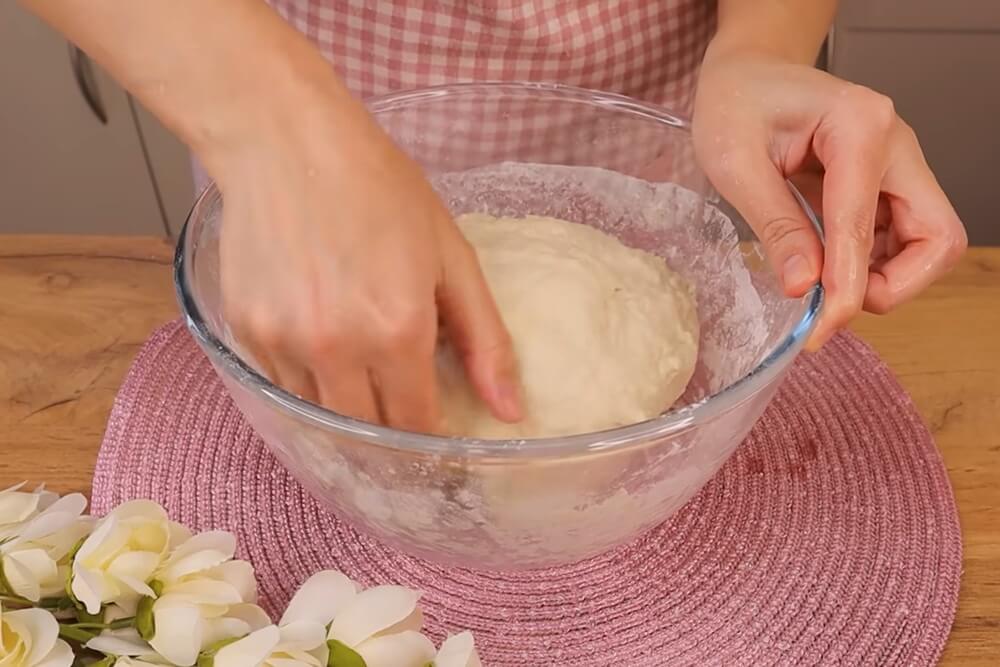
Step 4: Knead the Dough
Mix everything together and knead the dough until it is smooth and elastic. This should take a few minutes of steady kneading. You're looking for a cohesive, slightly tacky dough that holds together well.
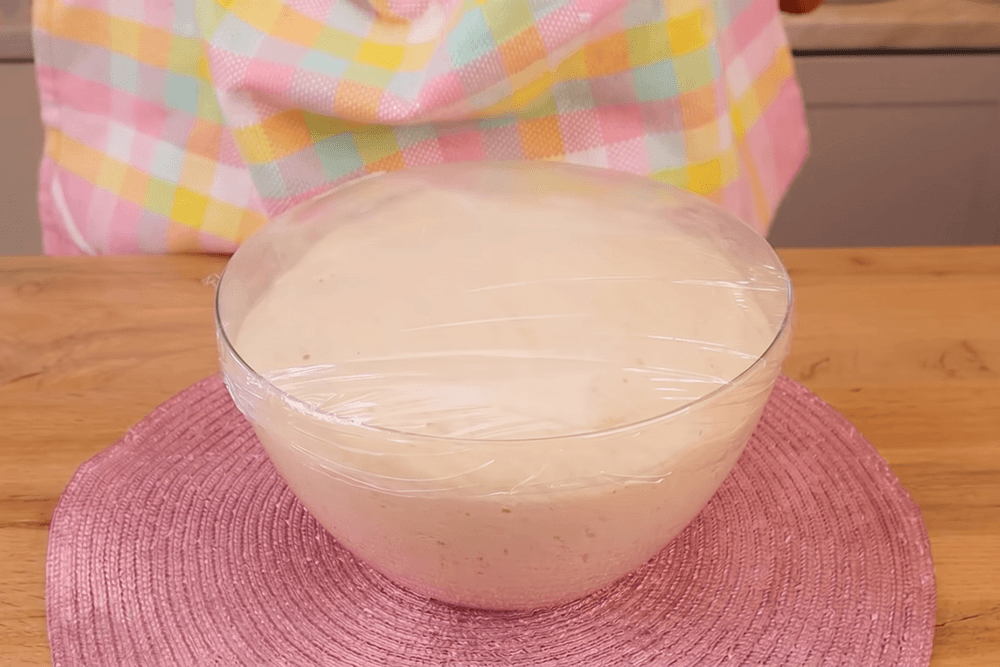
Step 5: First Rise
Lightly grease a large bowl with sunflower oil and place the dough inside. Cover the bowl with a clean towel or plastic wrap and set it somewhere warm. Let the dough rise for 2 hours, until it has roughly doubled in size and looks fluffy and airy.
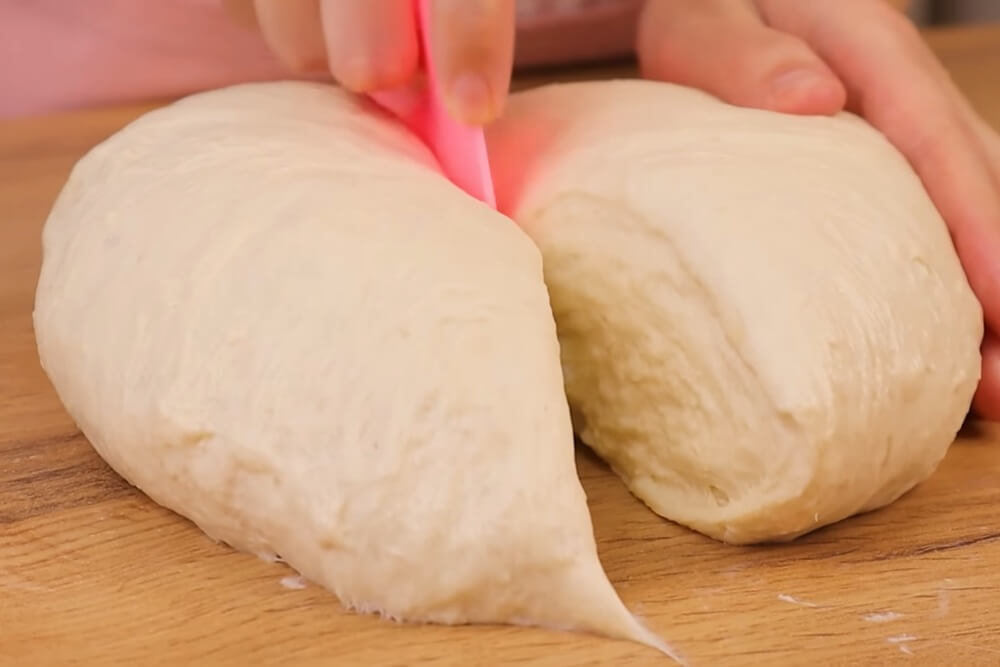
Step 6: Knock Back and Divide
Once the dough has risen, press down on it to release the air. Then knead it briefly with your hands to bring it back together. Divide the dough evenly into 2 equal portions.
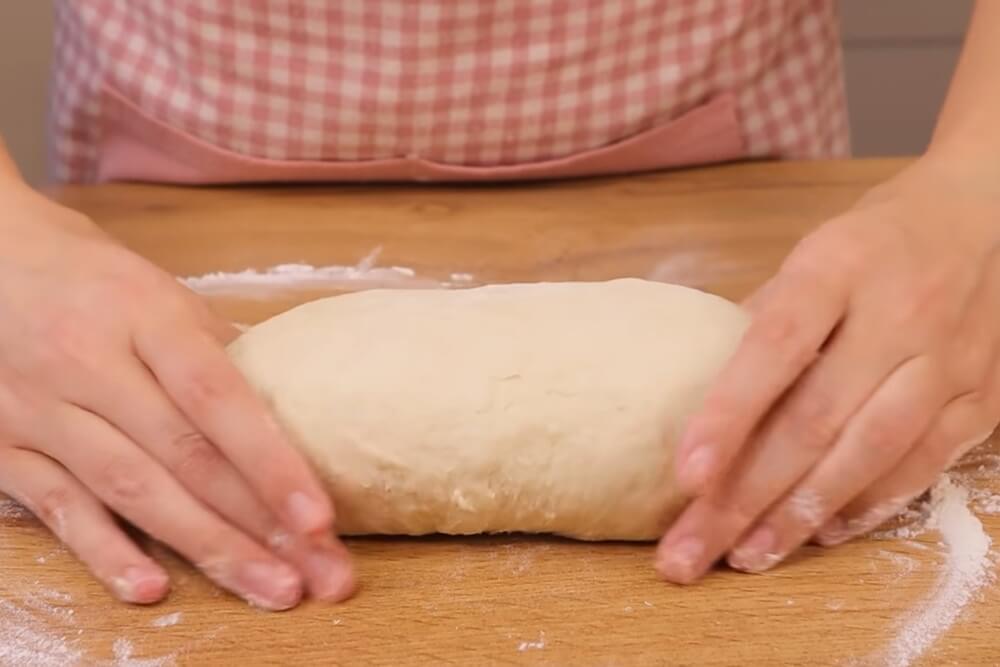
Step 7: Shape the Loaves
Dust your work surface lightly with flour. Working with one portion at a time, shape the dough into a rectangle that fits your bread pan. Fold and pinch the edges together on the underside to create a smooth, tight surface on top.
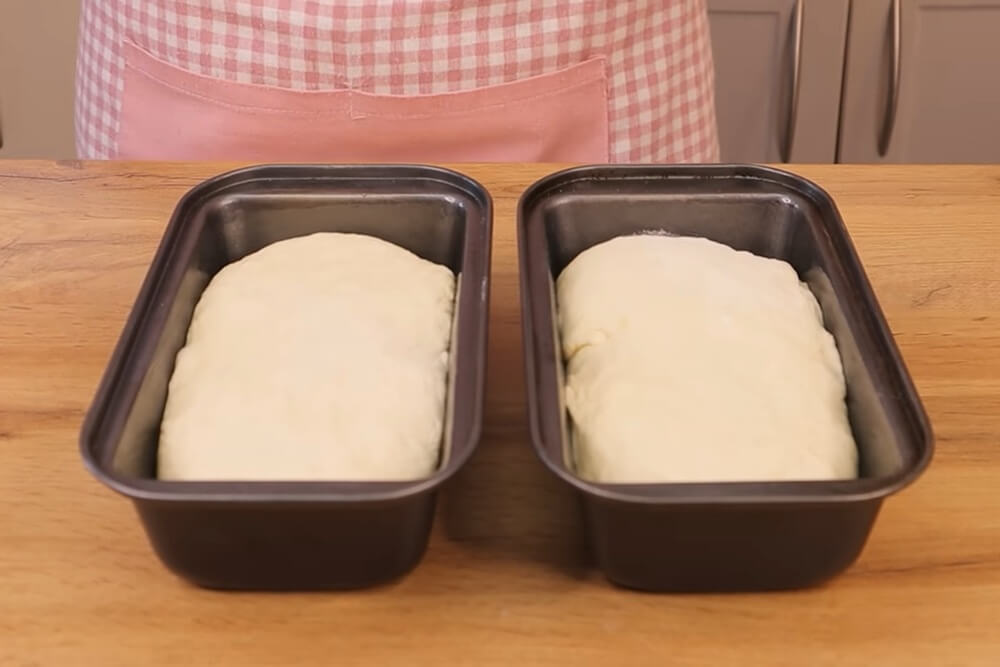
Step 8: Prepare the Pans
Grease two rectangular loaf pans with olive oil. Place one shaped loaf into each pan, seam-side down.
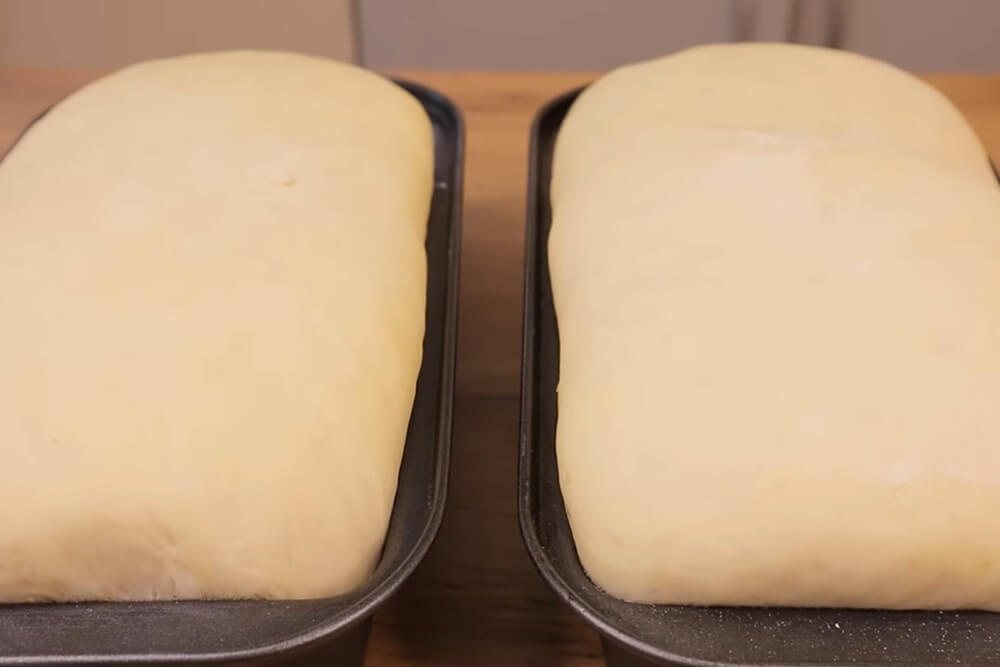
Step 9: Second Rise (30–40 Minutes)
Cover the pans loosely and let the dough rise again in a warm spot for 30 to 40 minutes. The loaves should puff up noticeably above the rim of the pans.
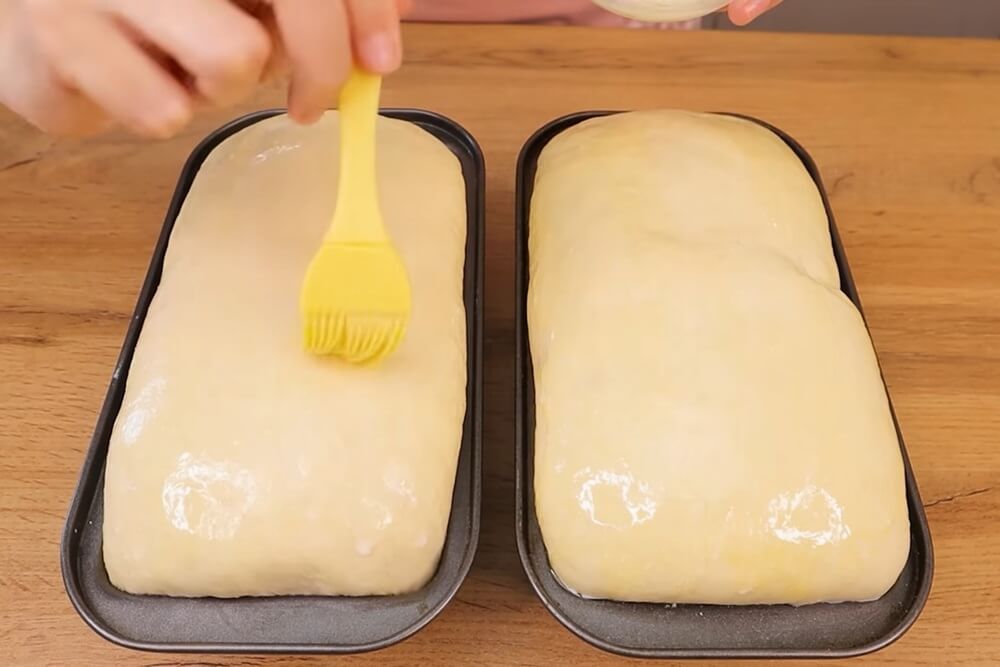
Step 10: Brush and Bake
Preheat your oven to 200°C (392°F). Once the dough has risen, mix a small amount of milk and olive oil together and brush it generously over the top of each loaf. This gives the crust a beautiful golden color as it bakes.
Bake for 30 to 40 minutes, until the tops are deep golden brown and the loaves sound hollow when tapped on the bottom.
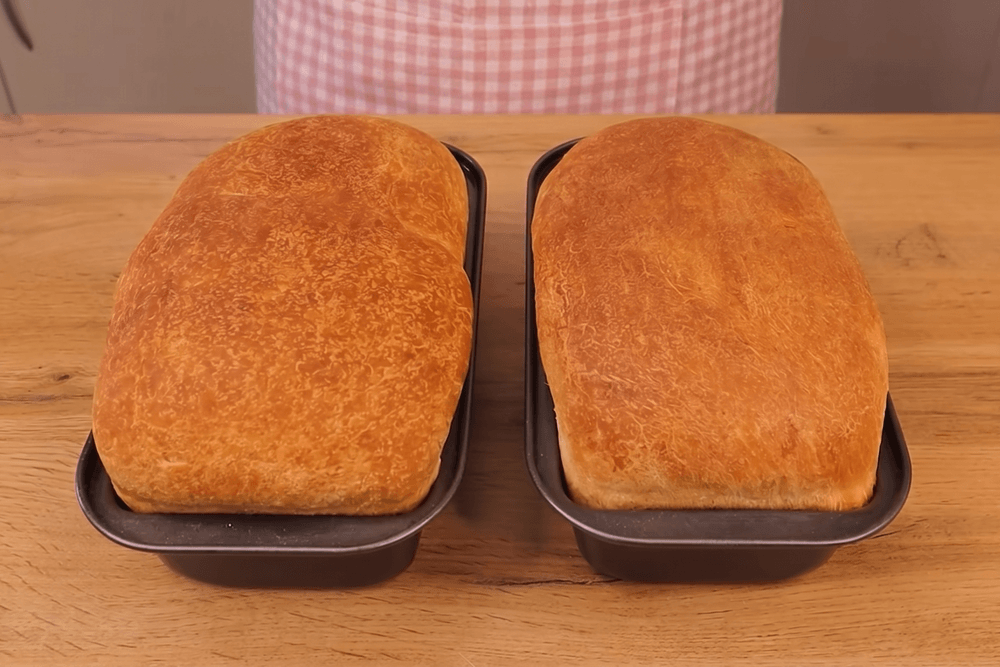
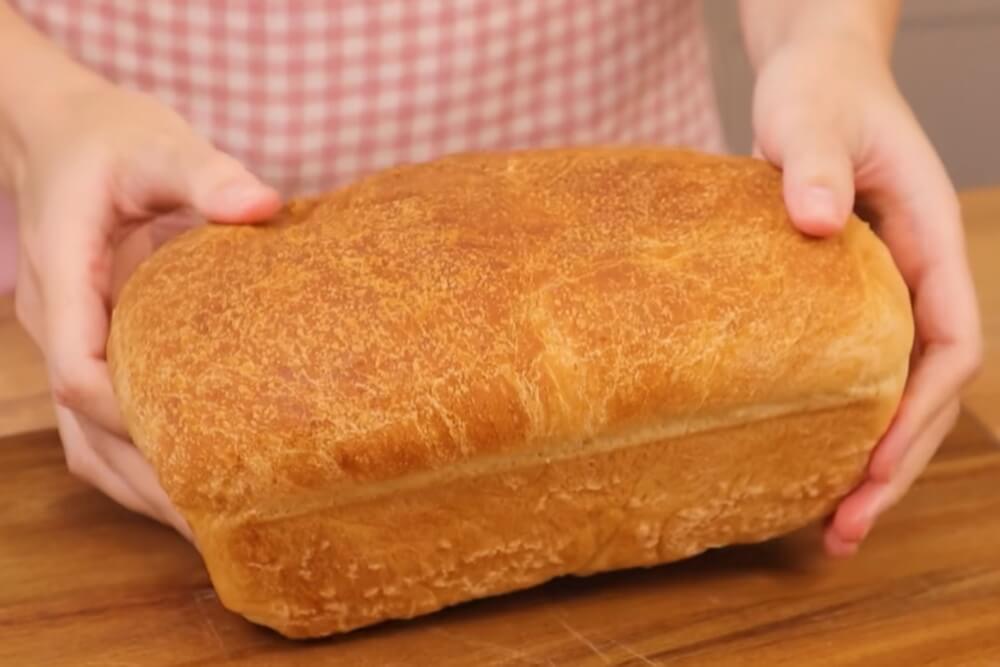
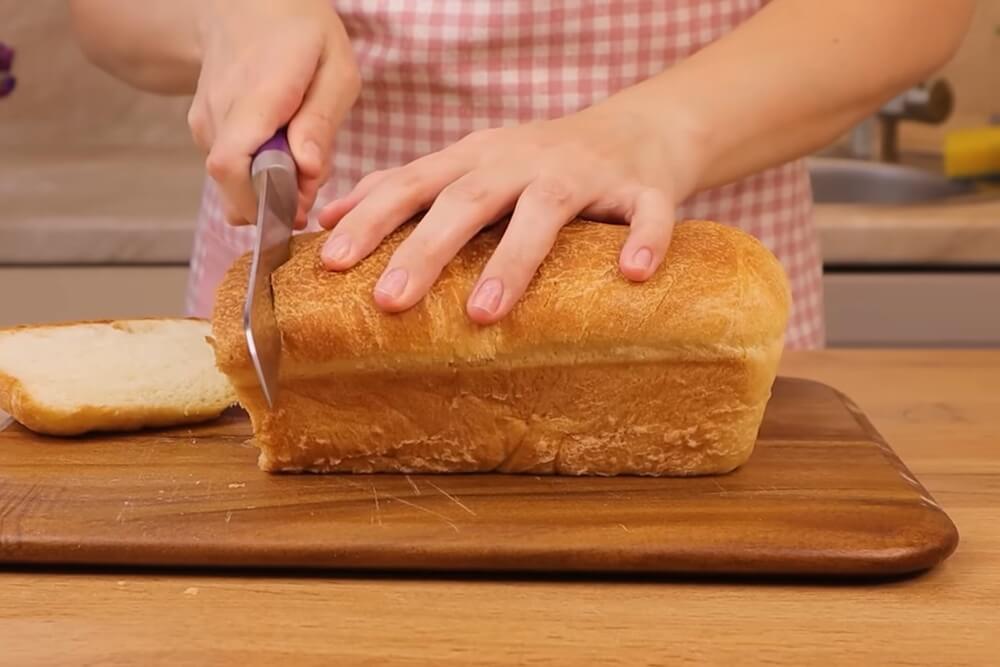
Step 11: Cool Before Slicing
Remove the loaves from the oven and let them cool on a wire rack before slicing. Once cooled, you'll be rewarded with a loaf that's soft and tender inside with a satisfying crispy crust.
Tips for Success
- Water temperature matters. Warm water (around 100–110°F / 38–43°C) activates the yeast properly. Cold water slows it down; hot water kills it.
- Don't skip the sifting. It's a small step that makes a real difference in the final texture.
- Find a warm spot for rising. An oven with just the light on, or a warm corner of your kitchen, works great. Consistent warmth helps the yeast do its job.
- Both loaves freeze well. Bake both and freeze one for later — just slice before freezing for easy grab-and-go pieces.
Like this post? Don't Forget to Pin It On Pinterest!
You May Also Like:


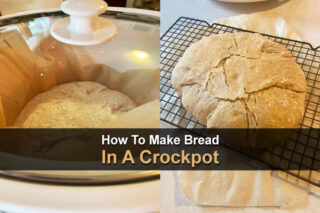


This is ok if you don’t have electricity. I’ve been baking our bread for 40 years. My bread machine has paid for itself many times over. No oven to heat. Put the ingredients in the pan, push the settings, and 3 1/2 hours later you have bread.
Easy to change recipes or make dough for pizza or rolls.
Under $100 for a compact machine. My bread in current prices costs under $2.
Good that you encourage people to cook/bake from scratch
GOOD, JUST GOOD.