Estimated reading time: 9 minutes
Making your own bread crumbs is so easy that I'm not quite sure why I never tried it before. While bread crumbs usually don't cost that much at the store, there are many reasons to make your own homemade version.
Not only can you ensure that the ingredients are top quality, but you can also choose your preference when it comes to what kind of bread to use and if you need to choose a gluten-free option. You can also make a small batch of bread crumbs whenever you have a piece or two of bread that you don't want to toss in the trash.
Making your own bread crumbs is super easy and allows you to create the style or version that fits your family best. Follow these steps to learn how to make homemade bread crumbs.
Want to save this post for later? Click Here to Pin It On Pinterest!
Step #1: Gather the Ingredients
As with any recipe, there are about a zillion different ways to make homemade bread crumbs. However, most of them all have the same general process. The first step is to make sure you have the right ingredients.
You'll also want a good blender. I used this Vitamix blender.
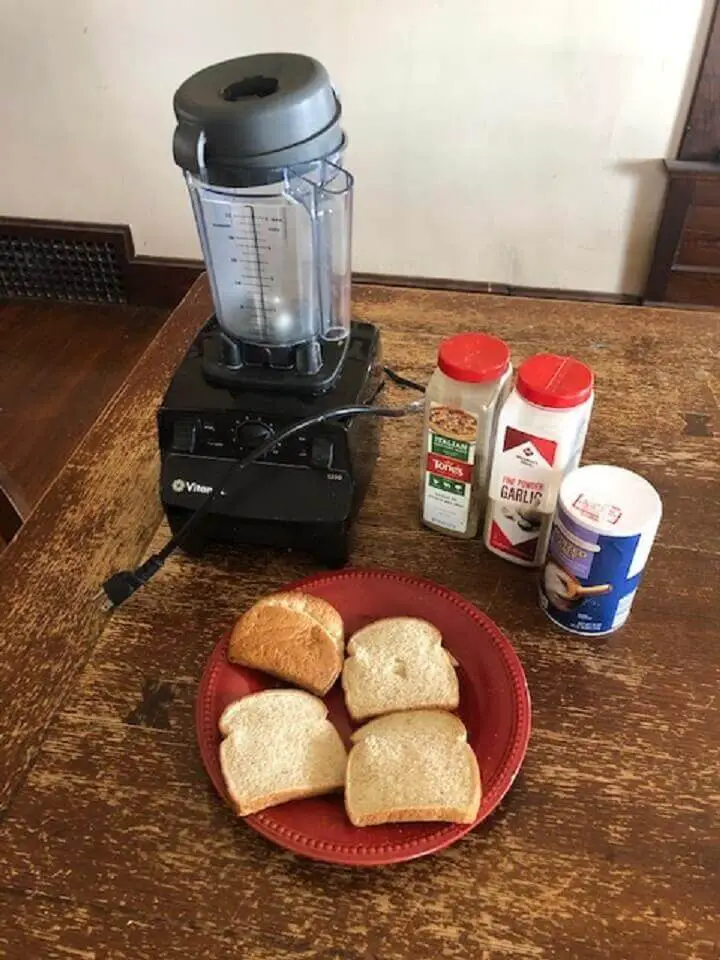
I already had some bread crumbs on hand, so I decided to make a small version of homemade bread crumbs. This would be an excellent option for those who want bread crumbs to use immediately for the standard breading procedure for fried chicken. Of course, if you're going to make a larger batch, you just have to multiply the recipe.
You'll need the following ingredients:
- 4 slices stale bread (this will result in about ½ cup of bread crumbs)
- ¼ tsp salt
- 1/16 tsp. garlic powder
- ¼ tsp Italian seasoning
Bread Options
One of the best reasons to make bread crumbs involves the bread itself. I chose some cheap bread that I had on hand, but you could elevate your recipe by using a higher quality bread as well.
Those with gluten allergies can use gluten-free bread, while those wanting to include whole grains could use wheat bread. The choice is really up to you.
Stale or Fresh Bread
It seems that there is some definite division when it comes to how you prepare your bread for homemade bread crumbs. For those who want to use bread crumbs the same day, using bread straight from the package is the way to go. For those who want to make dry bread crumbs that last longer, you can place bread out on the counter to make them stale and lose some moisture.
Either way, it is not recommended to use bread that was freshly baked the same day for homemade bread crumbs. For this recipe, I set out my pieces of bread on a plate to dry out overnight. This should make drying time in the oven faster as well.
Seasonings
Some people make unseasoned bread crumbs and later add in the seasonings based on their dish. I chose this Italian seasoning base because it goes with so many dishes. You can mix and match seasoning to your liking, which is another reason why making homemade bread crumbs makes so much sense!
Step #2: Pull Out Your Supplies
There aren't many supplies that you'll need to make homemade bread crumbs. The only super crucial tool is the use of an oven.
You'll Need the Following Supplies:
- Blender, food processor, or rolling pin
- Baking Pan
- Oven
- Spoon for stirring
- Mason Jar with lid
Step #3: Break Down the Bread
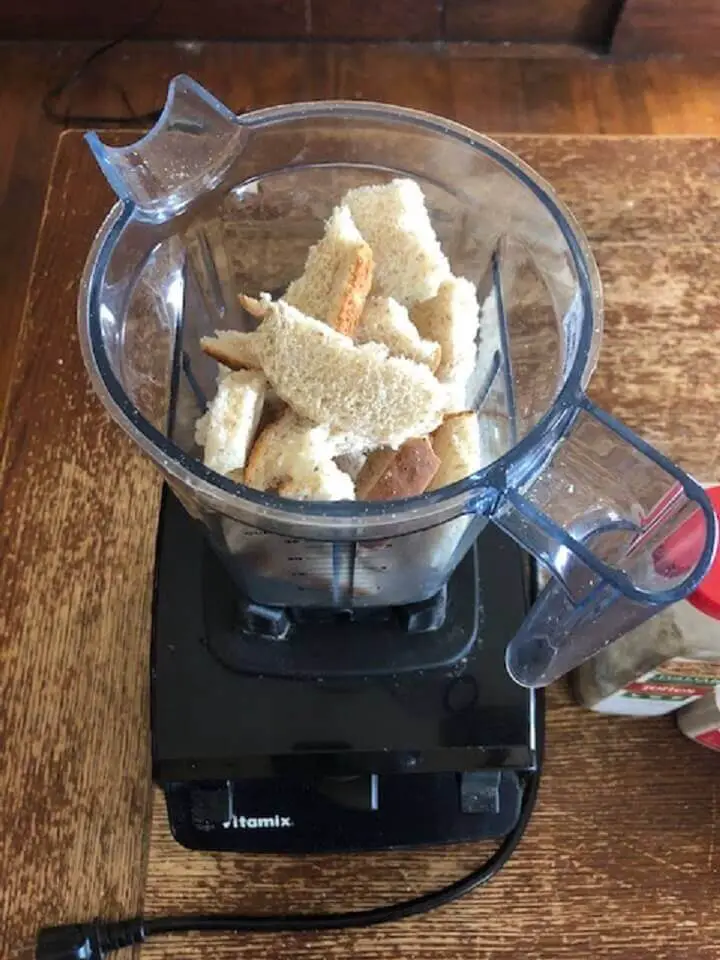
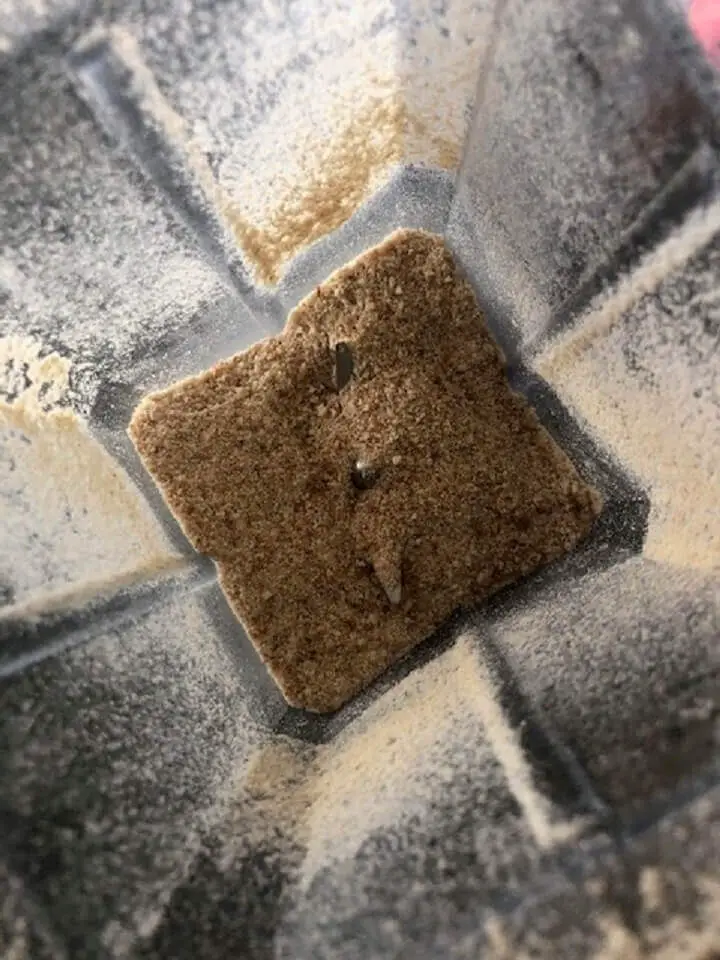
Start your homemade bread crumbs by dividing your bread into chunks. Add these to the blender or food processor and pulverize them to the desired size. If you don't have either of these tools, you can break down the bread without the use of a blender as well. Simply use a rolling pin or something heavy to break down the bread into a smaller size.
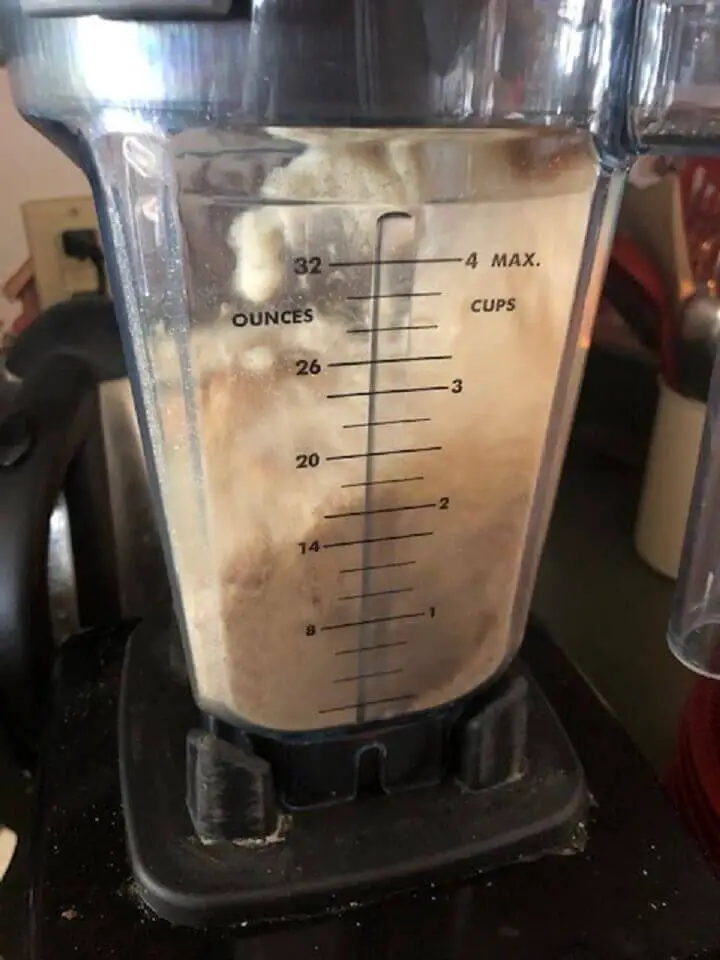
If you want larger bread crumbs, I recommend pulsing the bread for about 30 seconds, while fine bread crumbs will take about a minute. This is another reason why making homemade bread crumbs is great because you can choose what size you prefer to use.
Step #4: Bake the Bread Crumbs
Set your oven to 300℉ and spread the bread crumbs into a shallow baking dish. If the bread crumbs are larger, make sure they are in a single layer. If the bread crumbs are finer, just make sure that they have enough room to spread out and lose any remaining moisture.
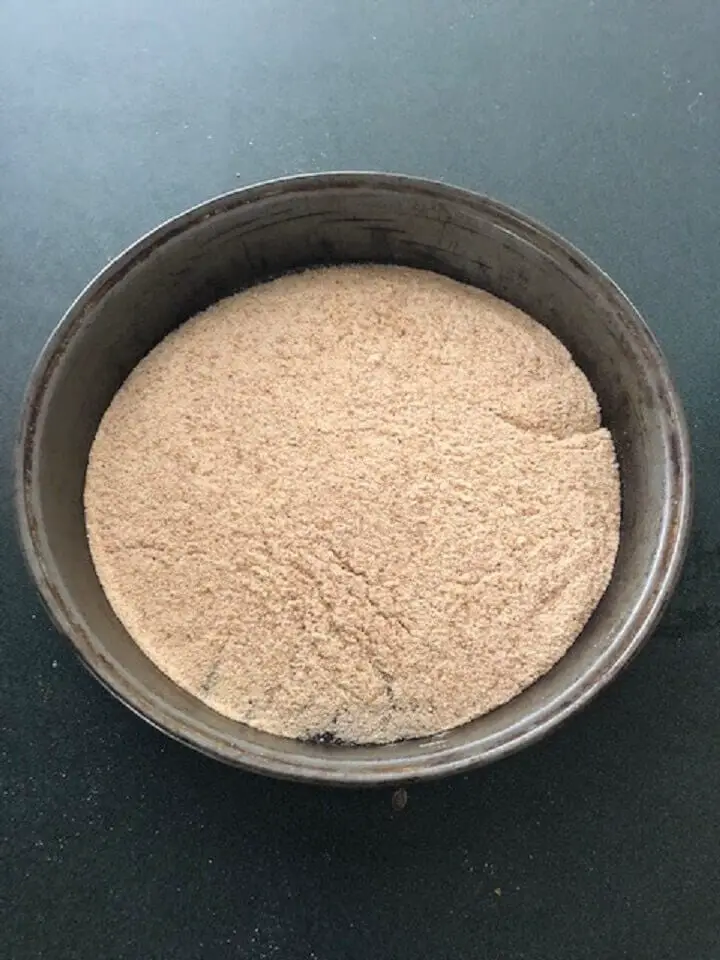
Cook the bread crumbs at 300℉ for 5 minutes, then stir the crumbs to make sure that they all have a chance to dry out. Cook for an additional 5 minutes. Remember that larger bread crumbs will take longer than finer bread crumbs to dry out due to their size.
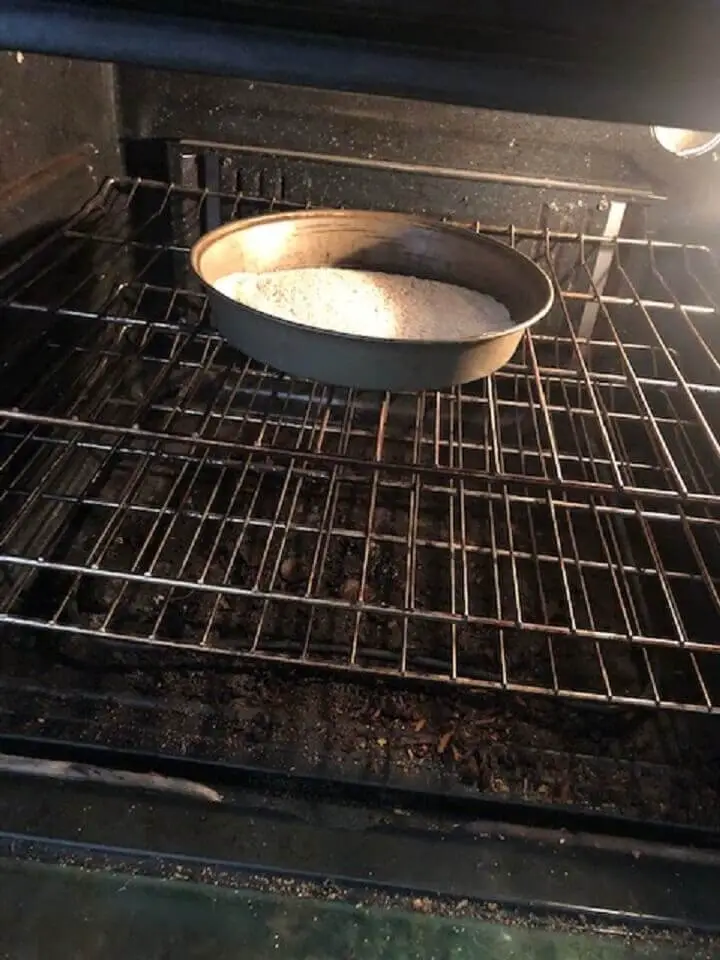
Carefully check your bread crumbs to check for dryness. If any part of the pan is still wet or damp, bake for a few more minutes until completely dry to the touch.
Step #5: Add the Flavoring
Again, some people flavor their bread crumbs before they are dried, but I like the idea of customizing the flavor afterward. Make sure that your bread crumbs are completely cool before adding them to a mason jar.
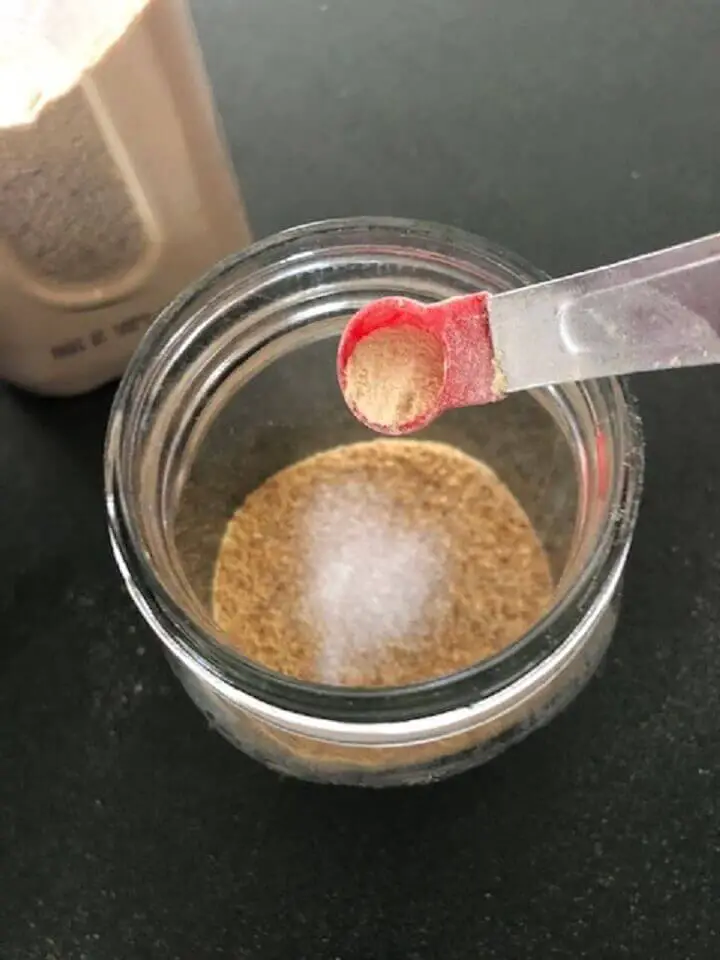
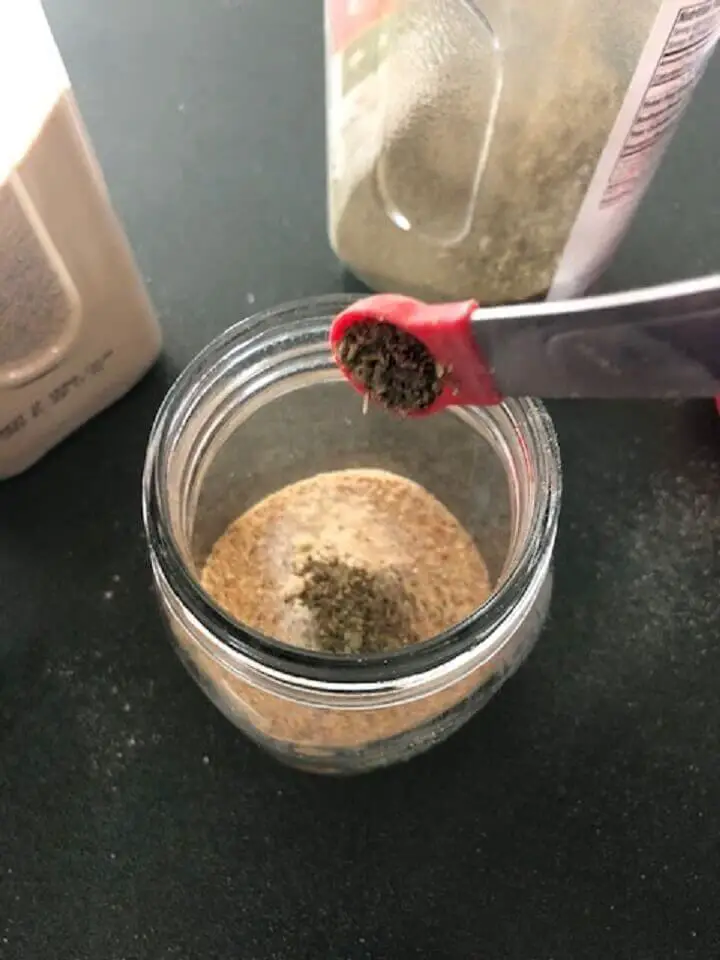
Sprinkle in the salt, garlic powder, and Italian seasoning to the jar. Put the lid on the jar and shake it up to disperse the flavors. Taste test the bread crumbs to see if they are flavored enough to your liking. Feel free to add in more spices or fresh herbs to your taste.
Step #6: Storage Options
You can easily use these bread crumbs for a meal on the same day. This would result in great taste and flavor. However, you can also store the bread crumbs for future use.
If you use bread crumbs on a regular basis, you can easily keep the mason jar on the counter or in the pantry for about one week before they start to go stale or attract mold.
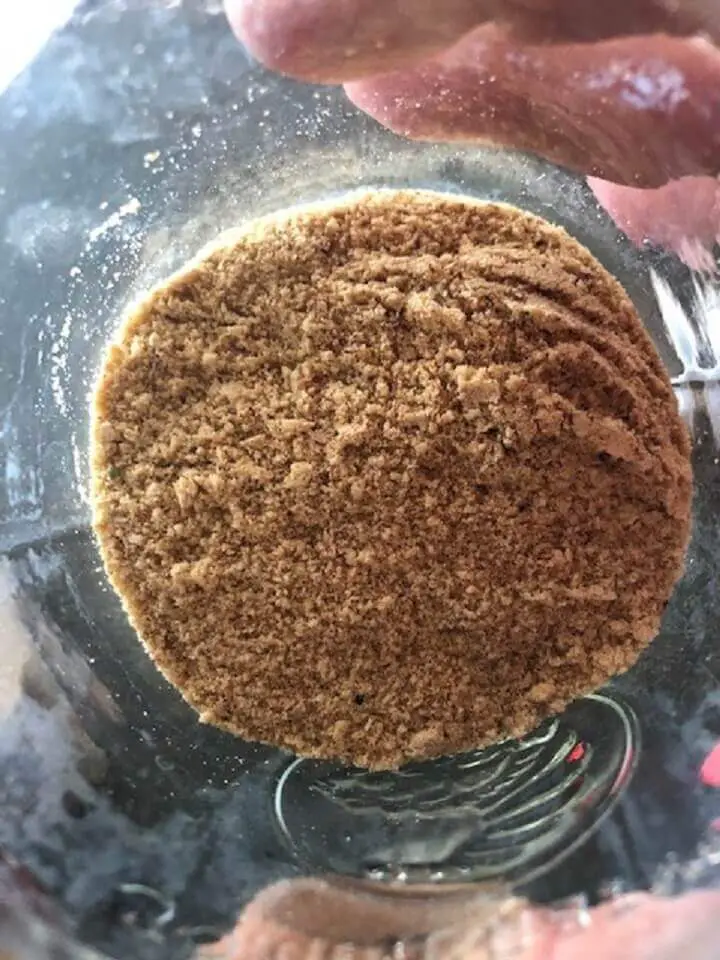
Storing the bread crumbs in the fridge helps them last longer as well. Many people store bread crumbs in the freezer to keep them for an extended period of time. The bread crumbs are cold when you pull them out to use them, but they aren't stuck together since there is no more moisture.
Making your own homemade bread crumbs is so easy that I don't know why we don't all do it instead of purchasing them at the store. You cannot only control the ingredients, but you can also choose the size of the bread crumbs and get to flavor them exactly the way you want.
Again, if you make your bread crumbs differently, be sure to leave a comment below to share your recipe! The whole point of making homemade bread crumbs is how quick and easy it is using ingredients you already have on hand.
So the next time that you have an extra piece of bread or two lying around, consider making your very own homemade bread crumbs to stretch that grocery budget and add flavor to your next meal.
Like this post? Don't Forget to Pin It On Pinterest!





This is not home made because they start out with store bought bread.
I simply cut my bread into squares and then put them on a cookie sheet in the oven and allow them totally dry. I remove from oven and let them cool for a few minutes. I don’t put spices into my crumbs because I add what can be eaten by my family in the food themselves. When I have a lot of bread to do (as I will this week I dry them all and I will sometimes just save the little chunks of bread in a plastic bag in a chip can from Christmas and I put Basil in the bottom of the can and seal up the bag and put it in the can. Or if I make crumbs that day I do the same thing for the crumbs only I chop them up and put in a ziplock bag. I have used crumbs using this process for a full year and never had a problem with them getting moldy. My husband bought me one of the food savors for Christmas and I will make smaller bags so there is not so much to keep in the can now. That way they are used sooner. and be fresher than my old way of saving them. I love my husband for buying that for me. Now I am going to learn how to use one of those electric pressure cookers he bought me last year.