Estimated reading time: 7 minutes

There is something absolutely satisfying about whacking a tightly closed tube of Pillsbury cinnamon buns on the edge of the kitchen counter to pop open the sweet goodness inside.
But there’s also something satisfying about making cinnamon buns from scratch, just like my grandma used to make for us when we were little. I loved watching her knead the dough and sprinkle the cinnamon while I snatched little bits to taste and tried to dodge away as she dusted my nose with a touch of flour.
Want to save this post for later? Click Here to Pin It On Pinterest!
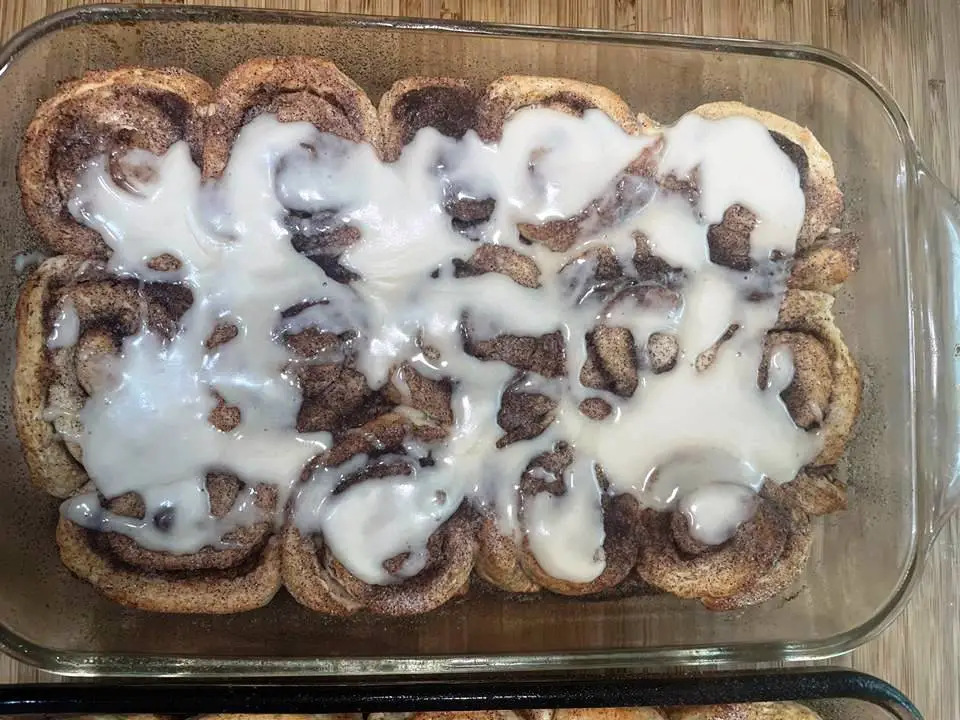
These old-fashioned cinnamon buns don’t take that long to make (and no one will be fighting over who gets to slam the tube open). But they’re also inexpensive, don’t require any fancy ingredients, and are oh-so-delicious!
The ingredients are basic kitchen staples that I always stock in my pantry for a rainy day, so you won’t need to search high and low for any of them. You could make them entirely by hand, although I did use an electric mixer to do some of the work. Since I have a large family, I made a double recipe, as I do for most things.
I baked my cinnamon rolls in two glass Pyrex dishes because I like the way the glass holds in the humidity to make them a little bit softer, and they really squish together as they bake. However, you could bake them in a cast iron Dutch oven in your woodstove if you like (I’ve done it successfully).
If you want crispy buns, you can even put them on a cooking sheet, but they won’t have any sides to help them keep their shape.
Ingredients:
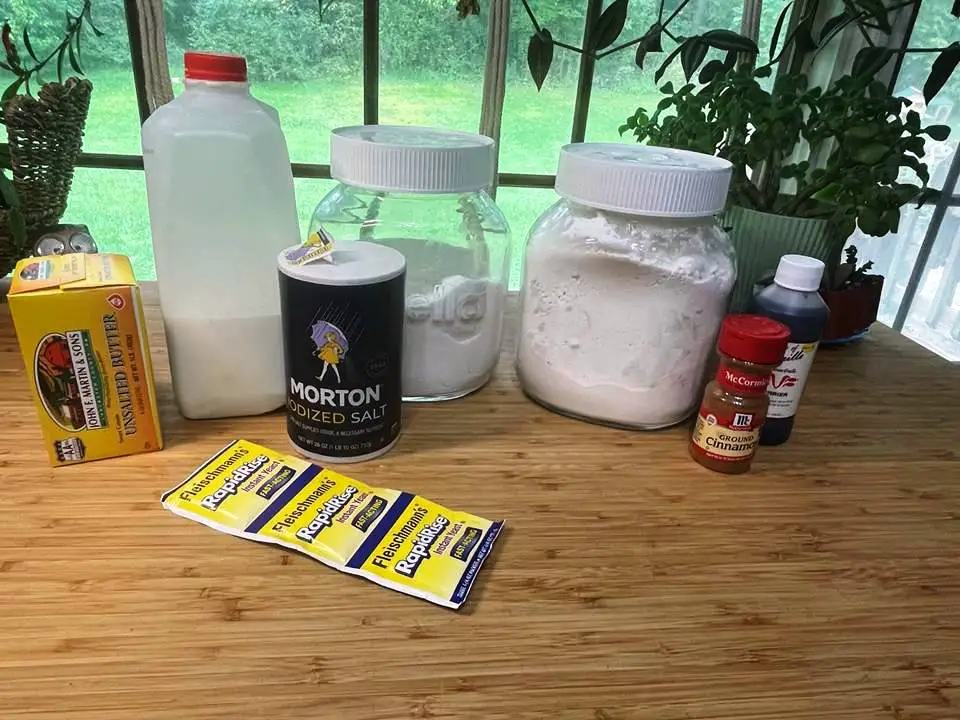
- 1 cup milk, scalded and cooled
- 1 TSP salt
- 2 TBSP sugar
- 4 TBSP butter
- 1 compressed yeast cake (or 1 envelope of yeast)
- 3 cups sifted flour (you may need more or less)
- 1/2 cup currants or raisins (optional)
Filling:
- 5 rounded TBSP sugar
- 1 TSP cinnamon
- Melted butter
Glaze (optional):
- 2 cups powdered sugar
- 2 TBSP melted butter
- 2 TSP vanilla
- 4 TBSP milk or cream (I used sweet cream)
How to Make Old Fashioned Cinnamon Rolls
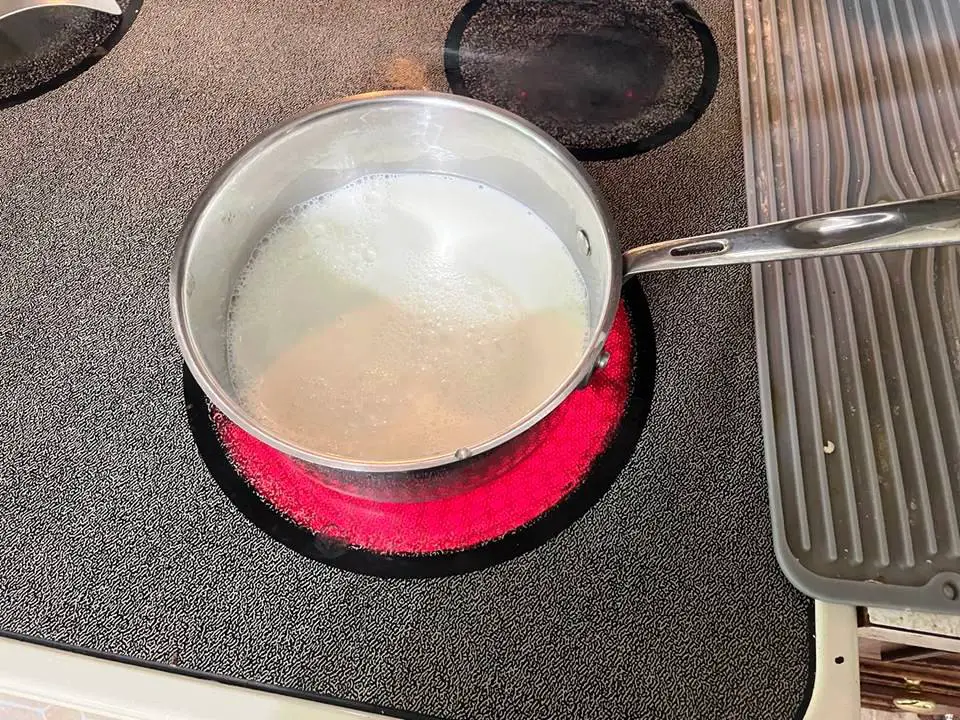
1. Scald the milk. We scald the milk because it make it a bit creamier, which makes the dough rise higher and makes the rolls more tender. I just pour the milk in a heavy-bottomed pot and warm it up on medium heat.
Once you start to see a little steam coming off the milk, watch for bubbles around the outside of the pan. When you see bubbles, remove the milk from the heat and allow it to cool.
Your milk must be cooler than 130 degrees Fahrenheit, or the yeast won’t rise properly. I poured my milk into a large bowl so it would cool off faster.
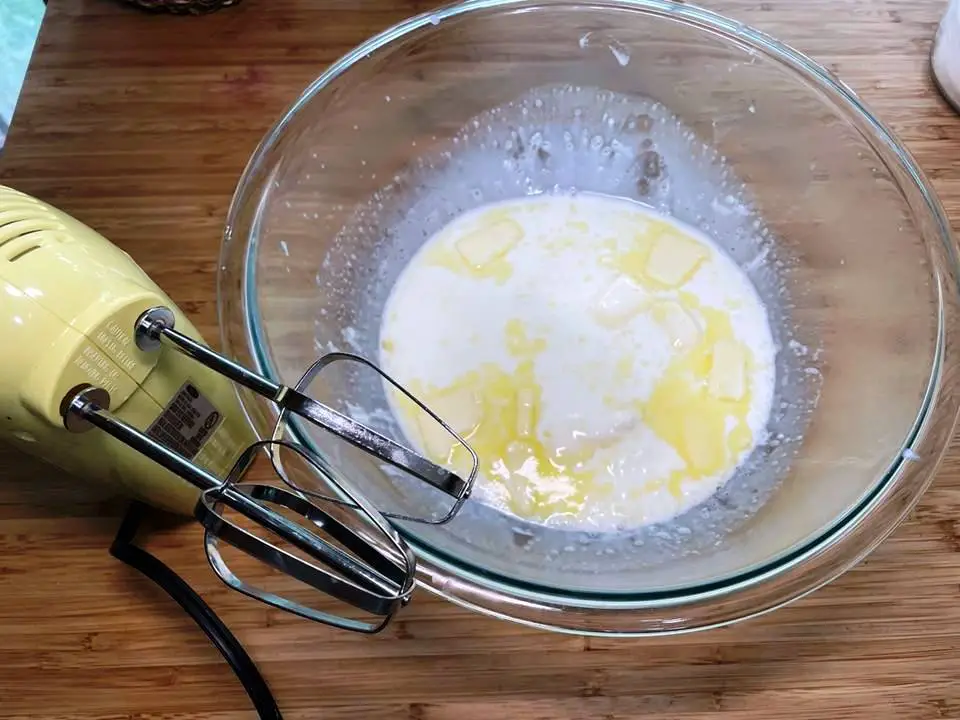
2. Add your salt, sugar, and butter into the bowl with the milk and blend it. I used my small electric mixer for this step.
3. Stir in the yeast.
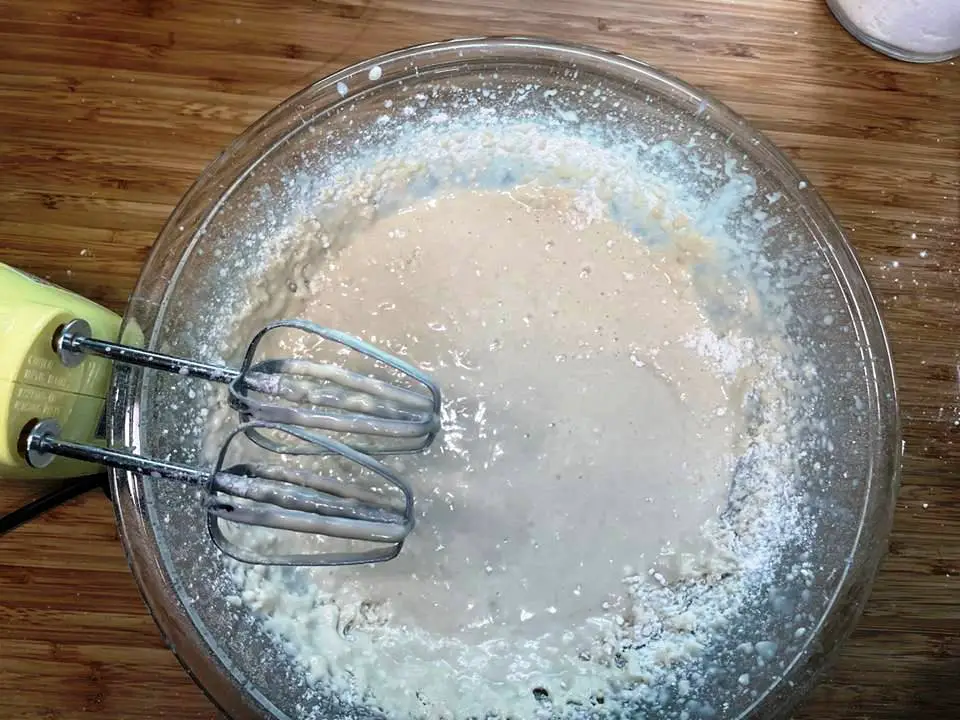
4. Add in half of the flour and beat until everything is well mixed.
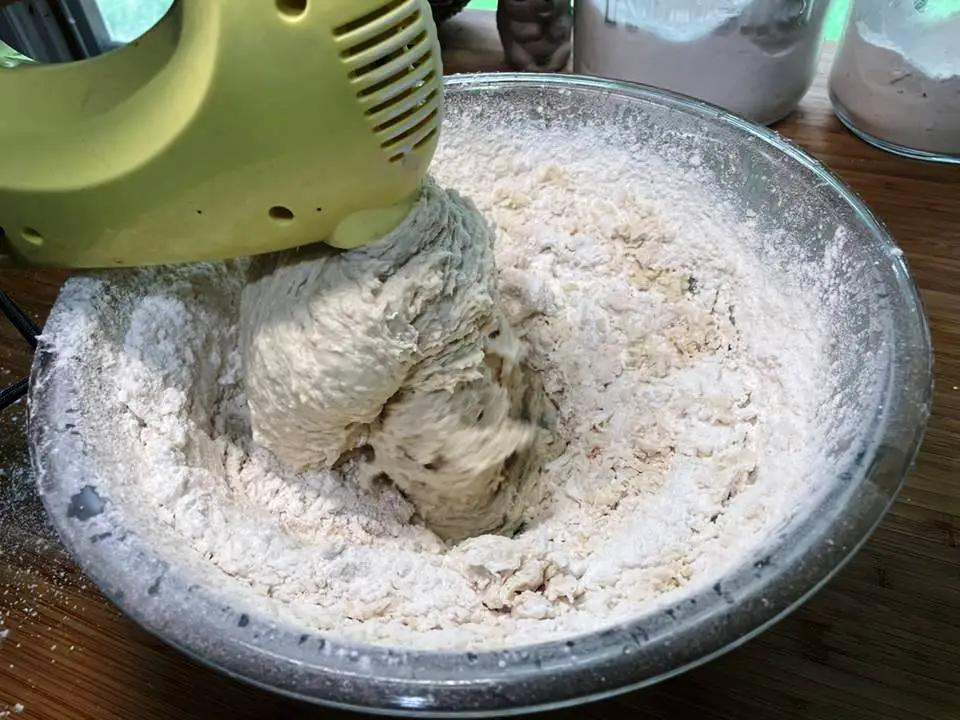
5. Start adding the rest of the flour in little bits. Knead it until it creates a nice, smooth dough. I used the mixer until the dough got too thick for the beaters to manage, then switched to a wooden spoon and, finally, my bare hands. Knead and shape the dough into a large ball. The dough will be soft and a bit sticky.
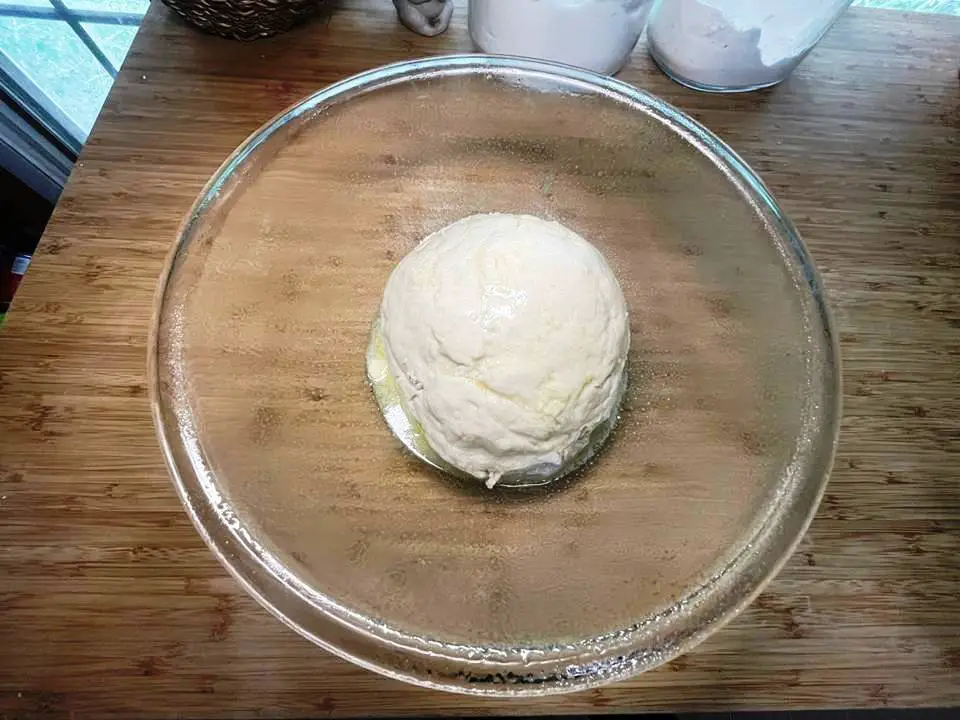
6. Place the dough into a large, greased bowl. Cover it with melted butter, then set a towel overtop. Let the dough rise until it’s about doubled in size. This should take around 2 to 3 hours.
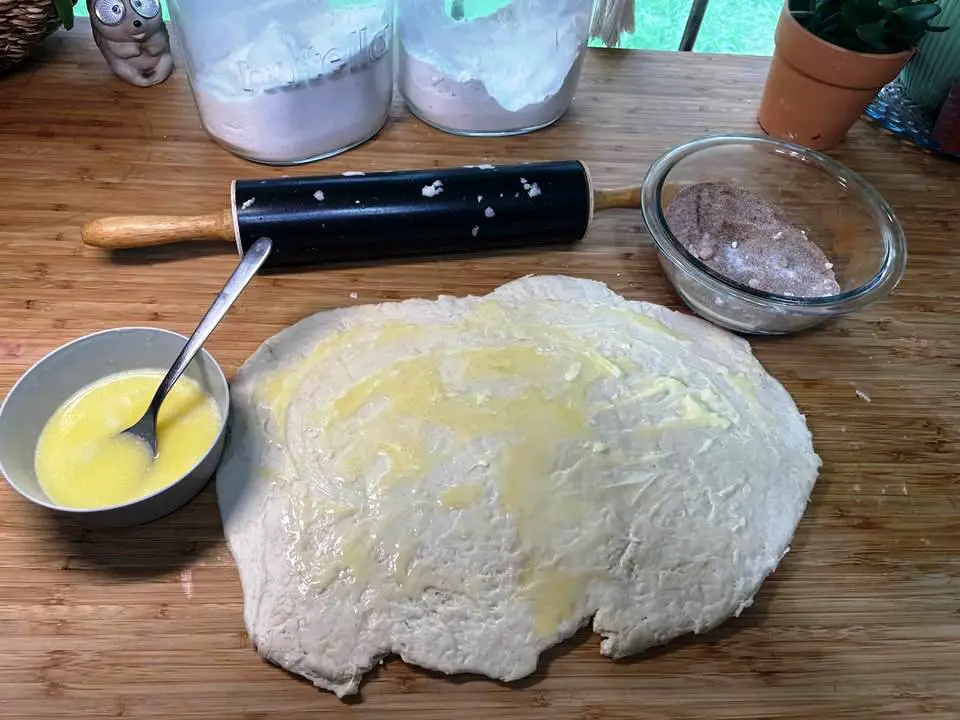
7. Knead your dough and roll it out into a rectangle shape that’s around ½ inch thick. It’s OK if it isn’t perfect!
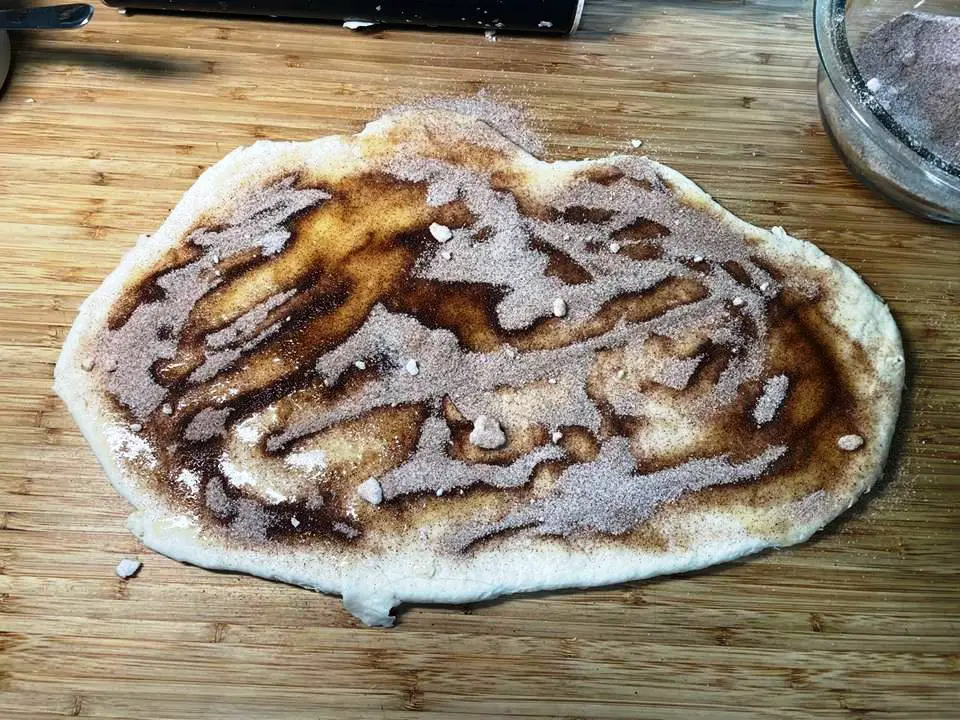
8. Spread your dough with melted or softened butter. Mix together the cinnamon and sugar, and then sprinkle it thickly onto the butter. If you want, you can add in raisins, nuts, or coconut flakes to the filling.
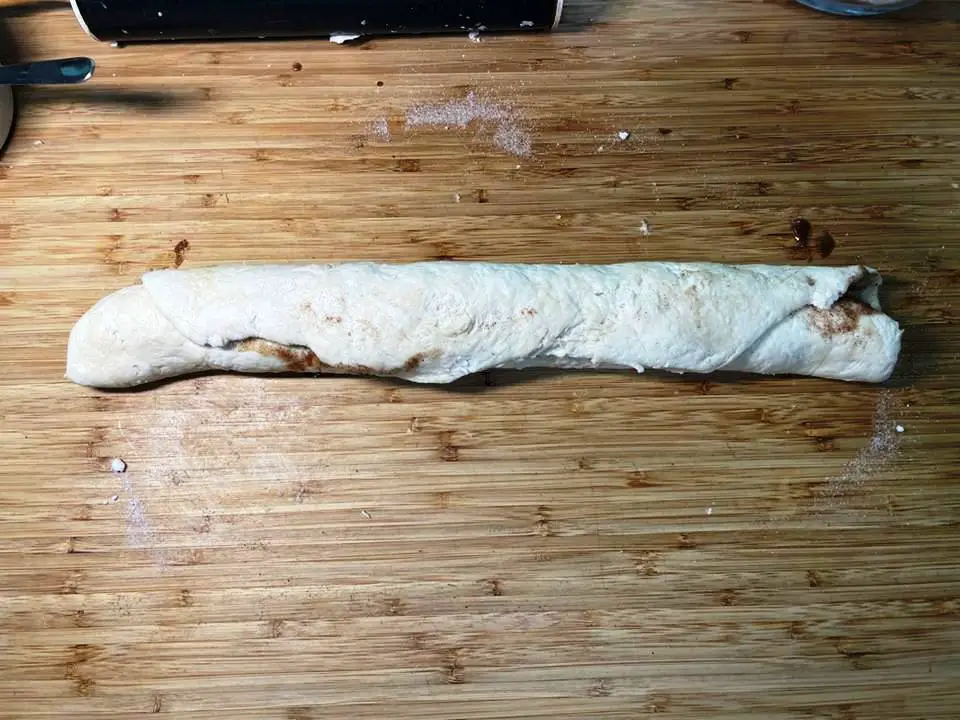
9. Roll your rectangle lengthwise so you have a long roll. Cut the roll into one-inch pieces.
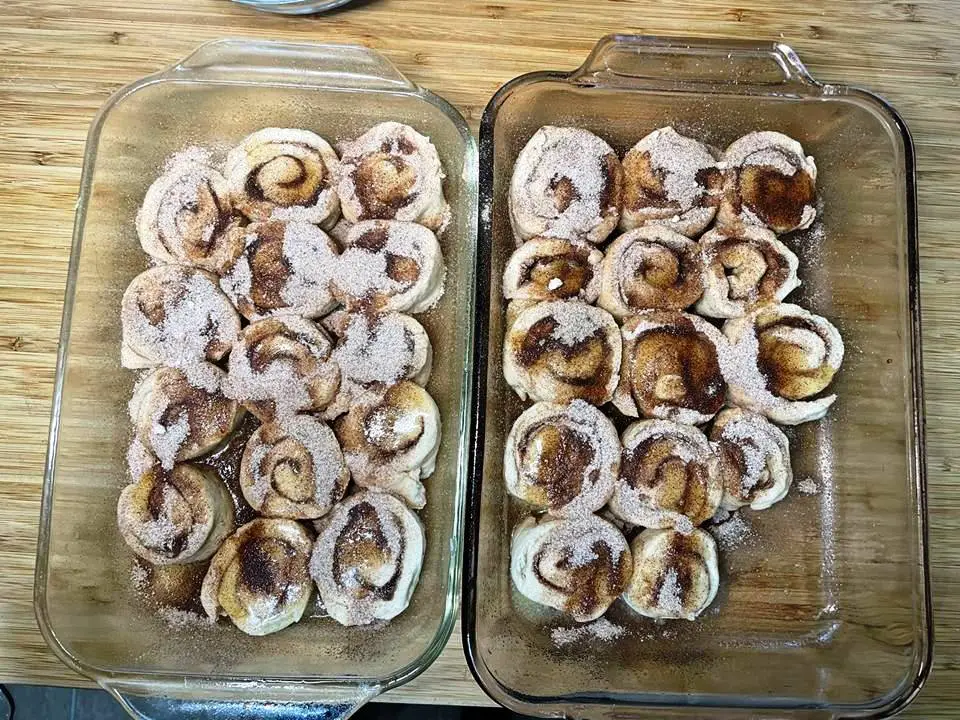
10. Grease your pan and place your cinnamon rolls into the pan with the edges touching. If you have any butter and topping left, you can put it right on top for some extra sweetness.
11. Let rise for 1 hour.
12. Preheat oven to 400 degrees Fahrenheit. Bake for 20 minutes or until done.
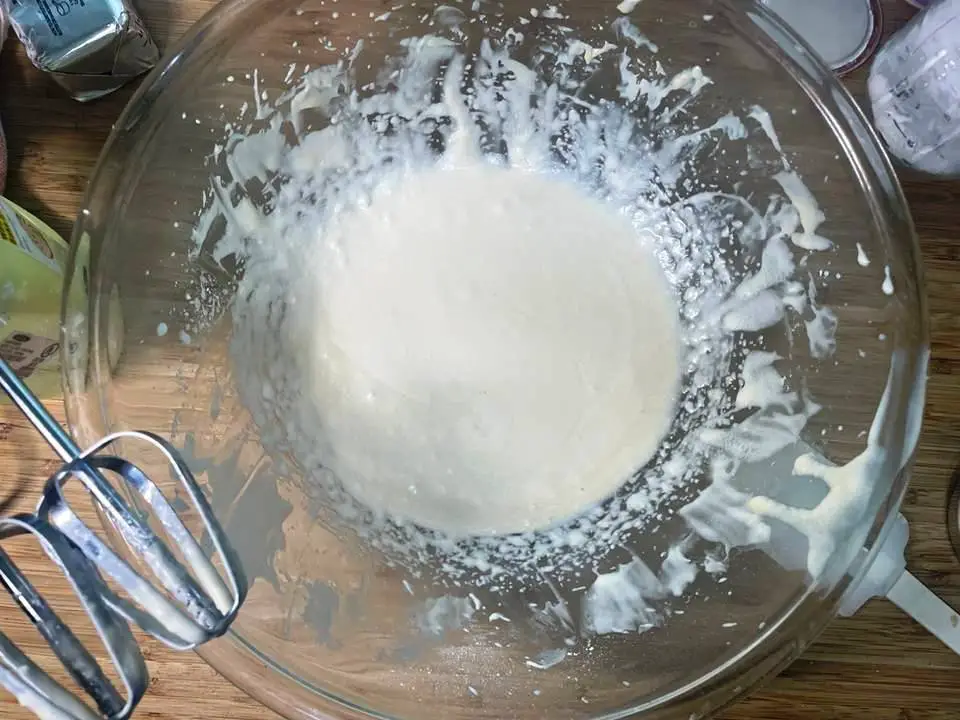
13. While you’re waiting, mix together your glaze in a bowl. I just dumped all the ingredients together and blended them completely with my mixer.
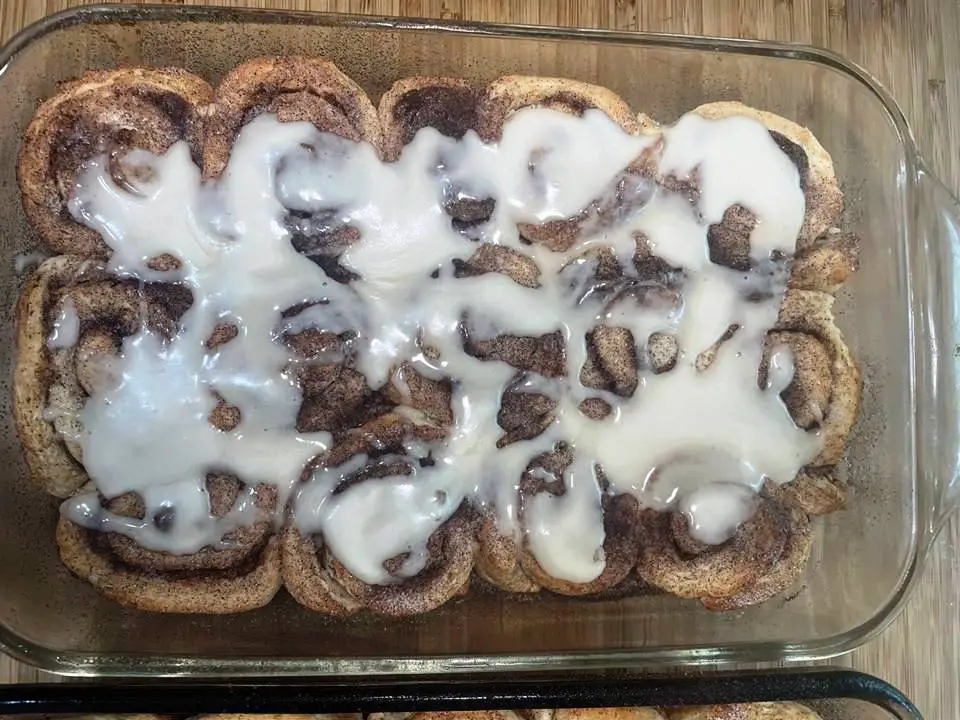
14. When the cinnamon rolls are done baking, top them with the glaze right in the pan.
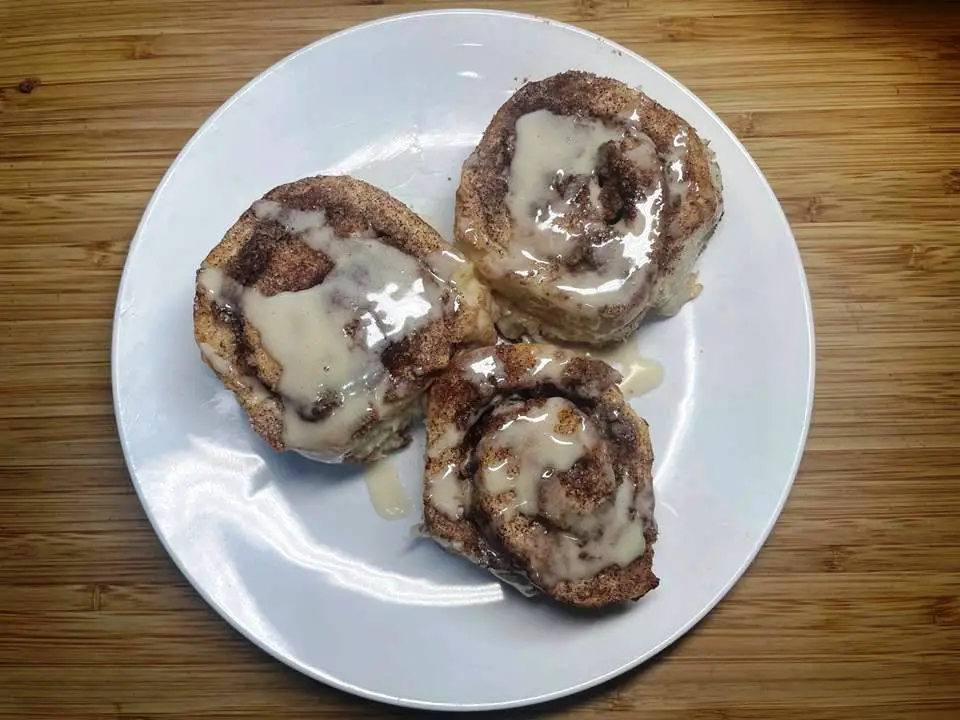
15. Cool and serve!

Grandma's Homemade Cinnamon Rolls
Ingredients
- 1 cup milk scalded and cooled
- 1 tsp. salt
- 2 tbsps. sugar
- 4 tbsp. butter
- 1 compressed yeast cake (or 1 envelope of yeast)
- 3 cups sifted flour (you may need more or less)
- 1/2 cup currants or raisins (optional)
Filling
- 5 rounded tbsps. sugar
- 1 tsp butter
- melted butter
Glaze (optional)
- 2 cups powdered sugar
- 2 tbsps. melted butter
- 2 tsps. vanilla extract
- 4 tbsps. milk or cream (or sweet cream)
Instructions
- Scald the milk. We scald the milk because it makes it a bit creamier, which makes the dough rise higher and makes the rolls more tender. I just pour the milk in a heavy-bottomed pot and warm it up on medium heat. Once you start to see a little steam coming off the milk, watch for bubbles around the outside of the pan. When you see bubbles, remove the milk from the heat and allow it to cool. Your milk must be cooler than 130 degrees Fahrenheit, or the yeast won’t rise properly. I poured my milk into a large bowl so it would cool off faster.
- Add your salt, sugar, and butter into the bowl with the milk and blend it. I used my small electric mixer for this step.
- Stir in the yeast.
- Add in half of the flour and beat until everything is well mixed.
- Start adding the rest of the flour in little bits. Knead it until it creates a nice, smooth dough. I used the mixer until the dough got too thick for the beaters to manage, then switched to a wooden spoon and, finally, my bare hands. Knead and shape the dough into a large ball. The dough will be soft and a bit sticky.
- Place the dough into a large, greased bowl. Cover it with melted butter, then set a towel overtop. Let the dough rise until it’s about doubled in size. This should take around 2 to 3hours.
- Knead your dough and roll it out into a rectangle shape that’s around ½ inch thick. It’s OK if it isn’t perfect!
- Spread your dough with melted or softened butter. Mix together the cinnamon and sugar, and then sprinkle it thickly onto the butter. If you want, you can add in raisins, nuts, or coconut flakes to the filling.
- Roll your rectangle lengthwise so you have a long roll. Cut the roll into one-inch pieces.
- Grease your pan and place your cinnamon rolls into the pan with the edges touching. If you have any butter and topping left, you can put it right on top for some extra sweetness.
- Let rise for 1 hour.
- Preheat oven to 400 degrees Fahrenheit .Bake for 20 minutes or until done.
- While you’re waiting, mix together your glaze in a bowl. I just dumped all the ingredients together and blended them completely with my mixer.
- When the cinnamon rolls are done baking, top them with the glaze right in the pan.
- Cool and serve!
Like this post? Don't forget to Pin It On Pinterest!
You May Also Like:


